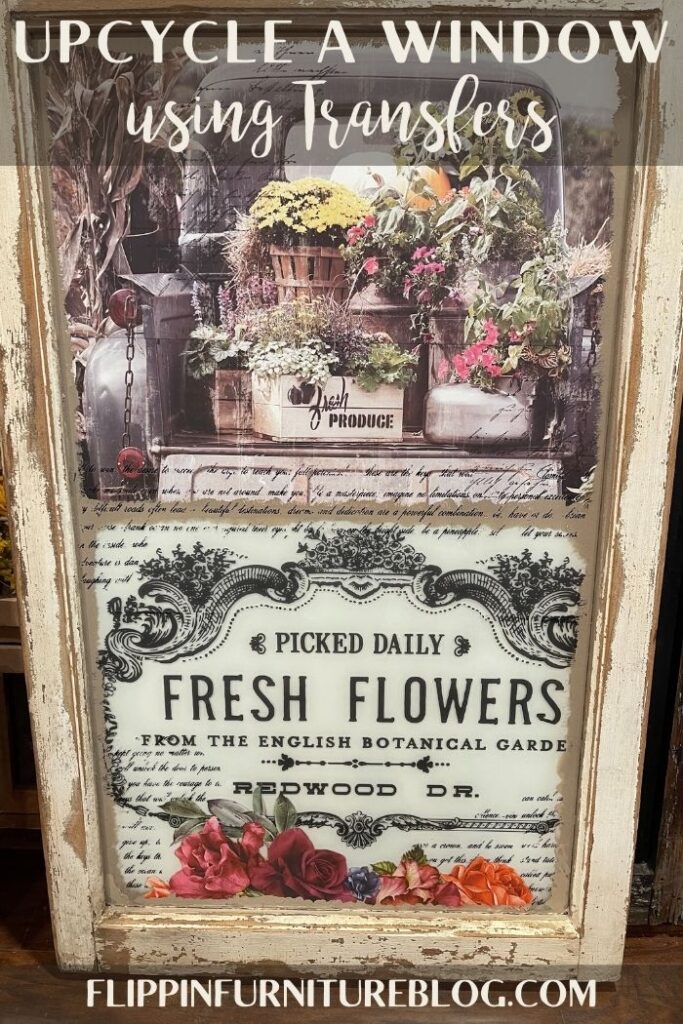
Upcycle a Window Using Transfers
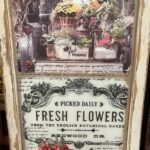
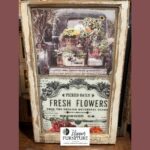

With a beautiful transfer sheet like this Farmers Market Truck Canvas from Prima, you just can’t go wrong when choosing to upcycle a window using transfers.
Window frames are some of my favorite pieces of old furniture to decorate with. I love that they come in all different shapes. Ok, ok, mostly just squares and rectangles, but they also come in so many sizes. Big ones, small ones, medium ones, ones with and without panes. I love them all. And you know me, I hate to see anything that is old not become new, purposeful, and beautiful once again. So old windows are simply wonderful to upcycle in the easiest of ways!
Using Prima transfers is a great way to add some character and charm to an old window. Honestly though really, any transfer is a good transfer in my opinion. They take patience and sometimes a bit of practice. But, man oh man, are they worth it. Remember when I used transfers to update my hutch? I love how they are so easy yet make such a big change!
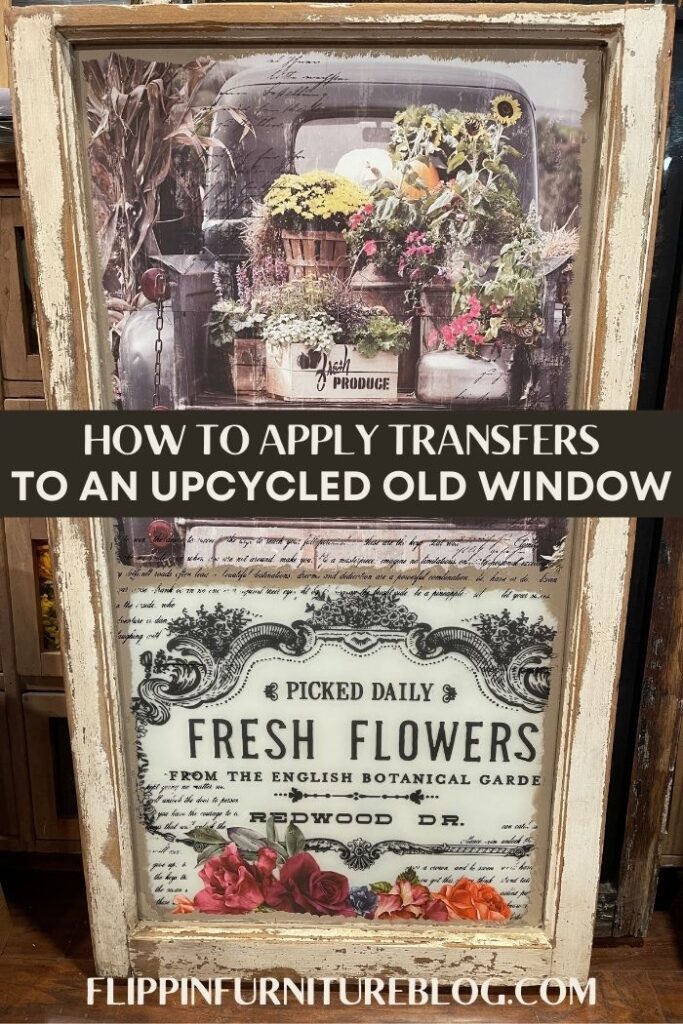
How To Upcycle a Window Using Transfers
I have had this transfer sheet for years and am so glad that I finally put it to good use. The vintage, farmhouse vibe, with that filigree accented text is just beautiful. I especially love how it pops on the window, thanks to a helpful trick I will happily teach you in this tutorial. So are you ready to learn the easiest way to Upcycle an old window? Do you have this transfer sheet or one you love more, that you have been dying to try out? Are you ready to get crafting, making something old become beautiful once again? If you said yes to all of these, I am so excited! Let’s get started.
Supplies:
- Old Window Frame with Glass
- Fresh Flowers Transfer – Prima
- Beautiful Things Transfer – Prima
- Sander
- Transfer Sheet Applicator
- Scissors/Razor Blade
How to Complete an Upcycled Old Window Using Using Transfers
- Sand the frame of your old wood window, measuring the best for your transfer size, and remove all the loose debris.
- Clean your glass window with windex on both sides.
- Trick to help your transfer really pop is to paint a white coat on the backside of your window to allow for your transfer to easily be seen. Not necessary, but I like this step!
- Seal the wood window frame with Dixie Bell Satin Clear Top Coat. Dry completely.
- Clean up your window to remove all dirt, debris, excess just in case any more got on there.
- Determine where you want to add your transfer by measuring and playing with placement to create a good visual before you start the craft. Remember to use those grid marks to help you be successful.
- Once cut, carefully remove the backing, nice and slowly. Be sure that it does not touch itself, or it will be ruined.
- Do your best to lay it down on your glass because once it touches, it is on. Use your Prima Tool to help you firmly press the transfer to the glass.
- Slowly remove the clear film backing from your transfer.
- Use that backing to help burnish it a bit by rubbing all along the glass to make sure it is touching the surface everywhere. Use your finger too.
- Apply the middle section and bottom sections of your transfer by carefully measuring, trying your best to keep it all lined up. Trim first to help you line it up with ease. Repeat steps 9 and 10 to complete.
- Do not worry about sealing your transfer. Prima advises against it.
- You can add a little tan paint on the inside of your sides on your glass to help tie it all together. This will also help to hide any blemishes.
- Since I had a bit of a gap on the bottom, I will consider adding a few other floral transfers cascading down in that open space to help finalize it all.

Upcycling an Old Window Using Transfers
This easy DIY project will give your window a beautiful makeover in no time! With just a few simple steps and the help of a transfer sheet, you can create this gorgeous Farmers Market Truck Canvas. So grab your supplies and get started today!
Tools
- Old Window Frame with Glass
- Farmers Market Truck Canvas Transfer Sheet - Prima
- Dixie Bell Satin Clear Top Coat
- Sander
- Windex
- Transfer Sheet Applicator
- Flat edge tool
- Scissors/Razor Blade
Instructions
- Sand the frame of your old wood window, measuring the best for your transfer size, and remove all the loose debris.
- Clean your glass window with windex on both sides.
- Trick to help your transfer really pop is to paint a white coat on the backside of your window to allow for your transfer to easily be seen. Not necessary, but I like this step!
- Seal the wood window frame with Dixie Bell Satin Clear Top Coat. Dry completely.
- Clean up your window to remove all dirt, debris, excess just in case any more got on there.
- Determine where you want to add your transfer by measuring and playing with placement to create a good visual before you start the craft. Remember to use those grid marks to help you be successful.
- Once cut, carefully remove the backing, nice and slowly. Be sure that it does not touch itself, or it will be ruined.
- Do your best to lay it down on your glass because once it touches, it is on. Use your Prima Tool to help you firmly press the transfer to the glass.
- Slowly remove the clear film backing from your transfer.
- Use that backing to help burnish it a bit by rubbing all along the glass to make sure it is touching the surface everywhere. Use your finger too.
- Apply the middle section and bottom sections of your transfer by carefully measuring, trying your best to keep it all lined up. Trim first to help you line it up with ease. Repeat steps 9 and 10 to complete.
- Do not worry about sealing your transfer. Prima advises against it.
- You can add a little tan paint on the inside of your sides on your glass to help tie it all together. This will also help to hide any blemishes.
Where can I dispaly my upcycled window with transfers?
Y’all the question should be where can’t I decorate with this beauty? This would look great in your home on an open ledge, a mantle with a tall space up above it, on a bathroom wall, with a beautiful vase with seasonal flowers, and even in a guest bedroom with a comforter accenting those pops of colors from the florals in the transfer. Just have fun wherever you put it and know that it is simply gorgeous no matter where it ends up.
Is It Easy To Stack Transfers on Top of Other Transfers?
Yes! I do this all the time. Some transfers are so pretty by themselves. But when you add a little more, they become out of this world beautiful. Just remember when working with transfers, be it the first layer or the second, be careful not to let it touch anywhere. Once you have removed the backing, you better be ready to go! Trust me from experience. Once it sticks, it sticks!
Just pin this How to Complete an Upcycled Old Window Using Using Transfers tutorial below to find the instructions later!


2 Comments
Vickie
Hi there, I would like to purchase the vintage farmers market truck w flowers transfer. Do you have these in stock? Vickie
Flippin Furniture Blog
Yes! https://flippinfurnitureshop.com/products/fresh-flowers-redesign-decor-transfer