Gray Vanity with Dark Glaze,
This sweet little vanity… I have had the pleasure of redoing it twice now!
It was bought on an auction several years ago for 5 whole dollars!!! I used to be able to get three whole truck loads for $100! Unfortunately, those days came and went in a hurry. Luckily I had the foresight or hoarder tendencies, potato, pototo, and managed to stockpile quite a bit.
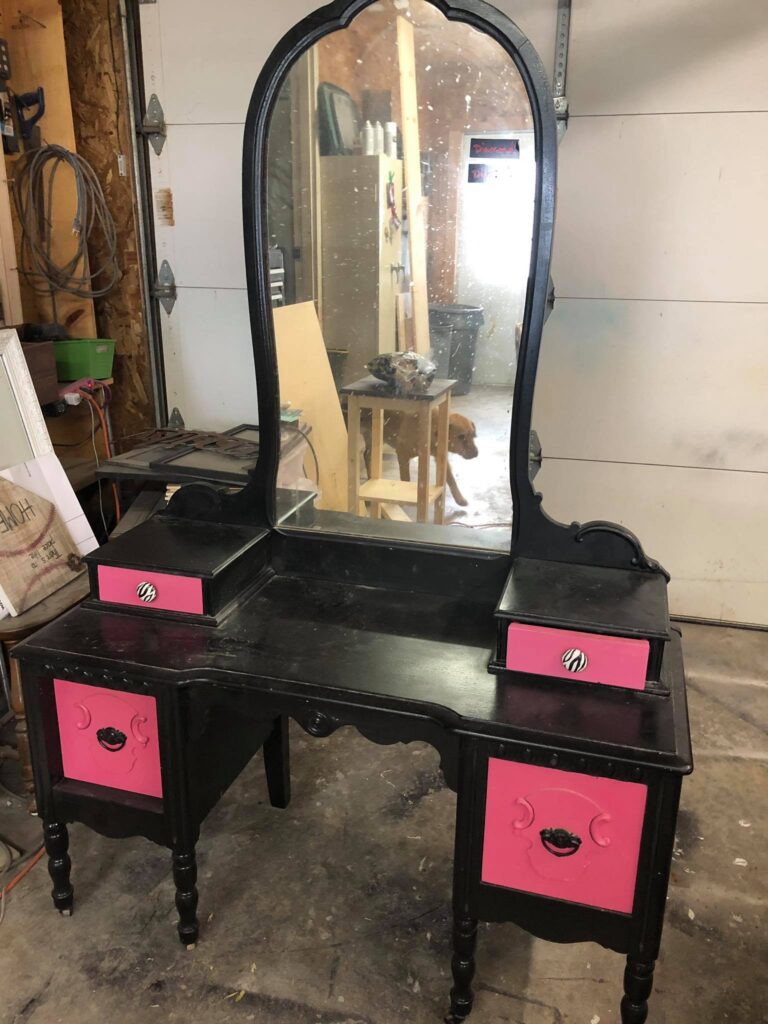
The first time I redid it was for my best friend’s daughter. As you can see, she was into all things hot pink, black, and zebra! We all found it terribly adorable at the time. Fast forward 6 years and the little girl was no longer little and no longer in the pink, black, and zebra. Thankfully they asked me if I wanted it back. Vanities in good shape are a hot commodity! Come to Momma!!!
Let’s Get Started!
First of all, I cleaned it up to see what I was dealing with. Next, I sanded the whole piece, including as much around the mirror as I could. Nothing aggressive. Just enough to give the next coat of paint something to grab onto. Be careful around the mirror! I have scratched a mirror or two with the sanding sponge or electric sander and I don’t know that there is a way to fix that!
Next, came the stain blocker. I use Dixie Belle’s “Boss” and it always does the trick. You must use a stain block when using a lighter color, otherwise, you may just be wasting your time. Without the block, the wood tannin’s have a tendency to react with most sealers and will bleed through which will ruining all of your hard work. And I don’t want that for you!! I use one coat of the stain blocker but a lot of people use two.
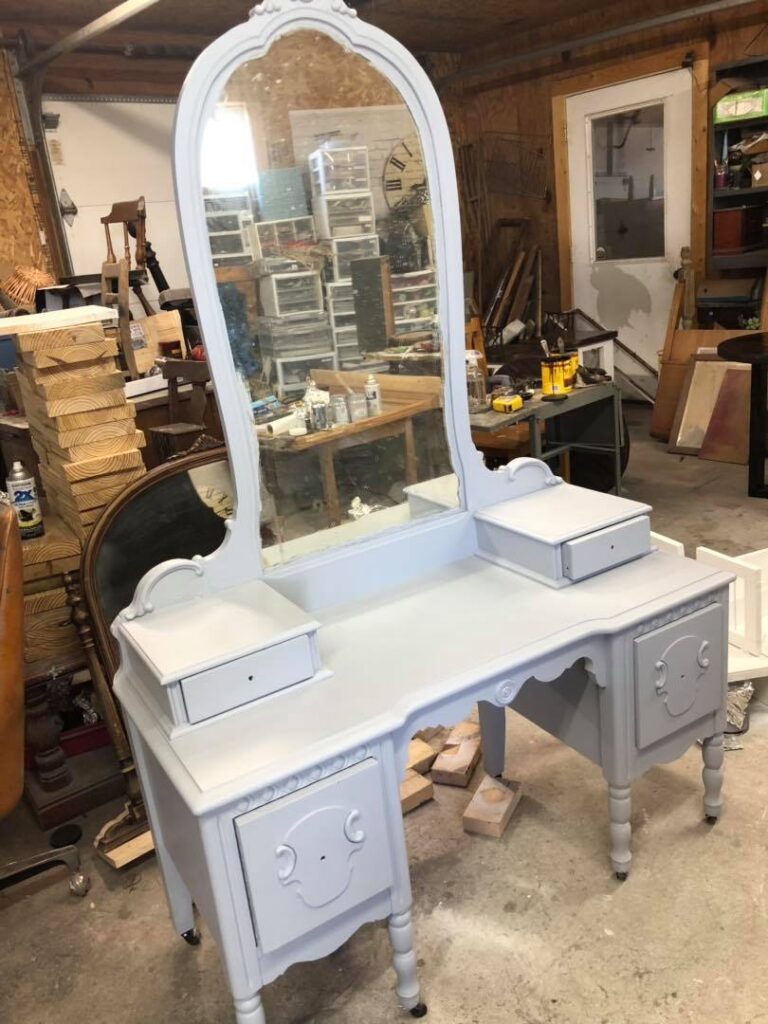
After the “Boss” has completely dried, I brush on my first coat of paint, in Miss Lillian’s “Vintage Storm”. It is a super pale gray that almost looks white in photos and is even very pale in person. This shade of paint is so pretty! Two coats of paint were brushed on.
I could have left it alone, but I felt it was too blah, just my opinion. I couldn’t leave it like it was!
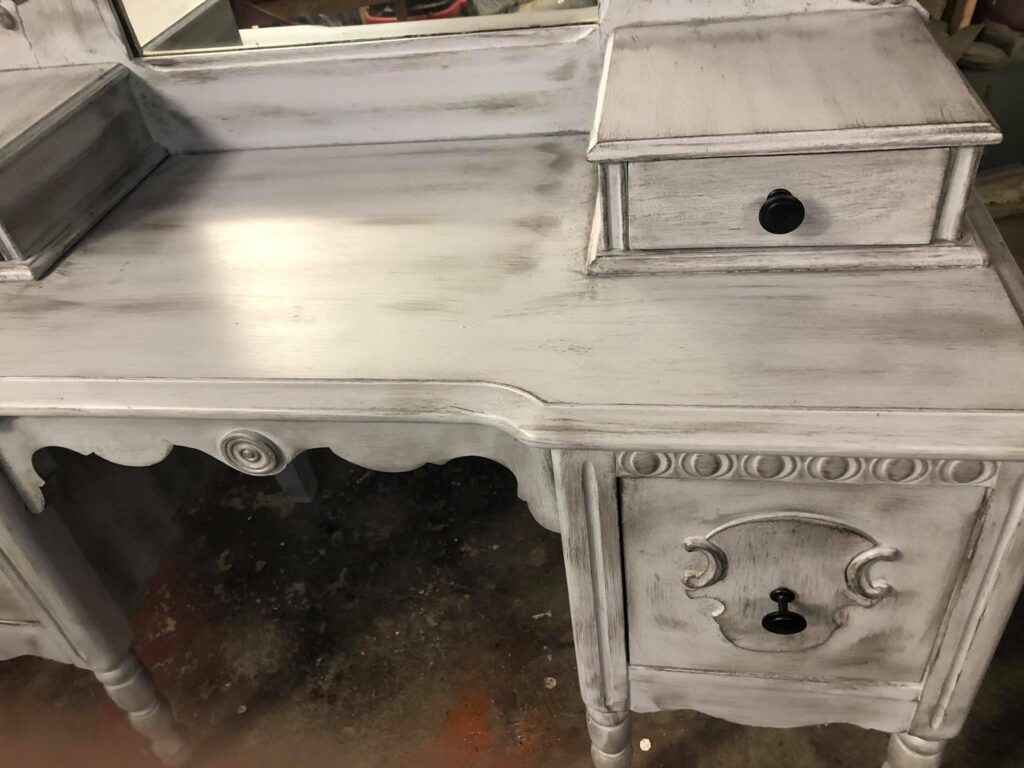
This is where the antiquing glaze came in. My favorite dark glaze is Miss Lillian’s Black Walnut Antiquing Glaze. It is my go-to.
The glaze can be applied several different ways. It mainly depends on what you want it to look like in the end. I used a rag, wiping it on with a very light pressure. You can always add more if it’s not dark enough. And if you get too much on, you can wipe it off with a cleaning wipe. I have used Clorox wipes and Great Value wipes with success. A wet paper towel would even work, I just happen to have the wipes near me most of the time. But if you need to pull some glaze back off, it needs to be done sooner rather than later or it isn’t going anywhere.
Then I allowed the glaze to cure overnight before I applied a top coat.
I use different top coats for different reasons. I used Dixie Belle’s clear coat in Satin for this one. Mostly, this is my favorite top coat. In the past, I’ve used Polycrylic. I then was introduced to Dixie Belle’s Clear Coat. Dixie Belle’s Clear Coat is a little thicker and helps avoid having as many runs.
I went with black, all new hardware.
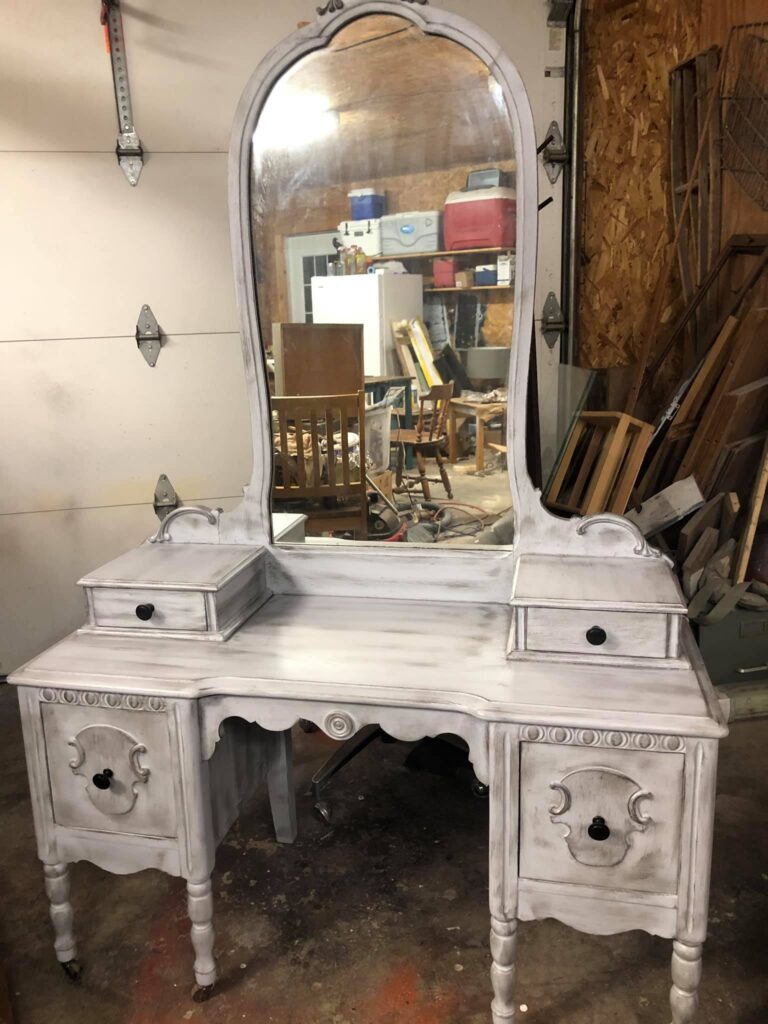
And that’s it! Vanities are always in demand. This vanity was sold before I had it finished!
Supplies
This list contains affiliate links, if you make a purchase I make a commission, your price stays the same.
- Sanding Sponge – https://flippinfurnitureshop.com/products/paint-sticks-fusion
- DeWalt Orbital Sander – https://amzn.to/2OJxNxx
- Sanding Discs – https://amzn.to/2SxUuWP
- Dixie Belle’s Boss Stain Blocker – https://amzn.to/2HcjPjI
- Miss Lillian’s 2” Angle Brush
- Miss Lillian’s Paint – Vintage Storm – https://misslillianspaint.net/not-just-fifty-shades-of-gray-chalk-paints/
- Miss Lillian’s Antiquing Glaze – Black Walnut – https://misslillianspaint.net/miss-lillians-antiquing-glaze/
- Dixie Belle’s Clear Coat – Satin – https://amzn.to/39psGe2
- Old Rag (To Apply Glaze)
- Paint Brush – https://amzn.to/2Sd6ldR

One Comment
ปั้มไลค์
Like!! Really appreciate you sharing this blog post.Really thank you! Keep writing.