Jewelry Box Makeover
Hey, all you cool thrifters and repurposers! I did not remember to take a ton of pictures of the processes (whoops), but I do think that you will easily get the gist of it!
When I actually get out and get to go thrifting…the “wood” section is one of my favorite areas to hit up!!! I love little wood shelves, I can use them on so many other projects! I have no idea how many I currently have, but I’m sure it’s not enough!
Another thing I love in the “wood” section is signs. Maybe the sign is outdated. Can I sand it off and use it for something else? Or simply paint over it and make a new sign?
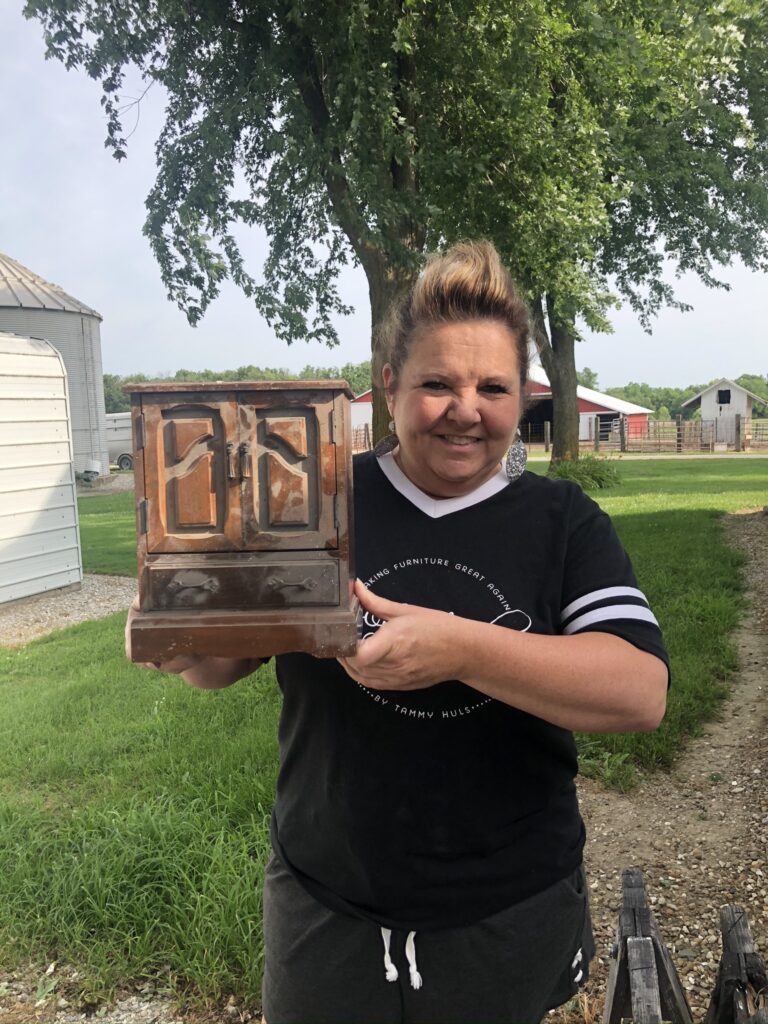
But the project that I am talking about today is this little jewelry box! In the last couple of years, it is like they have sprouted legs and jumped in my cart when I’m shopping! I have done a few over the years, but not like this one. Oh, oh, oh, and totally of this subject…but, these can also make awesome furniture for American Girl dolls! Sorry! Squirrel brain!!!
Anywho…I did this one in my private group, so if this is something you enjoy, please be sure to check out my Flippin Furniture page and maybe think about joining us in the Flippin Society! Details here:
https://flippinfurniture.lpages.co/opencartflippinsociety/
Back to the jewelry box…obviously, the first thing I had to do was clean it up. Soap and water and let it dry. Then I just roughed it up with a sanding sponge. I did not take the hardware off. It wasn’t going to come off easily (no visible screw to unscrew), and I am all about the path of least resistance! Next up, paint!
I used Fusion Mineral Paint for this project. I am new to Fusion, but from what I read and hear, it is quite amazing. The best thing I like is that it doesn’t require a sealer! Drop the mike! No sealer? Definitely a time saver! And when it is fully cured, it is unbelievably strong. Now, that being said, when using dark colors like black and navy blue, I found that I did still need to use the sealer; otherwise, it would show fingerprints and look “smudgy.” Just my unasked for opinion.
It’s been a while since I painted it, but I am pretty sure that I used the color, “Putty”. I did not paint the inside.
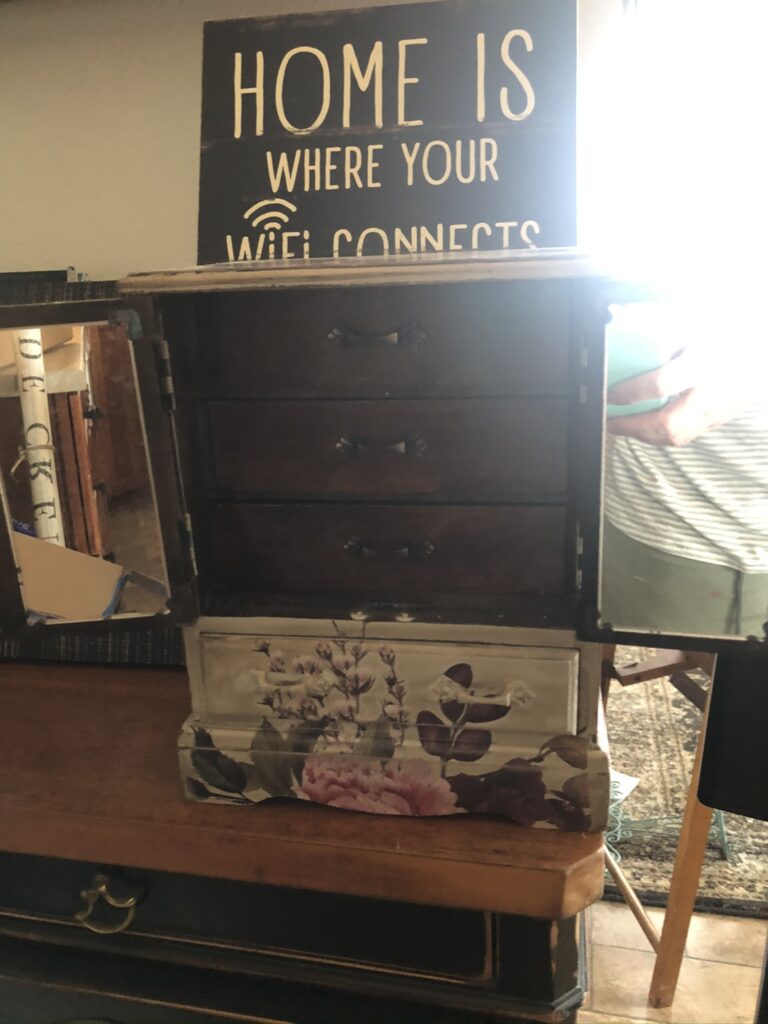
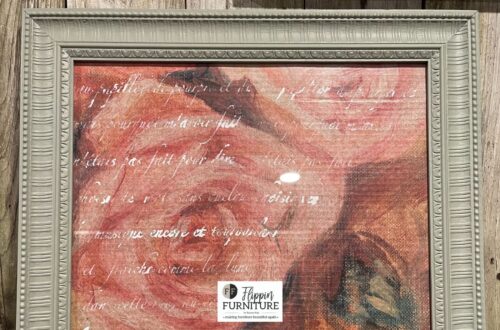
I was working with the ceiling fan on over me, so I was able to paint the first coat and come back and touch up and add a second coat where needed, fairly quickly. Then I got out a beautiful floral transfer and tried laying it out different ways to see where I wanted it. You can see from the photo where I landed.
Once the transfer was on, I then decided to antique it a little bit. And done!
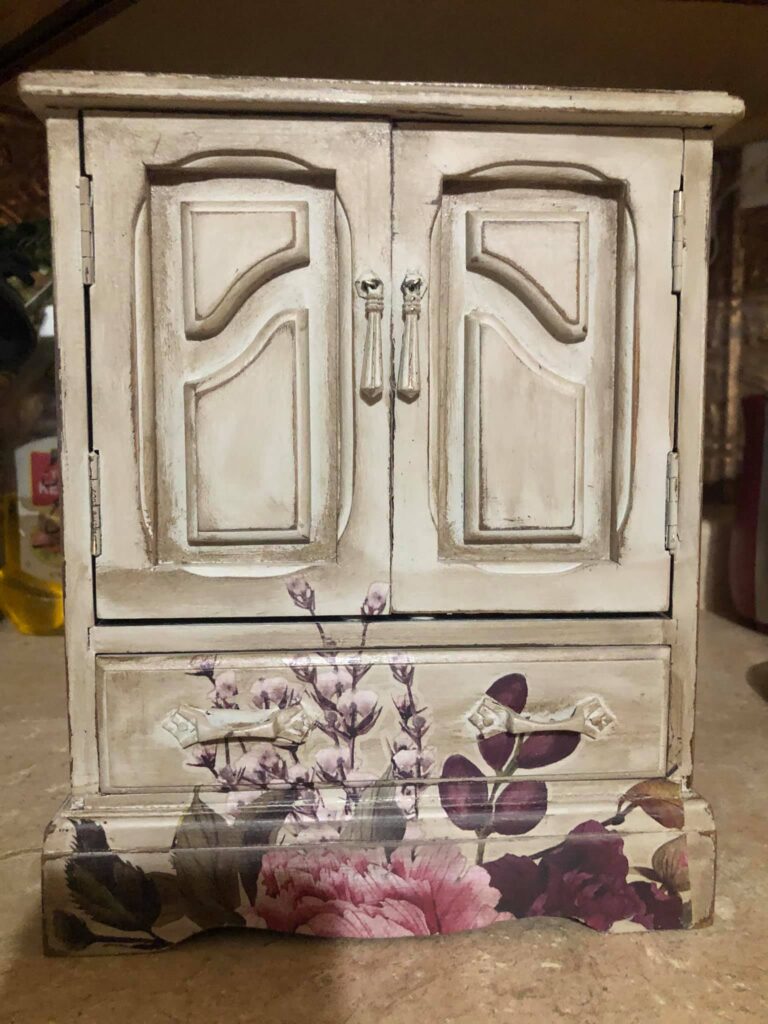
Pretty simple and could be cute in a spare bedroom or make such a cute little family heirloom! I think of a young daughter, niece, granddaughter, or goddaughter. Something she can keep and cherish forever. A gift for her birthday, Christmas, special event, or just because!
I have so many of these in my stashes and this is making me want to work on them! I just picked up the smallest one I have ever had last week and the most unique one I have ever come across a couple weeks ago! Stay tuned!!!
XOXO,
Tammy
Supplies
- Re-Design Transfer – Beautifully Native (no longer available)
- Fusion Mineral Paint – Putty – https://flippinfurnitureshop.com/products/putty-fusion-mineral-paint


One Comment
Debra Bell
Awesome technique!!!