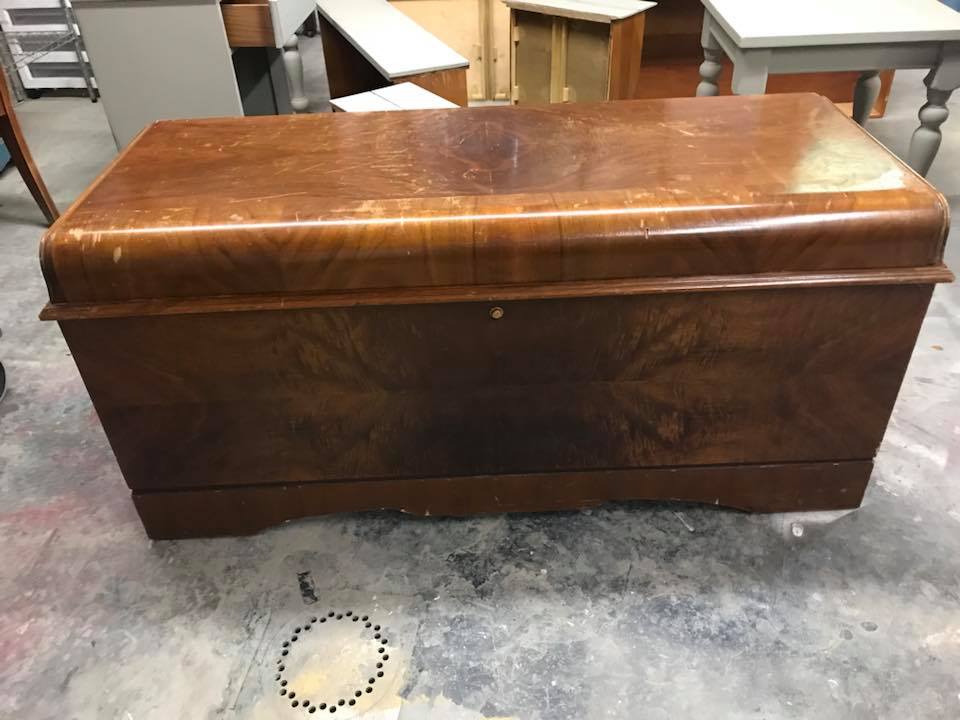
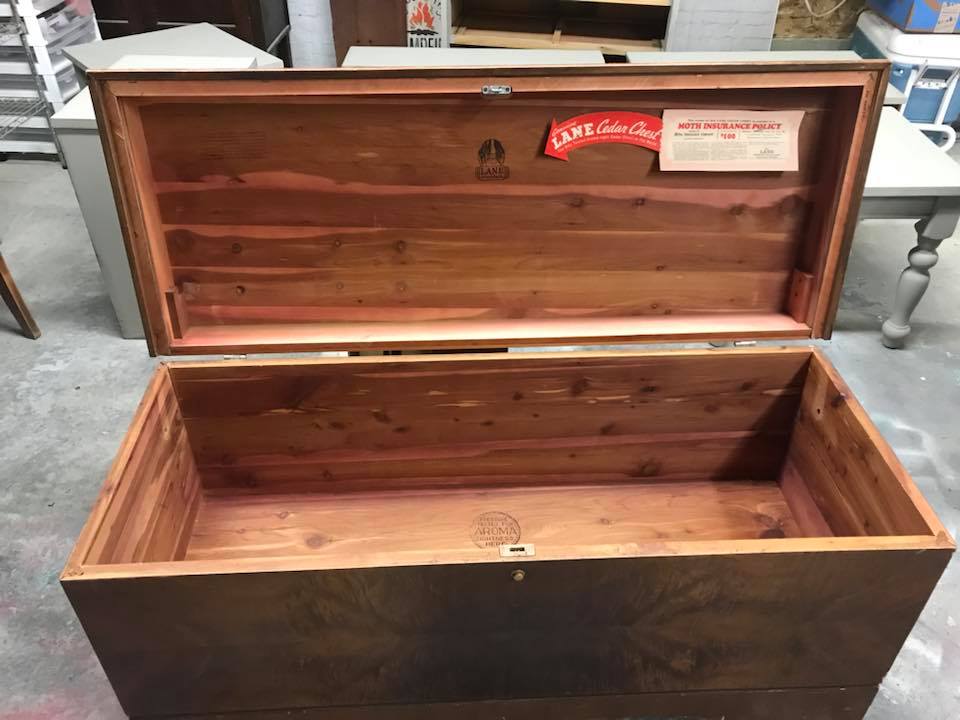
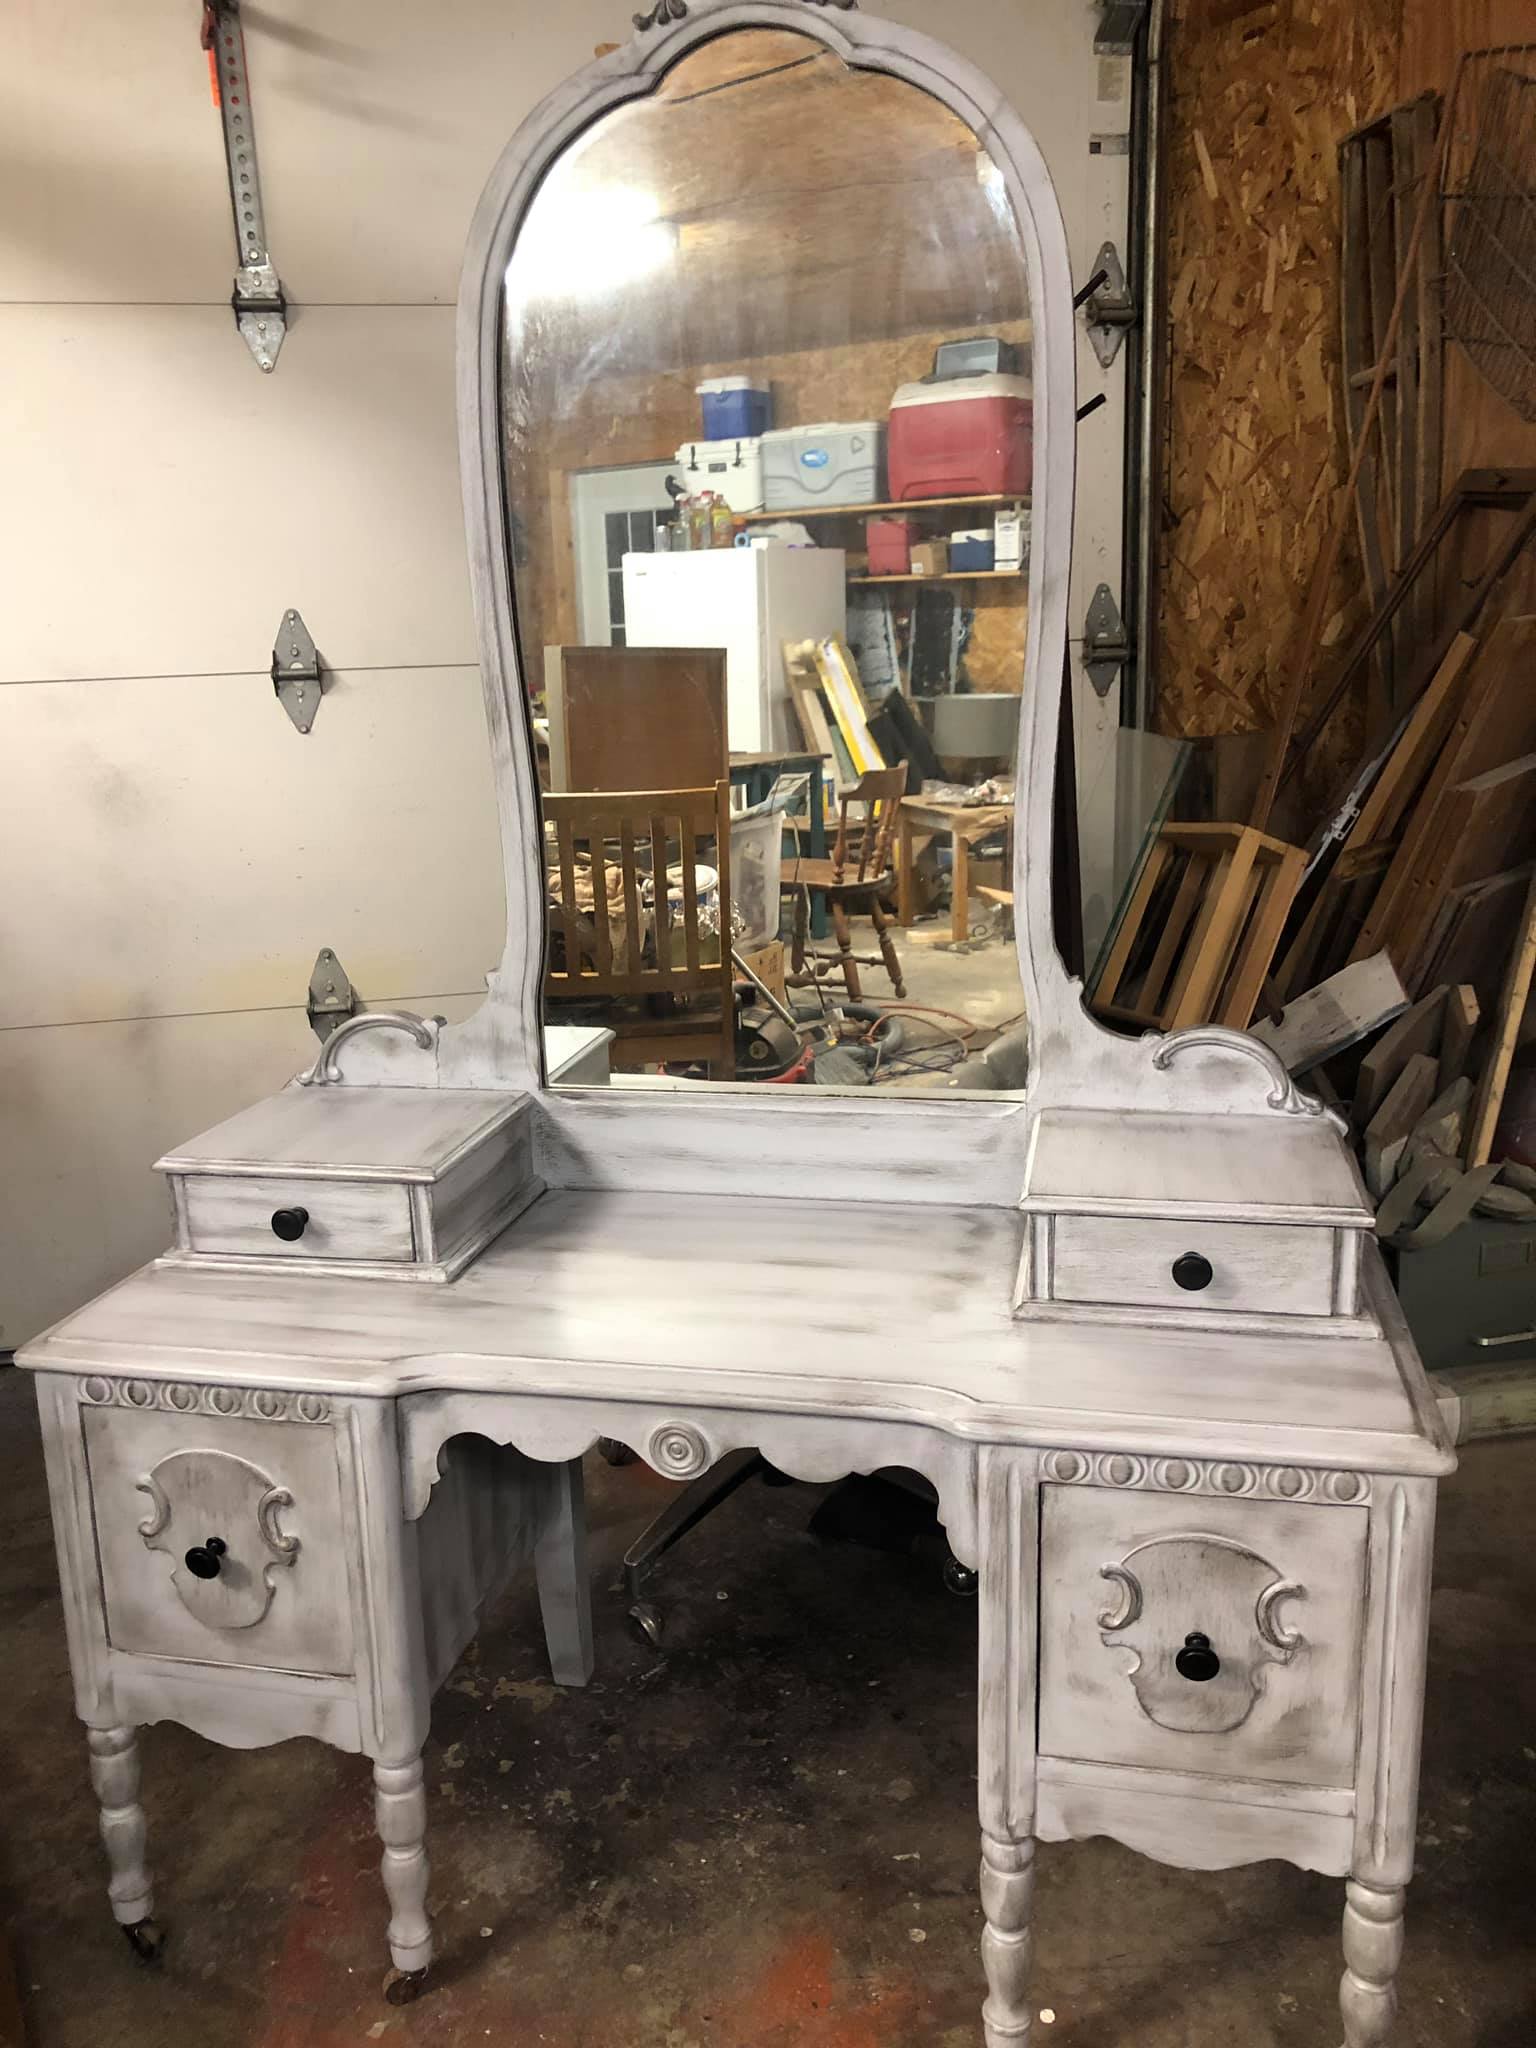
Lane Cedar Chest,
I rarely pass up a cedar chest in good shape and I have had several through the years. I love to get a hold of them and it’s super fun if I can actually personalize it just a little bit, also!
As with most projects, I start by cleaning up the piece and getting up close and personal, looking for any areas that need extra help. Sometimes the piece might need extra reinforcements or putty or any number of things. Luckily this one did not. My next step was to sand the whole piece just enough to give the paint something to grab onto. Next, clean it all up with again and let dry completely.
Since I was going with white, I needed to use a stain blocker first. My go-to is always Dixie Belle’s “Boss”. I only used one coat. But please read the instructions on the container if you have any questions! They suggest you do a test spot of paint and if it bleeds through then you need a second coat, blah, blah, blah.
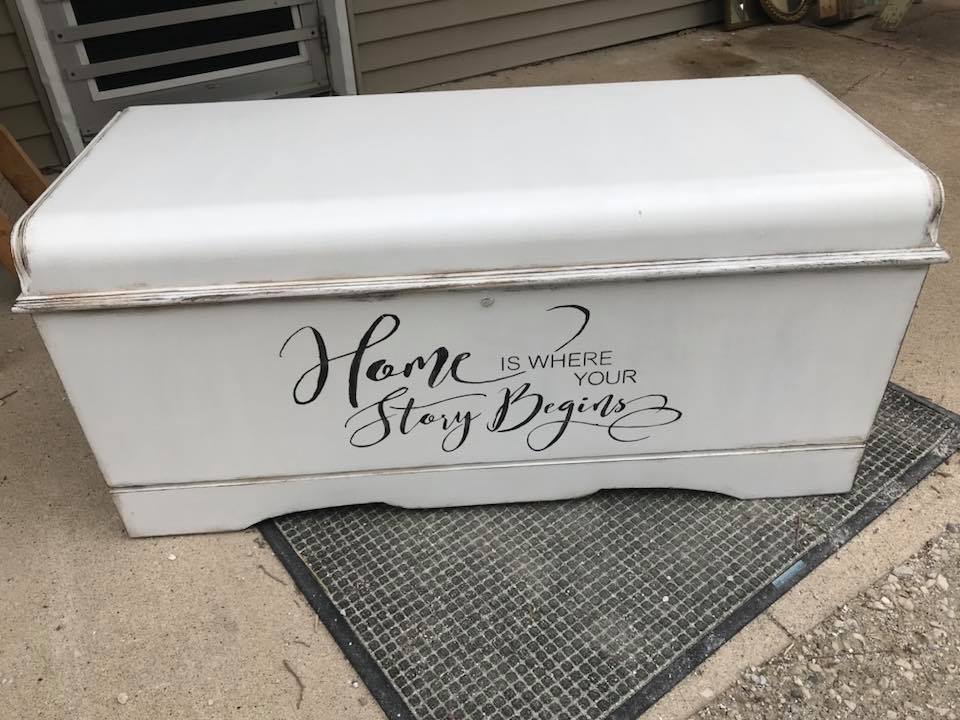
Anywho, after the stain blocker was dry, I was ready to paint. I used two coats of Dixie Belle’s Cotton (my favorite white paint), using a 2” angled brush. The brush I used was from Miss Lillian’s. And of course I waited for the first coat to dry completely before I did the second coat.
Now is the funnest part for me! Adding something that makes it unique. The cherry on top. The personalization. I chose this stencil. It just happened to be the right size and sentiment for the look I wanted. I’ve had my stencil for years and I can’t remember where I purchased it, so I found a few on Amazon that you may like instead.
To do the stencil, I laid down an old blanket and then tipped the whole chest backwards so that that front of the chest was now facing up. I hope that makes sense! It’s just easier to stencil in that position for me. You can use painters tape to hold the stencil in place if that makes you more comfortable. I generally do not, but sometimes wish I had.
Once you have the stencil where you want it, taped down or not, and have your paint for the stencil ready, grab your paint dabber and load it. I used Dixie Belle’s Caviar for the lettering. Just gently get a little of the paint on the surface of your dabber and then off load just a little. Then you can try it on a paper plate or whatever you choose, just to check the coverage. When you are happy with that, start dabbing over your stencil! Go lightly, but get it all covered. Don’t press too hard or you can risk squishing the paint up under the stencil and you definitely do not want that! You can remove the stencil once you have the whole stencil covered.
While the stencil paint was drying, I went ahead and got the antiquing glaze out. I used Miss Lillian’s Antiquing Glaze in Truffle. I put my finger inside a rag and then got just a little bit of the glaze on the rag, and then wiped it back off, leaving just a little of the glaze on the rag. Then I just rubbed in on everywhere I wanted it to go. I also took a cheap little chip brush with just a tiny bit of the glaze on it to get in the cracks that I couldn’t reach with my finger. If you get too much glaze on and need to take it back off, you can use a damp rag, paper towel, or cleaning wipe.
Once the glaze was dry, it was ready to be sealed. Dixie Belle’s Clear Coat in Satin is my favorite. It doesn’t yellow with age, which is super important when you are painting light colors. One coat of the clear coat and done. This chest now has a beautiful new face-lift and should be enjoyed for many, many years to come!!!
Supplies
This list contains affiliate links, if you make a purchase I make a commission, your price stays the same.
- Dewalt Orbital Sander – https://amzn.to/39lK2s4
- Sanding Discs – https://amzn.to/39nEqgT
- Dixie Belle’s Paint in “Cotton”
- Miss Lillian’s Antiquing Glaze in “Truffle” – https://misslillianspaint.net/miss-lillians-antiquing-glaze/
- Dixie Belle’s Clear Coat in Satin – https://amzn.to/2SzJQ1K
- Miss Lillian’s 2” Angled Brush –
- Stencil – https://www.thestencilsmith.com/products/3233-home-is-where-your-story-begins?_pos=14&_sid=8c745b4f3&_ss=r&aff=6
- Paint Daubers – https://flippinfurnitureshop.com/products/jumbo-daubers-pack-of-6-notions
- Sanding Sponge – https://flippinfurnitureshop.com/products/paint-sticks-fusion
- Paint Brush – https://amzn.to/2OKo8H0
You May Also Like
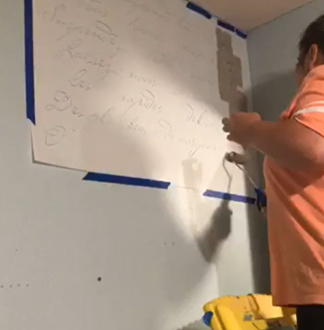
How to Paint a Stencil on a Wall
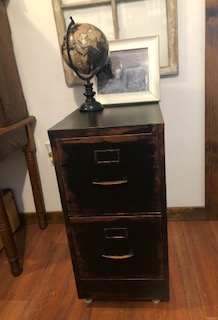
Filing Cabinet Makeover,