Vintage 1947 Desk Makeover
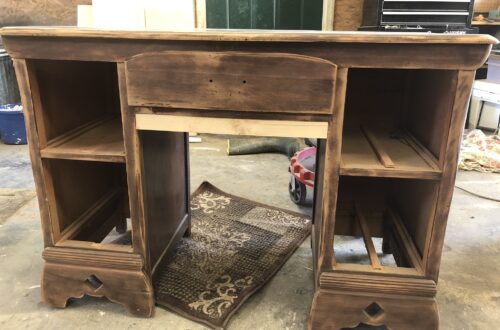
Bringing this family heirloom back to life was no easy task. This was a 1947 model after all! It had veneer coming up, drawers coming apart, and one drawer already apart. I had my work cut out for me.
This sweet little lady had asked me to redo this desk for her grandson a year or so earlier but had never gotten it to me. In the meantime, I had announced that I was no longer doing custom orders, but she didn’t know that. So when she approached me about it again in October, I didn’t have the heart to tell her no. Add to that the fact that her grandson is one of my son’s best friends, so I just had to work it in somewhere!
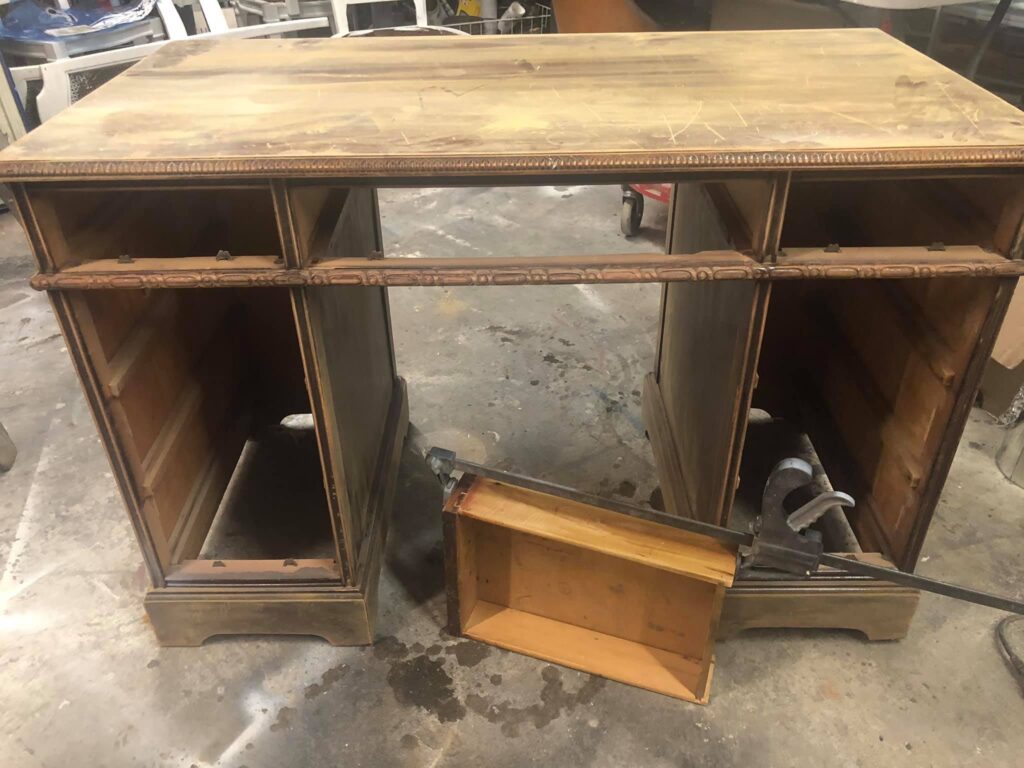
This was probably the most gluing and clamping I had ever done to a desk, but I knew it would be worth it in the end.
After taking off the hardware and doing all the gluing and clamping, I sanded the whole piece. Then washed it all down with water and an old rag and let dry completely.
While it was drying, I washed the hardware and spray painted it black.
Then I stained the top with Minwax Dark Walnut Stain.
Since I was going with a lighter color that meant extra prep! Boss by Dixie Belle is my go-to for stain blocking. I put on one good coverage coat on all the drawers and the mainframe. (Everywhere I would be painting.)
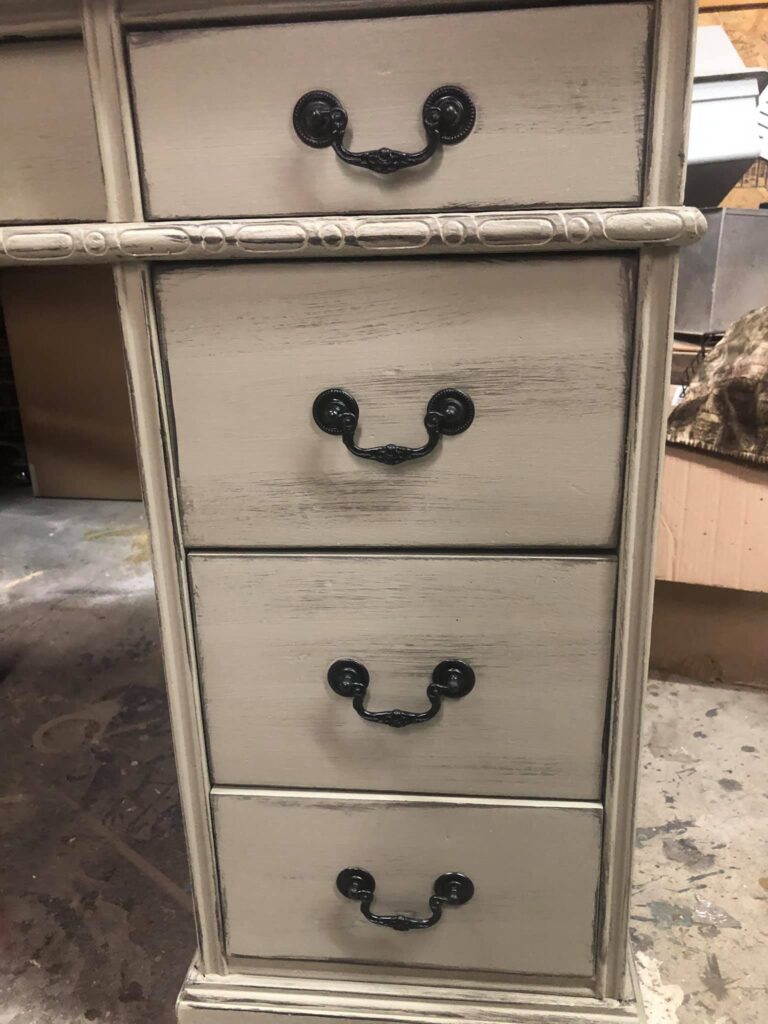
Dixie Belle’s Dried Sage is the color I went with. It is one of my favorite colors. It is a tan/taupe color. Two coats of that, waiting at least 30 minutes between coats and let dry again, preferably overnight.
Then I got out the antiquing glaze, Miss Lillian’s in Black Walnut. Using a chip brush, I loaded just a little bit of the glaze and then offloaded it. You don’t need very much at all. Then I very carefully drug the brush across the drawers to get the look I wanted.
And then I used the side of the brush to get the edges of the desk and around the drawers. Then let the glaze cure overnight.
For sealing it, I used Dixie Belle’s Clear Coat in Satin.
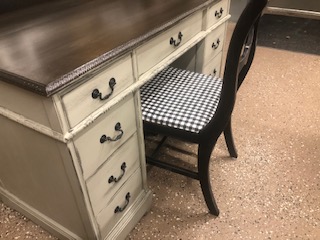
For the top of the desk, I used a mixture of brown, cream, and gray paints and glaze. And sealed with Minwax Fast-drying Polyurethane.
I LOVE how it turned out!
I hope you do, too!!!
Supplies
- Wood Glue – https://amzn.to/2Vc2ks0
- Bar Clamp – https://amzn.to/39PTqEy
- DeWalt Orbital Sander – https://amzn.to/32iI0Xj
- Sanding Discs – https://amzn.to/2Vgb2p4
- Bowl of Water
- Old Rag
- Tools to Remove Hardware
- Minwax Dark Walnut Stain – https://amzn.to/2HNQKvi
- Painter’s Touch 2x Black Spray Paint – https://amzn.to/2SQwlw4
- Dixie Belle Boss Stain Blocker
- Dixie Belle Dried Sage Paint
- Paint Brushes – https://flippinfurnitureshop.com/search?q=brush&options%5Bprefix%5D=last
- Chip Brushes – https://flippinfurnitureshop.com/products/2-synthetic-flat-brush-fusion
- Miss Lillian’s Antiquing Glaze in Black Walnut
- Dixie Belle’s Clear Coat in Satin
