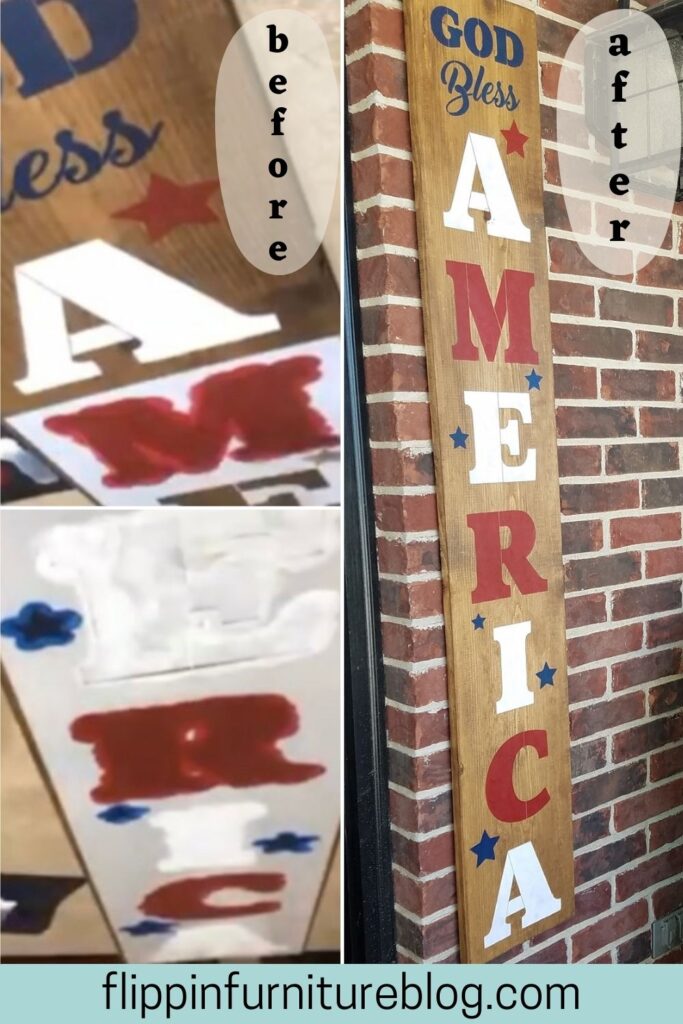
DIY America Wood Sign
You know I love anything DIY especially signs. I have found that making my own wooden signs for my home brings me so much joy. I am loving this DIY America wood sign I made recently, I know you will too! Follow along in this tutorial and make your own to add to your patriotic decor this summer.
Like many of you, I like crafting and making things myself. Decorating my house with DIY wood signs I make really helps me add my own personal touch to my home decor.
I love that DIY wood signs also help add personalization and character to a room. If you are looking to do the same in your home this DIY wood sign will be the perfect way to add a little red, white, and blue to your home this summer.

DIY America Wood Sign
Today, I am sharing with you how to make a beautiful America wood sign. I love that with the right stencils you do not need to go out and buy an already made sign. That would be expensive and you would not be able to add your own creative touches either. You too can easily make your own sign to decorate your home.
If you have been wondering what to add to your outside entryway then you are going to love this! This DIY America wood sign is the perfect decoration for outside your home to match your inside wood patriotic decor signs.
When looking for the ideal piece of decor to add outside beside your front door then this is for sure the sign you want to make. It’s beautiful and really makes a statement. All your guests will love it as they enter your home. Grab your supplies below and let’s get crafting.
Supplies Needed:
- Wood blank
- Stencils
- Sponge Daubers
- Paint
Steps to make a DIY America Wood Sign
1 – To begin, wipe down your 5 foot wooden board to clean it up from any debris.
2 – Grab your Minwax Wiping Stain and Finish. Wipe over your entire board, edges as well, with a rag to give it a good stain.
3 – Be sure your stain is nice and even throughout.
4 – With a towel, just give a good wipe.
5- Grab your “God Bless America” letter stencils and place on your board. Position how you like.
6 – Grab red, white, and blue acrylic paints. Squirt a bit out on a paper plate, construction paper, etc.
7 – With your jumbo finger sponge daubers or a painting sponge and some blue paint, begin dabbing/pouncing “God bless” from your stencil set on your board. Be sure you are holding your stencil in place as you work, adding a bit of paint so it doesn’t bleed through.
8 – When you are finished with your painting sponge daubers, you can rinse them out, and use them again. Just don’t forget about them.
9 – Grab your red acrylic paint next, and paint your star. Be sure your acrylic is thick and not transparent.
10 – With white paint next, dab your letter “A” remembering to hold your stencils in place as you work.
11 – Letter “M” will be red. Alternate your colors, with white and red as you paint in your letters for America on your sign. Repeat throughout your sign.
12 – Paint the tiny stars found throughout the letters of “America” on your stencil to accentuate your patriotic colors for this project.
13 – Now that you are finished carefully remove your stencils and let it dry completely.
14 – To seal, especially if your sign will be placed outside, use a polyurethane spray to finish up your board.

DIY America Wood Sign
Instructions
1 - To begin, wipe down your 5 foot wooden board to clean it up from any debris.
2 - Grab your Minwax Wiping Stain and Finish. Wipe over your entire board, edges as well, with a rag to give it a good stain.
3 - Be sure your stain is nice and even throughout.
4 - With a towel, just give a good wipe.
5- Grab your “God Bless America” letter stencils and place on your board. Position how you like.
6 - Grab red, white, and blue acrylic paints. Squirt a bit out on a paper plate, construction paper, etc.
7 - With your jumbo finger sponge daubers or a painting sponge and some blue paint, begin dabbing/pouncing “God bless” from your stencil set on your board. Be sure you are holding your stencil in place as you work, adding a bit of paint so it doesn’t bleed through.
8 - When you are finished with your painting sponge daubers, you can rinse them out, and use them again. Just don’t forget about them.
9 - Grab your red acrylic paint next, and paint your star. Be sure your acrylic is thick and not transparent.
10 - With white paint next, dab your letter “A” remembering to hold your stencils in place as you work.
11 - Letter “M” will be red. Alternate your colors, with white and red as you paint in your letters for America on your sign. Repeat throughout your sign.
12 - Paint the tiny stars found throughout the letters of “America” on your stencil to accentuate your patriotic colors for this project.
13 - Now that you are finished carefully remove your stencils and let it dry completely.
14 - To seal, especially if your sign will be placed outside, use a polyurethane spray to finish up your board.
You will love displaying your America wood sign this summer or even all year long. It is the perfect way to show your love for America.
Just pin this DIY America Wood Sign tutorial below to find the instructions later!


You May Also Like
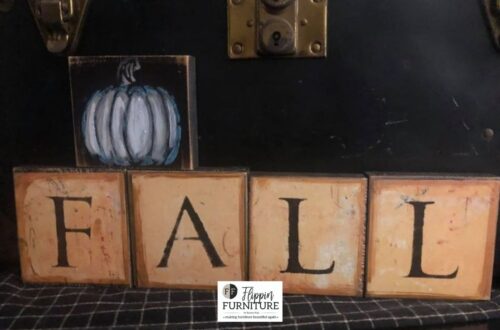
Rustic Fall Craft Idea for your home
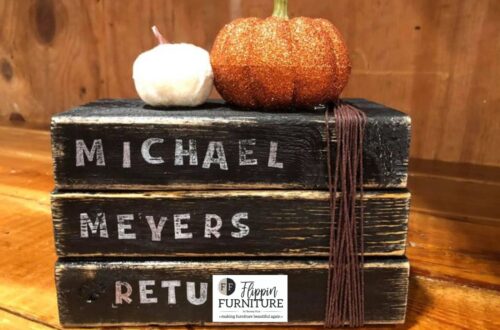
Spooky Book Set Halloween Decor Tutorial