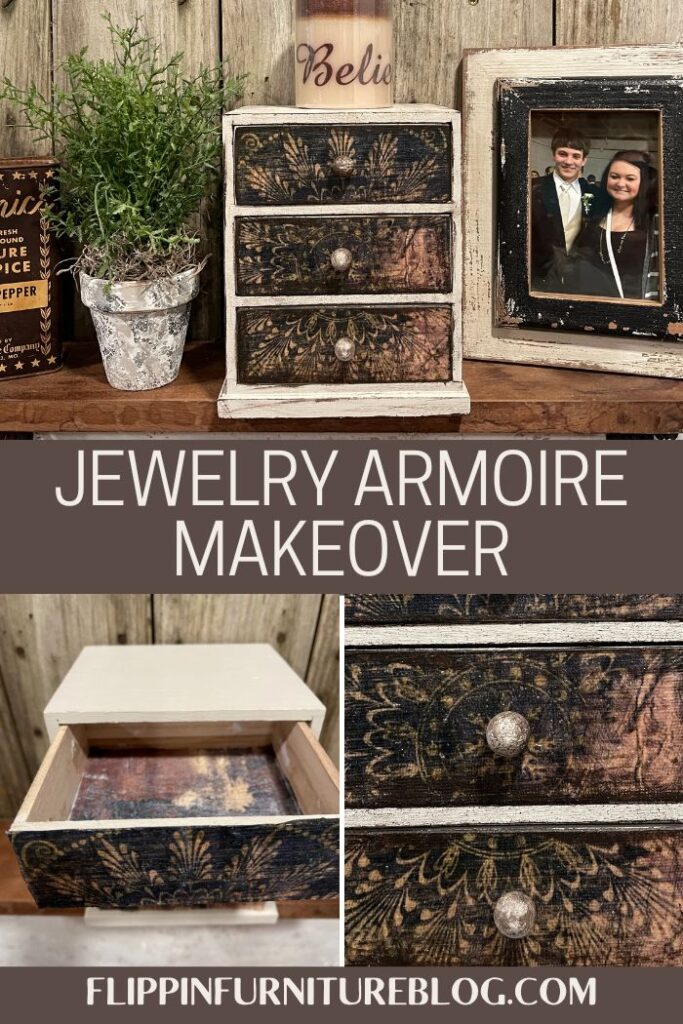
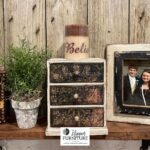
How To: DIY Jewelry Armoire Makeover
I am sure you have an old, perhaps never even used, wooden jewelry armoire lying around collecting dust. Giving a jewelry box some DIY love with decoupage and paint can give it a quick makeover you’ll be proud to display.
Anyone who wears jewelry or has a few precious pieces really needs a beautiful Jewelry Box. Even better than that is if you customize it yourself!! One of the best things about this DIY Jewelry armoire makeover is how quick and easy it is to do!
DIY Jewelry Armoire Makeover
Working with decoupage paper is so much easier than it looks. These steps are so simple. Here is the abbreviated version for y’all! Pick wood. Pick paper. Paint if you want. Mod Podge. Place paper. Rub. Mod Podge. Dry. Decorate your home with this beautiful new DIY décor! HA! So simple and so cute. Let me know what you think!
Supplies for your Jewelry Armoire Makeover:
- Wooden 3 Drawer Box – I found mine at JoAnn Fabrics
- Ruler/Tape Measure
- Decoupage Paper
- Mod Podge
- Paint Brush
- Scissors
- Sanding Block
- Mineral Paint
- Ruler
- Razor Blade
- Paper Towels or Wipes
Instructions for your Jewelry Armoire Makeover:
- Before the video started, I painted the box with a coat of Fusion’s Raw Silk.
- Remove your handles from the drawers. On this particular box, they just popped out with help from a screwdriver.
- Lay out your decoupage paper/tissue paper approximately where you want it to go then cut your paper to fit your drawers.
- Apply a coat of mod podge on the surface of your drawers.
- Make sure your drawers are lined up and even for this next step.
- Lay your paper over the mod podged surface and rub down everywhere.
- Take a razor blade and cut in between your drawers.
- Then, cut off all excess paper from the drawers.
- Apply another coat of mod podge on top of each drawer.
- To add a little extra ‘cuteness’, I added the same decoupage paper to the inside of the drawers! Using a tape measure/ruler, measure the inside of your drawers.
- Then take those measurements and mark on your paper where to cut. Make sure to use a straight edge when cutting!
- If the paper is big, take a razor blade and cut the excess off for it to fit snuggly in your drawer.
- Continue steps 10-12 for each drawer.
- Mod Podge the bottom of the drawer and set the paper down in the bottom. Make sure all corners are adhered. Apply top coat of mod podge. Continue this step for each drawer.
- Using your sanding block, sand the edges off.
- Add your drawer handles back on.
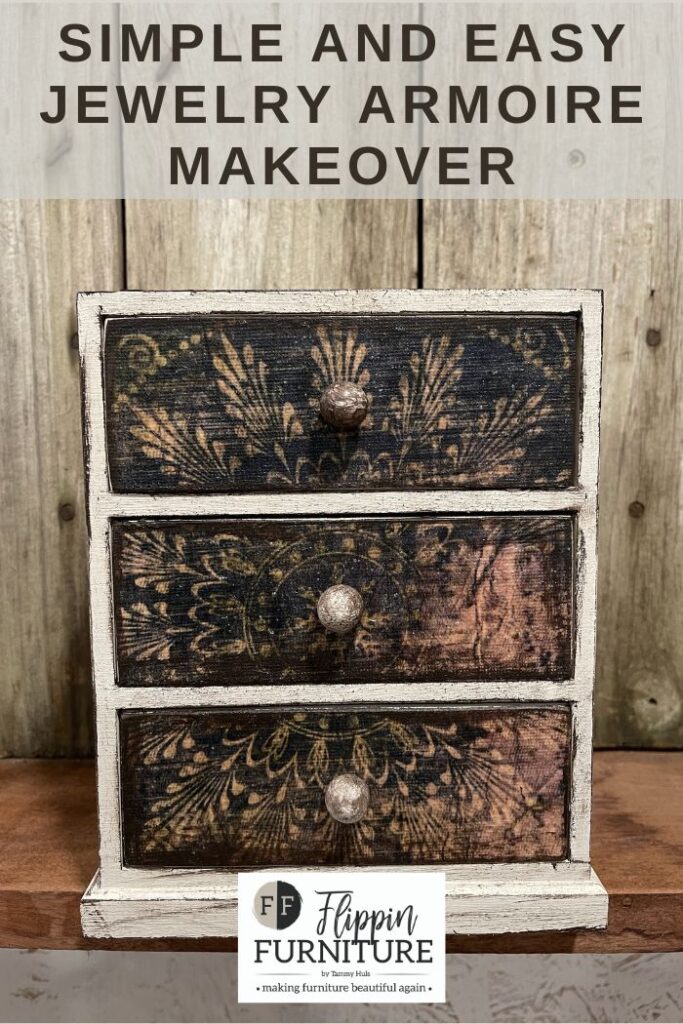
- Grab some of Fusion’s Chocolate Mineral Paint and dry brush over the handles and over the entire project.
Frequently Asked Questions
How to properly use decoupage paper?
I have a whole post just on how to use decoupage paper. You’ll learn how to apply and properly use decoupage paper to customize your projects! It’s super easy and fun to do.
What if my wooden edges are not super smooth?
Wood scraps are almost always not super smooth, and when working with these decoupage papers, you really want to find a piece as smooth as possible. But you can always take away the rough texture with a sanding sponge to help. You want your decoupage paper to really adhere to the wood. So, be sure to get full coverage of your Mod Podge on your board. You want it to really soak into those grooves. These projects are easy, and mistakes happen. Believe me. But I know you can always disguise a mistake in some way. So just be brave, try, and have fun.
Looking for some fun and crafty DIY home décor ideas? Look no further than the Flippin Furniture blog. We have tons of tutorials to help you with everything from crafting to furniture makeovers.
And be sure to follow us on Facebook for even more inspiration.
Love our crafting tutorials and want be apart of a crafting community? Join the Flippin Society today!

How To: DIY Jewelry Armoire Makeover
Materials
Instructions
- Before the video started, I painted the box with a coat of Fusion’s Raw Silk.
- Remove your handles from the drawers. On this particular box, they just popped out with help from a screwdriver.
- Lay out your decoupage paper/tissue paper approximately where you want it to go then cut your paper to fit your drawers.
- Apply a coat of mod podge on the surface of your drawers.
- Lay your paper over the mod podged surface and rub down everywhere.
- Take a razor blade and cut in between your drawers.
- Then, cut off all excess paper from the drawers.
- Apply another coat of mod podge on top of each drawer.
- To add a little extra ‘cuteness’, I added the same decoupage paper to the inside of the drawers! Using a tape measure/ruler, measure the inside of your drawers.
- Then take those measurements and mark on your paper where to cut. Make sure to use a straight edge when cutting!
- If the paper is big, take a razor blade and cut the excess off for it to fit snuggly in your drawer.
- Continue steps 10-12 for each drawer.
- Mod Podge the bottom of the drawer and set the paper down in the bottom. Make sure all corners are adhered. Apply top coat of mod podge. Continue this step for each drawer.
- Using your sanding block, sand the edges off.
- Add your drawer handles back on.
- Grab some of Fusion’s Chocolate Mineral Paint and dry brush over the handles and over the entire project.
Video
Just pin this DIY Jewelry Armoire Makeover tutorial below to find the instructions later!