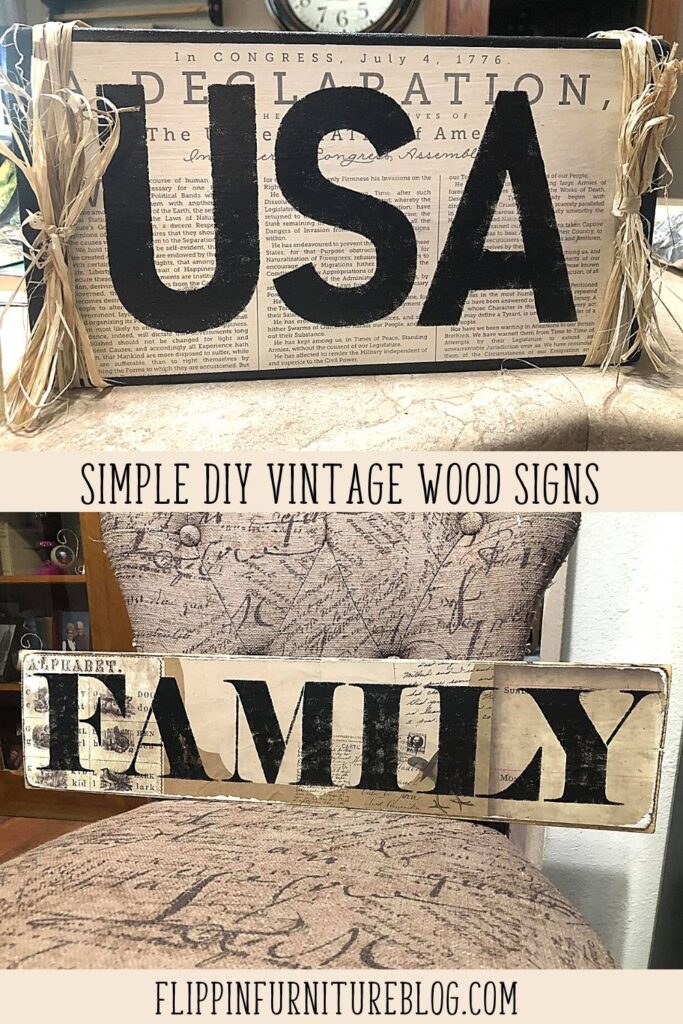
Simple USA and Family DIY Wood Sign Tutorial
Want to learn how to make your own DIY wood signs then you are in the right place! You can achieve some amazing home decor accent pieces by following this DIY wood sign tutorial.
Wood signs with wording are some of the most popular decorations you see in stores today. These can easily be made yourself for a lot less than what they charge in the stores. Today I am showing you exactly how to create your own USA wood sign as well as a wood sign that says family in this DIY wood sign tutorial.
The best part about DIY wood signs is you can make them exactly the size you need as well as colors. What better way to add to your own decor than making some wood signs to match your decor?
Simple USA and Family DIY Wood Sign Tutorial
I love adding a sign with words on it for different holidays throughout the year. Especially cute wooden block signs for the fourth of July. These wood signs are really the ideal way to add a little more to your already established home décor as well as bring in some extra holiday decorations. Grab all your supplies needed and let’s get crafting!
Supplies needed to make wood signs:
- Wood blanks
- Paint
- Scrapbook paper
- Finger daubers – https://flippinfurnitureshop.com/products/jumbo-daubers-pack-of-6-notions
- Hand sander
- Brown Glaze Stain
- Paper towels
- Modge Podge – https://amzn.to/4i85NPE
Steps on how to make your own DIY wood sign using USA letter stencils
Step 1: Paint your wood blank a solid color of your choice. I choose black because it matches the decor I am wanting to put these with. As always allow your paint to completely dry. I like to use a heat gun to speed up the process.
Step 2: Choose the scrapbook paper you wish to decorate with. Cut it to fit your board size. Cut it down to allow there to be a border all the way around your scrapbook paper. You should see the same width of your board all the way around.
Step 3: Add modge podge to your board. Lay down your scrapbook paper and use a squeegee to help spread your modge podge around. This helps to really secure your corners to the board. Using a paper towel or a baby wipe, wipe off any excess glue you see that can be wiped off.
Step 4: Layout your individual lettered stencils. U S A. Make sure you know where each one is going before you start adding paint. Once they are laid out and you know where they are going. Remove the U and the A and start stenciling the S.
Step 5: Grab your finger daubers and start dabbing paint making your S. I choose to use black paint for the S. Remember to know push down too hard when adding your paint. You do not want to it smear or run. Before adding your next layer since these stencils overlap you may want to allow it time to dry or speed up the drying process using your heat gun.
Step 6: Now stencil on the letter A. Using black paint again and your finger dauber. I like to go around the edges first and then fill in the middle.
Step 7: Finish off stenciling the letters. The letter U is the first letter in USA but however the last letter I stenciled. This really helps keep things lined up and centered when stenciling individual letters.
Step 8: Look over the letters you stenciled on and go back and fill in any spots on your letters that you think need a little touch-up with paint. I then dry with a heat gun. Making sure each letter is nice and dry.
Step 9: Add some paper straw bows to each end of your board. Place a little hot glue on your board before making your bow. Flip the board over once your bows are tied and add a little hot glue to help secure them on a little better and keep them from sliding.
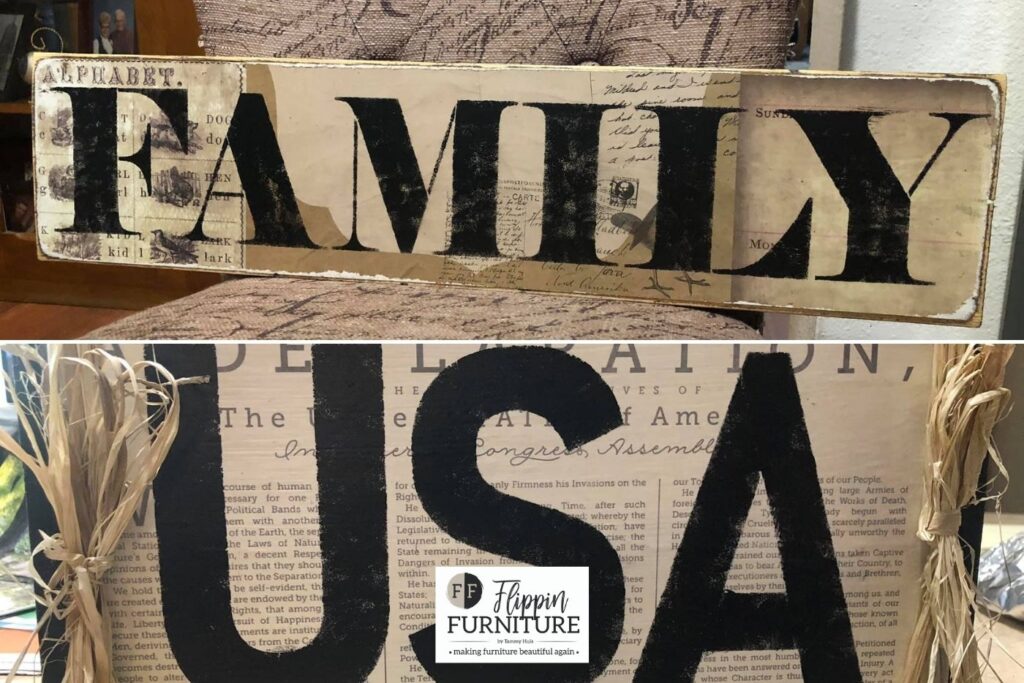
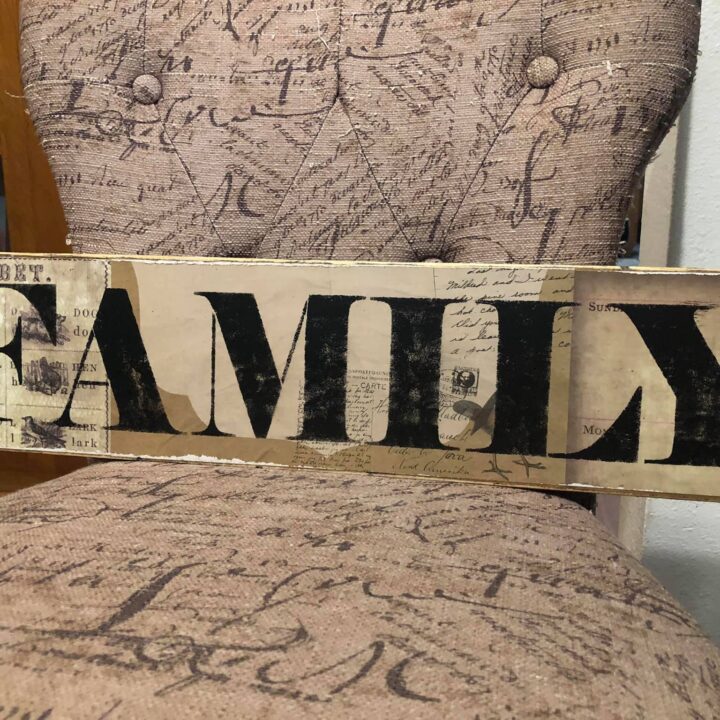
Steps on how to make a DIY wood sign that says FAMILY
Step 1: Prep your wood. Make sure your board is nice and sanded and free of any dust before starting.
Step 2: Using a tan cream scheme I picked out some scrapbook paper that would work best with that color scheme I was going for.
Step 3: Stain your edges with a brown glaze stain. Using just a paper towel to apply it add a little bit of stain at a time and continue adding it to the edges of your board. Once you are done dry it with your heat gun to speed up the process.
Step 4: Cut your scrapbook papers into three smaller sections. Lay them out and make sure that is how you want them to be
Step 5: Add your modge podge to your board a section at a time. Then place the scrapbook paper that you just cut on top of your modge podge. These do not have to be perfect as this is just a little background paper for the stencil work you are about to add.
Step 6: Take your squeegee and press out the modge podge to allow it to spread to all the corners of your paper. This really helps seal all the edges.
Step 7: Using a hand sander, sanding gently to not rip the paper. Go around the edges to sand down the edges just a little
Step 8: Modge Podge over the top of the scrapbook paper you just laid.
Step 9: Layout the letters to spell FAMILY. Yes, be sure you have laid them laid out correctly to spell FAMILY. ONce you have gotten a visual remove all the letters but F. With this sign we will be working for the left to right. Stencil each letter with black paint using your finger dauber. These are my favorite way to stencil. Working your way around the edges then filling in the center.
Step 10: Using your heat gun speed up your drying process and really make sure your letters are dry.
How to use a stencil when painting a wood sign?
Using a stencil to paint letters or sayings onto a wood blank is pretty simple however you want to remember a few important things when using stencils and paint.
- Be sure you have the visual before you start painting.
- Layout your stencil and make sure it will fit on your board perfectly before painting.
- When trying to center a saying or letters I lay it out and then stencil the middle letter first to keep things centered.
- Add paint to the outside of your stencil before filling in the center. This helps keep things from bleeding or smearing.
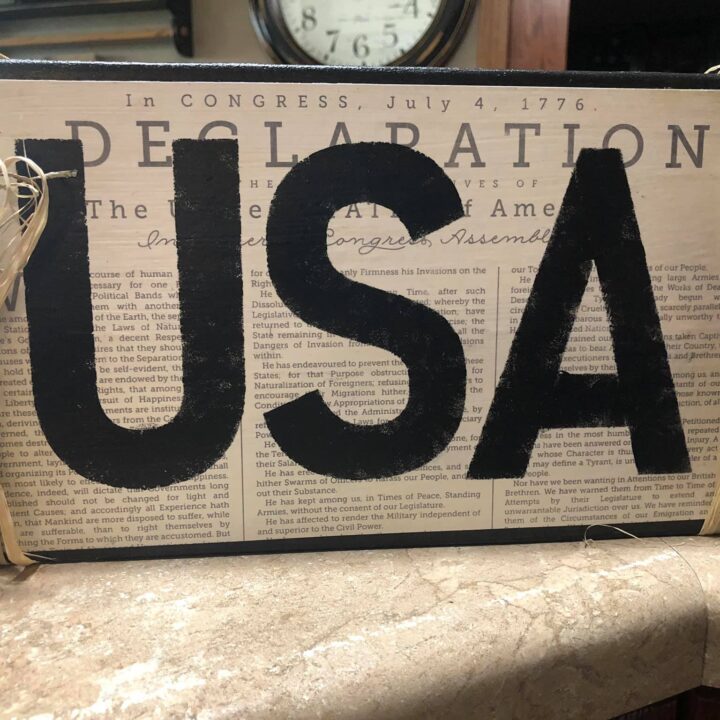
DIY USA Wood Sign
Learn how to make a custom USA wood sign for your home decor.
Materials
- Wood blanks
- Paint
- Scrapbook paper
- Finger daubers
- Hand sander
- Brown Glaze Stain
- Paper towels
- Modge Podge
Notes
Step 1: Paint your wood blank a solid color of your choice. I choose black because it matches the decor I am wanting to put these with. As always allow your paint to completely dry. I like to use a heat gun to speed up the process.
Step 2: Choose the scrapbook paper you wish to decorate with. Cut it to fit your board size. Cut it down to allow there to be a border all the way around your scrapbook paper. You should see the same width of your board all the way around.
Step 3: Add modge podge to your board. Lay down your scrapbook paper and use a squeegee to help spread your modge podge around. This helps to really secure your corners to the board. Using a paper towel or a baby wipe, wipe off any excess glue you see that can be wiped off.
Step 4: Layout your individual lettered stencils. U S A. Make sure you know where each one is going before you start adding paint. Once they are laid out and you know where they are going. Remove the U and the A and start stenciling the S.
Step 5: Grab your finger daubers and start dabbing paint making your S. I choose to use black paint for the S. Remember to know push down too hard when adding your paint. You do not want to it smear or run. Before adding your next layer since these stencils overlap you may want to allow it time to dry or speed up the drying process using your heat gun.
Step 6: Now stencil on the letter A. Using black paint again and your finger dauber. I like to go around the edges first and then fill in the middle.
Step 7: Finish off stenciling the letters. The letter U is the first letter in USA but however the last letter I stenciled. This really helps keep things lined up and centered when stenciling individual letters.
Step 8: Look over the letters you stenciled on and go back and fill in any spots on your letters that you think need a little touch-up with paint. I then dry with a heat gun. Making sure each letter is nice and dry.
Step 9: Add some paper straw bows to each end of your board. Place a little hot glue on your board before making your bow. Flip the board over once your bows are tied and add a little hot glue to help secure them on a little better and keep them from sliding.
Family DIY Wood Sign
Learn how to create a DIY wood sign with the word FAMILY on it.
Materials
- Wood blanks
- Paint
- Scrapbook paper
- Finger daubers
- Hand sander
- Brown Glaze Stain
- Paper towels
- Modge Podge
Instructions
Step 1: Prep your wood. Make sure your board is nice and sanded and free of any dust before starting.
Step 2: Using a tan cream scheme I picked out some scrapbook paper that would work best with that color scheme I was going for.
Step 3: Stain your edges with a brown glaze stain. Using just a paper towel to apply it add a little bit of stain at a time and continue adding it to the edges of your board. Once you are done dry it with your heat gun to speed up the process.
Step 4: Cut your scrapbook papers into three smaller sections. Lay them out and make sure that is how you want them to be
Step 5: Add your modge podge to your board a section at a time. Then place the scrapbook paper that you just cut on top of your modge podge. These do not have to be perfect as this is just a little background paper for the stencil work you are about to add.
Step 6: Take your squeegee and press out the modge podge to allow it to spread to all the corners of your paper. This really helps seal all the edges.
Step 7: Using a hand sander, sanding gently to not rip the paper. Go around the edges to sand down the edges just a little
Step 8: Modge Podge over the top of the scrapbook paper you just laid.
Step 9: Layout the letters to spell FAMILY. Yes, be sure you have laid them laid out correctly to spell FAMILY. ONce you have gotten a visual remove all the letters but F. With this sign we will be working for the left to right. Stencil each letter with black paint using your finger dauber. These are my favorite way to stencil. Working your way around the edges then filling in the center.
Step 10: Using your heat gun speed up your drying process and really make sure your letters are dry.
These two wood signs are simply beautiful and fun to make. I promise you too love making them. I’d love to see the custom wood signs you create. Please share with me a photo in the comments!
Just pin this Simple USA and Family DIY Wood Signs tutorial below to find the instructions later!


You May Also Like
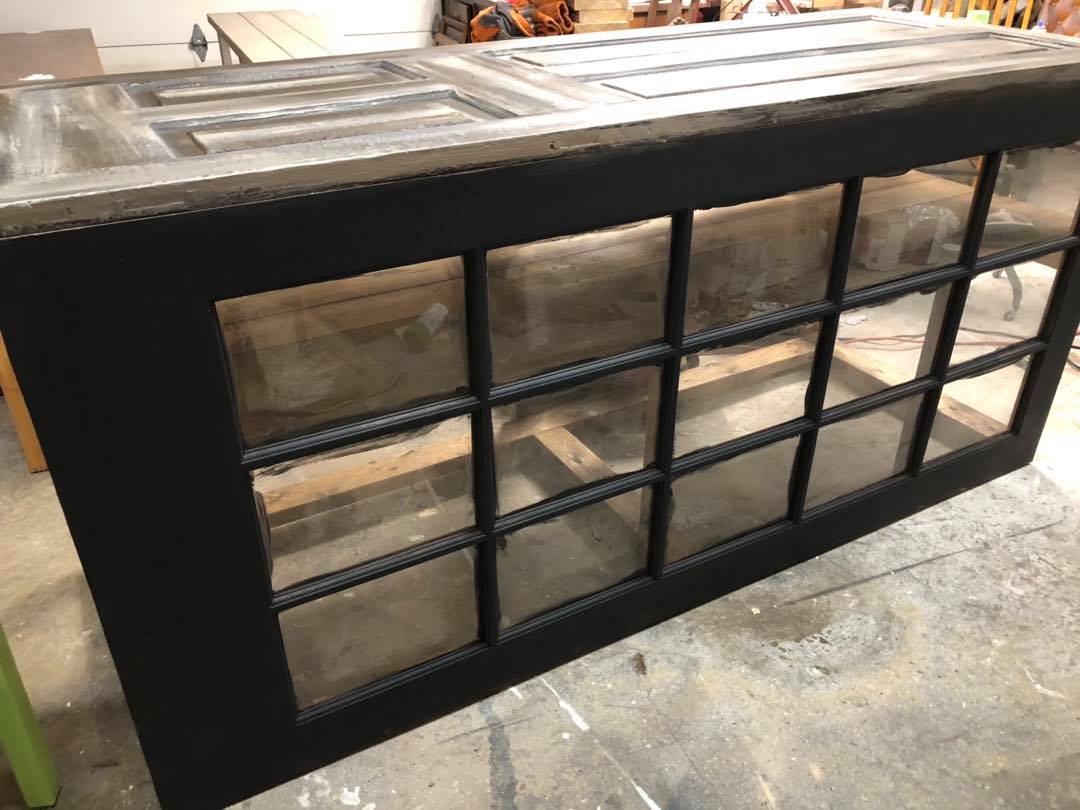
French Door Island,
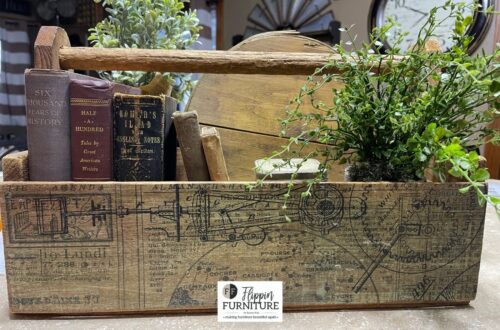
How to Decoupage a Wooden Toolbox