DIY Patriotic Wood Signs
It is almost July which means it’s almost time to put out all your patriotic decor in your home. I love all things red, white, and blue and decorating patriotic. Celebrating America’s birthday is something I love doing every year.
This year I was wanting to add some new things to my patriotic decor. I decided to make some super cute and simple patriotic wood signs and am loving how they turned out. I know you will love them too!

DIY 4th of July Sign
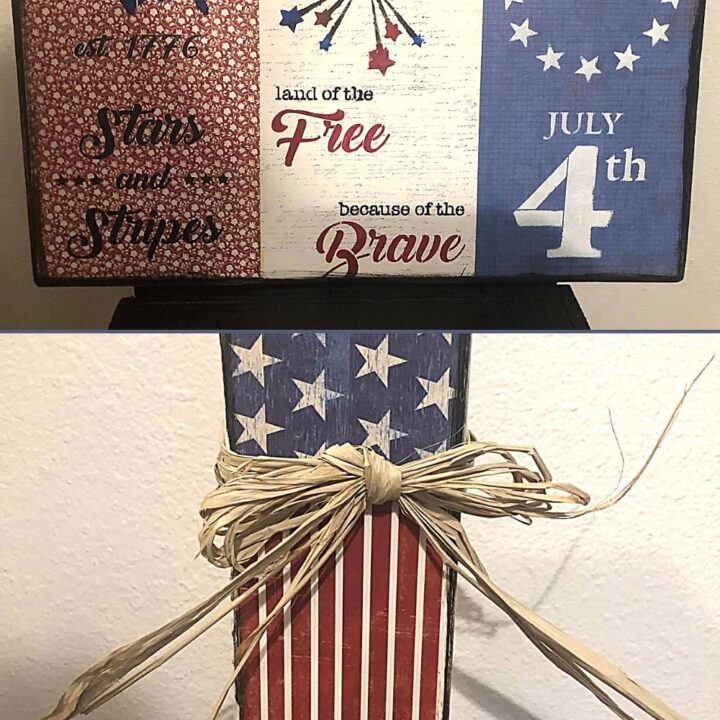
Today I am sharing with you how to make two different wooden DIY 4th of July signs by using wood blanks, paint, and stencils. These make absolutely the best decorations to add to your tables, mantle, or a tiered tray for the 4th of July holiday. I hope this will inspire you to create your own DIY patriotic signs. That way you can proudly display them in your own home and get ready to celebrate the red, white, and blue this 4th of July!
Crafting and creating your own DIY patriotic wooden signs is so simple you can even get the kids involved. They will love making some fun DIY summer decor. Allow your kids to get creative and decide what colors and stencils they want on their own wooden blocks. There are never too many patriotic wood signs in a home. Proudly display them for the upcoming holiday, or keep them up all summer long.
Grab your supplies and let’s get crafting your own patriotic wood signs!
Supplies needed:
- Wood blanks
- Patriotic Stencils
- Paint
- Mod Podge
- Scrapbook Paper
- Paintbrush
- Sponge Daubers
- Twine
Steps for making DIY Patriotic Wood Signs
Step 1: Paint your precut wood. For this project, I painted one black and the other piece white. Allow time for your paint to dry or use a heat gun to speed up the process. You can go back and touch up any spots you missed after you finish.
Step 2: Next we will add scrapbook paper to your boards. Start by cutting your scrapbook paper equally to fit across your wood blank. For the first project, I cut mine about 6 inches in width each. The tall slender piece of wood, which I did second I used one pattern of scrapbook paper on the bottom portion and a different pattern on the top portion. You can get creative with your paper and mix up colors and patterns. There is no wrong or right way.
Step 3: Using a paintbrush modge podge the top of your wood. I only do a section at a time as I will be laying the precut scrapbook paper over these sections. After you lay your scrapbook paper down take a squeegee and really press that modge podge all around. This helps make sure it reaches the corners of the paper. Repeat this for each section of your board adding your paper a section at a time.
Step 4: Using a hand sander sand down all the edges of your board. This helps secure the ends of your scrapbook paper to your board and you wont have little gaps.
Step 5: Layout your 4th of July stencils onto your board. Grab your finger sponge daubers, and start applying paint around the edges of your stencils. Dipping your sponger daubers in the paint color of your choice work your way around the edge of your stencil. Continue filling in the center of your stencil. I alternated red, white, and blue paint colors on different words and stars to make it more patriotic. You can do whatever you like and what looks best on top of the scrapbook paper you choose. This is where your creativity comes in!
Step 6: Using a black paint dobber, finish off the edges by going all the way around with black. Be sure to go back and add black to the edges.
Step 7: On your tall slender piece of wood you can add some twine. Simply just tie around at the top for some added flair.
DIY Patriotic Wood Signs
Easy step-by-step instructions on how to make two DIY Patriotic Wood Signs.
Materials
- Wood blanks
- Patriotic Stencils
- Paint
- Modge Podge
- Scrapbook Paper
- Paintbrush
- Sponge Daubers
- Twine
Instructions
1. Paint your precut wood. For this project, I painted one black and the other piece white. Allow time for your
paint to dry or use a heat gun to speed up the process. You can go back and touch up any spots you missed after you finish.
2. Next we will add scrapbook paper to your boards. Start by cutting your scrapbook paper equally to fit across your wood blank. For the first project, I cut mine about 6 inches in width each. The tall slender piece of wood, which I did second I used one pattern of scrapbook paper on the bottom portion and a different pattern on the top portion. You can get creative with your paper and mix up colors and patterns. There is no wrong or right way.
3. Using a paintbrush modge podge the top of your wood. I only do a section at a time as I will be laying the precut scrapbook paper over these sections. After you lay your scrapbook paper down take a squeegee and really press that modge podge all around. This helps make sure it reaches the corners of the paper. Repeat this for each section of your board adding your paper a section at a time.
4. Using a hand sander sand down all the edges of your board. This helps secure the ends of your scrapbook paper to your board and you wont have little gaps.
5. Layout your 4th of July stencils onto your board. Grab your finger sponge daubers, and start applying paint around the edges of your stencils. Dipping your sponger daubers in the paint color of your choice work your way around the edge of your stencil. Continue filling in the center of your stencil. I alternated red, white, and blue paint colors on different words and stars to make it more patriotic. You can do whatever you like and what looks best on top of the scrapbook paper you choose. This is where your creativity comes in!
6. Using a black paint dobber, finish off the edges by going all the way around with black. Be sure to go back
and add black to the edges.
7. On your tall slender piece of wood you can add some twine. Simply just tie around at the top for some added flair.
Wooden patriotic signs are not only the perfect decorations for the 4th of July but are great for any time of the year. You can display them for Memorial Day, Labor Day, Veterans Day, and even all summer long really. These are perfect to show your love for America.
Just pin this DIY Patriotic Wood Signs tutorial below to find the instructions later!


You May Also Like
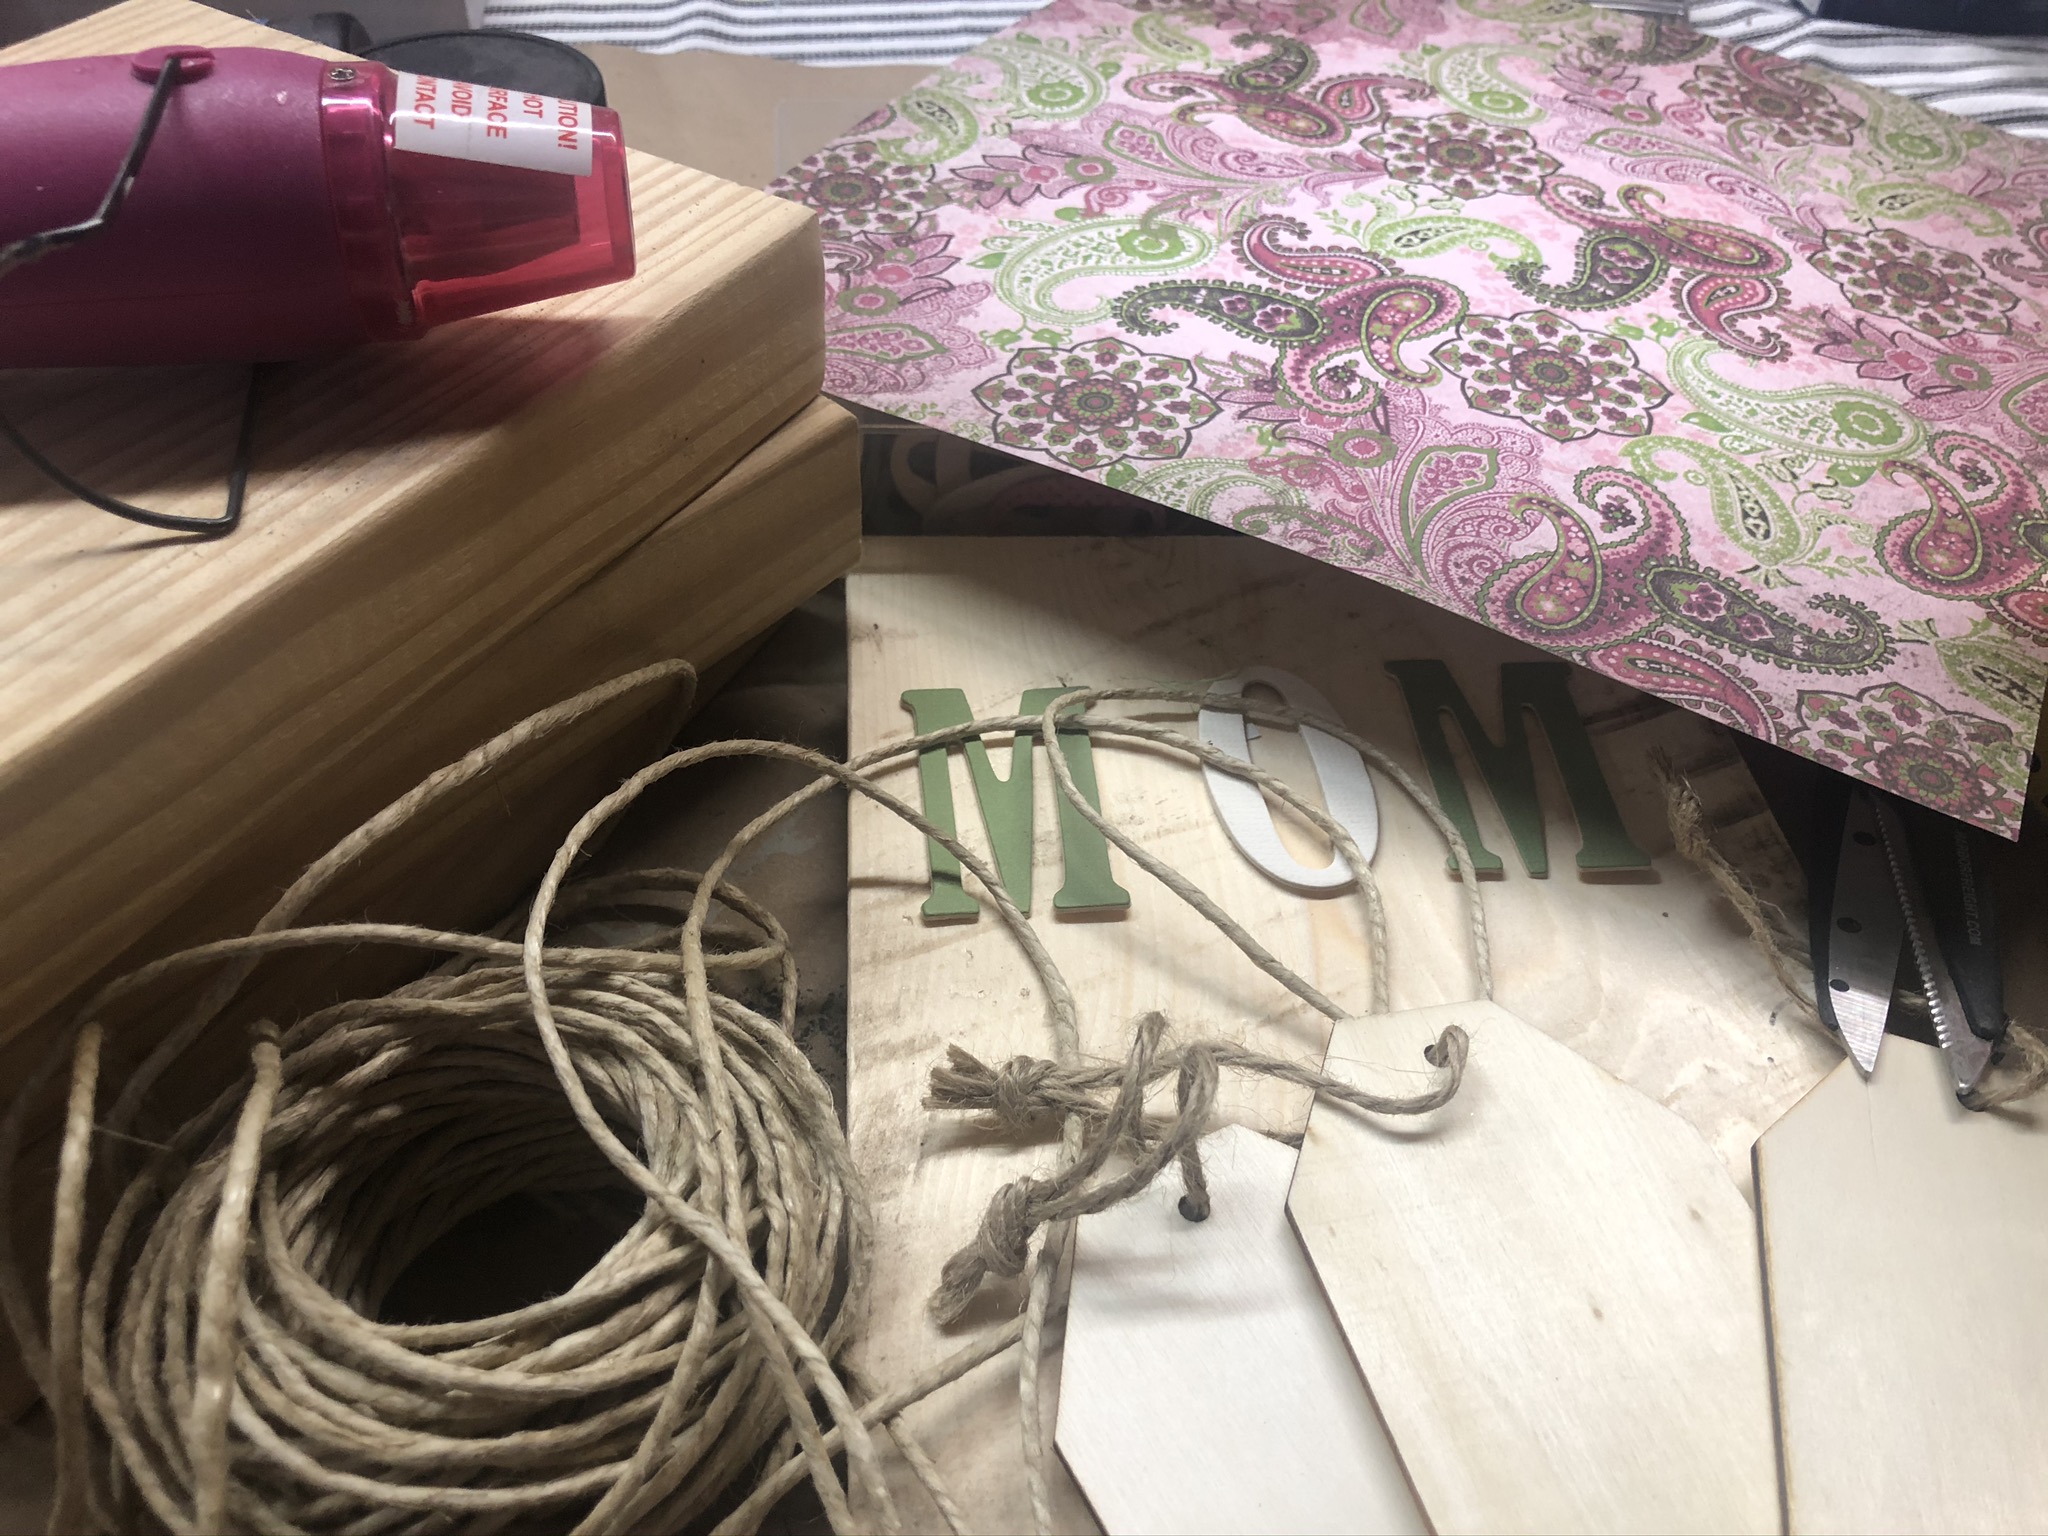
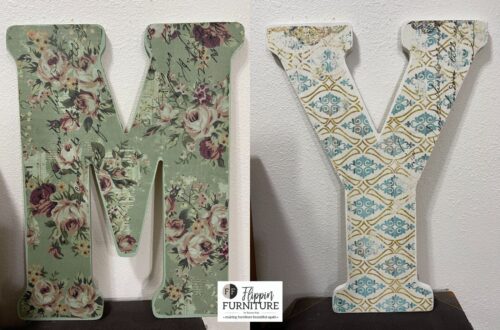
Mother’s Day Craft Ideas
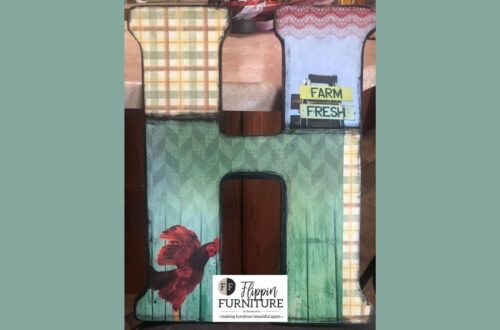
DIY Farm Themed Wooden Letter for Wall