DIY Valentine Craft,
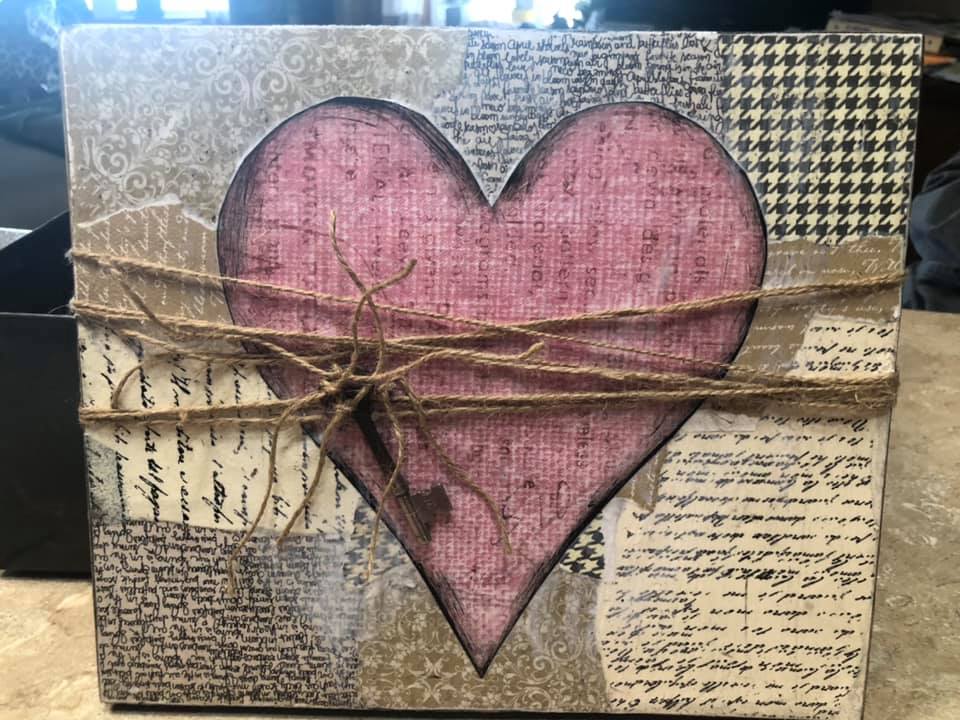
I love how this turned out! A scrap piece of wood, some scrapbook papers, some twine and an old key…and you have yourself a pretty cool Valentine’s Day Décor piece!
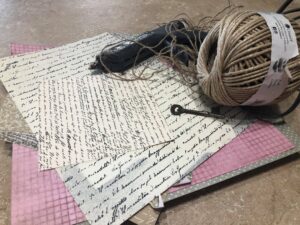
I was going to use a canvas, but then I decided to check my wood scraps first. I found one that I liked the size of and went with it. Next thing I did was go look at some of my scrapbook paper stash for inspiration. I don’t have a lot of bold colors in my house anymore, so I chose to go with pink for the Valentine’s Day heart instead of the red. The pink paper actually had some script on it. I love anything with writing, script, or numbers on it. Then I chose the background papers. I actually just looked through my scraps. This was a good way to get rid of some of them.
Once I had all my papers rounded up, I started ripping pieces of the paper so they would have jagged edges. I started with a corner, covered it with mod podge, and then laid my piece of paper down, making sure to work out any excess mod podge or air. I did this over the entire top of the board, overlapping the papers as I went. You could go around the sides, too, but I chose to just use a paint dauber around the outside edges.
After I had all the papers down, I took a sanding sponge and roughed up the outside edges, making sure there weren’t any hanging over the sides. Then I covered the whole thing with mod podge again.

While the mod podge was drying, I went old school and cut a heart from the pink paper, by folding the paper in half and drawing half a heart and cutting it out. I sure hope you get what I’m trying to relay here.

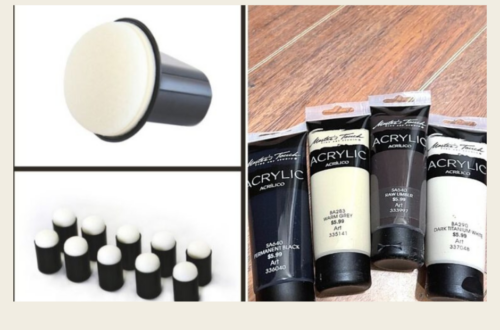
Using my sanding sponge again, I lightly roughed up the edges of the heart. Then I used the black paint dauber to go around the edges. I just did this so that it would give it a little more definition. And I loved how it made it stand out just enough. Then I mod podged the heart over the papers, and then on top of the heart also.

The twine and the key were the last steps. I wrapped the twine around the board several times, using hot glue in a few places to keep it where I wanted it, and tied the key on.
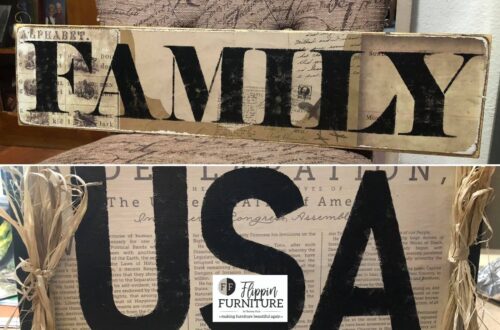
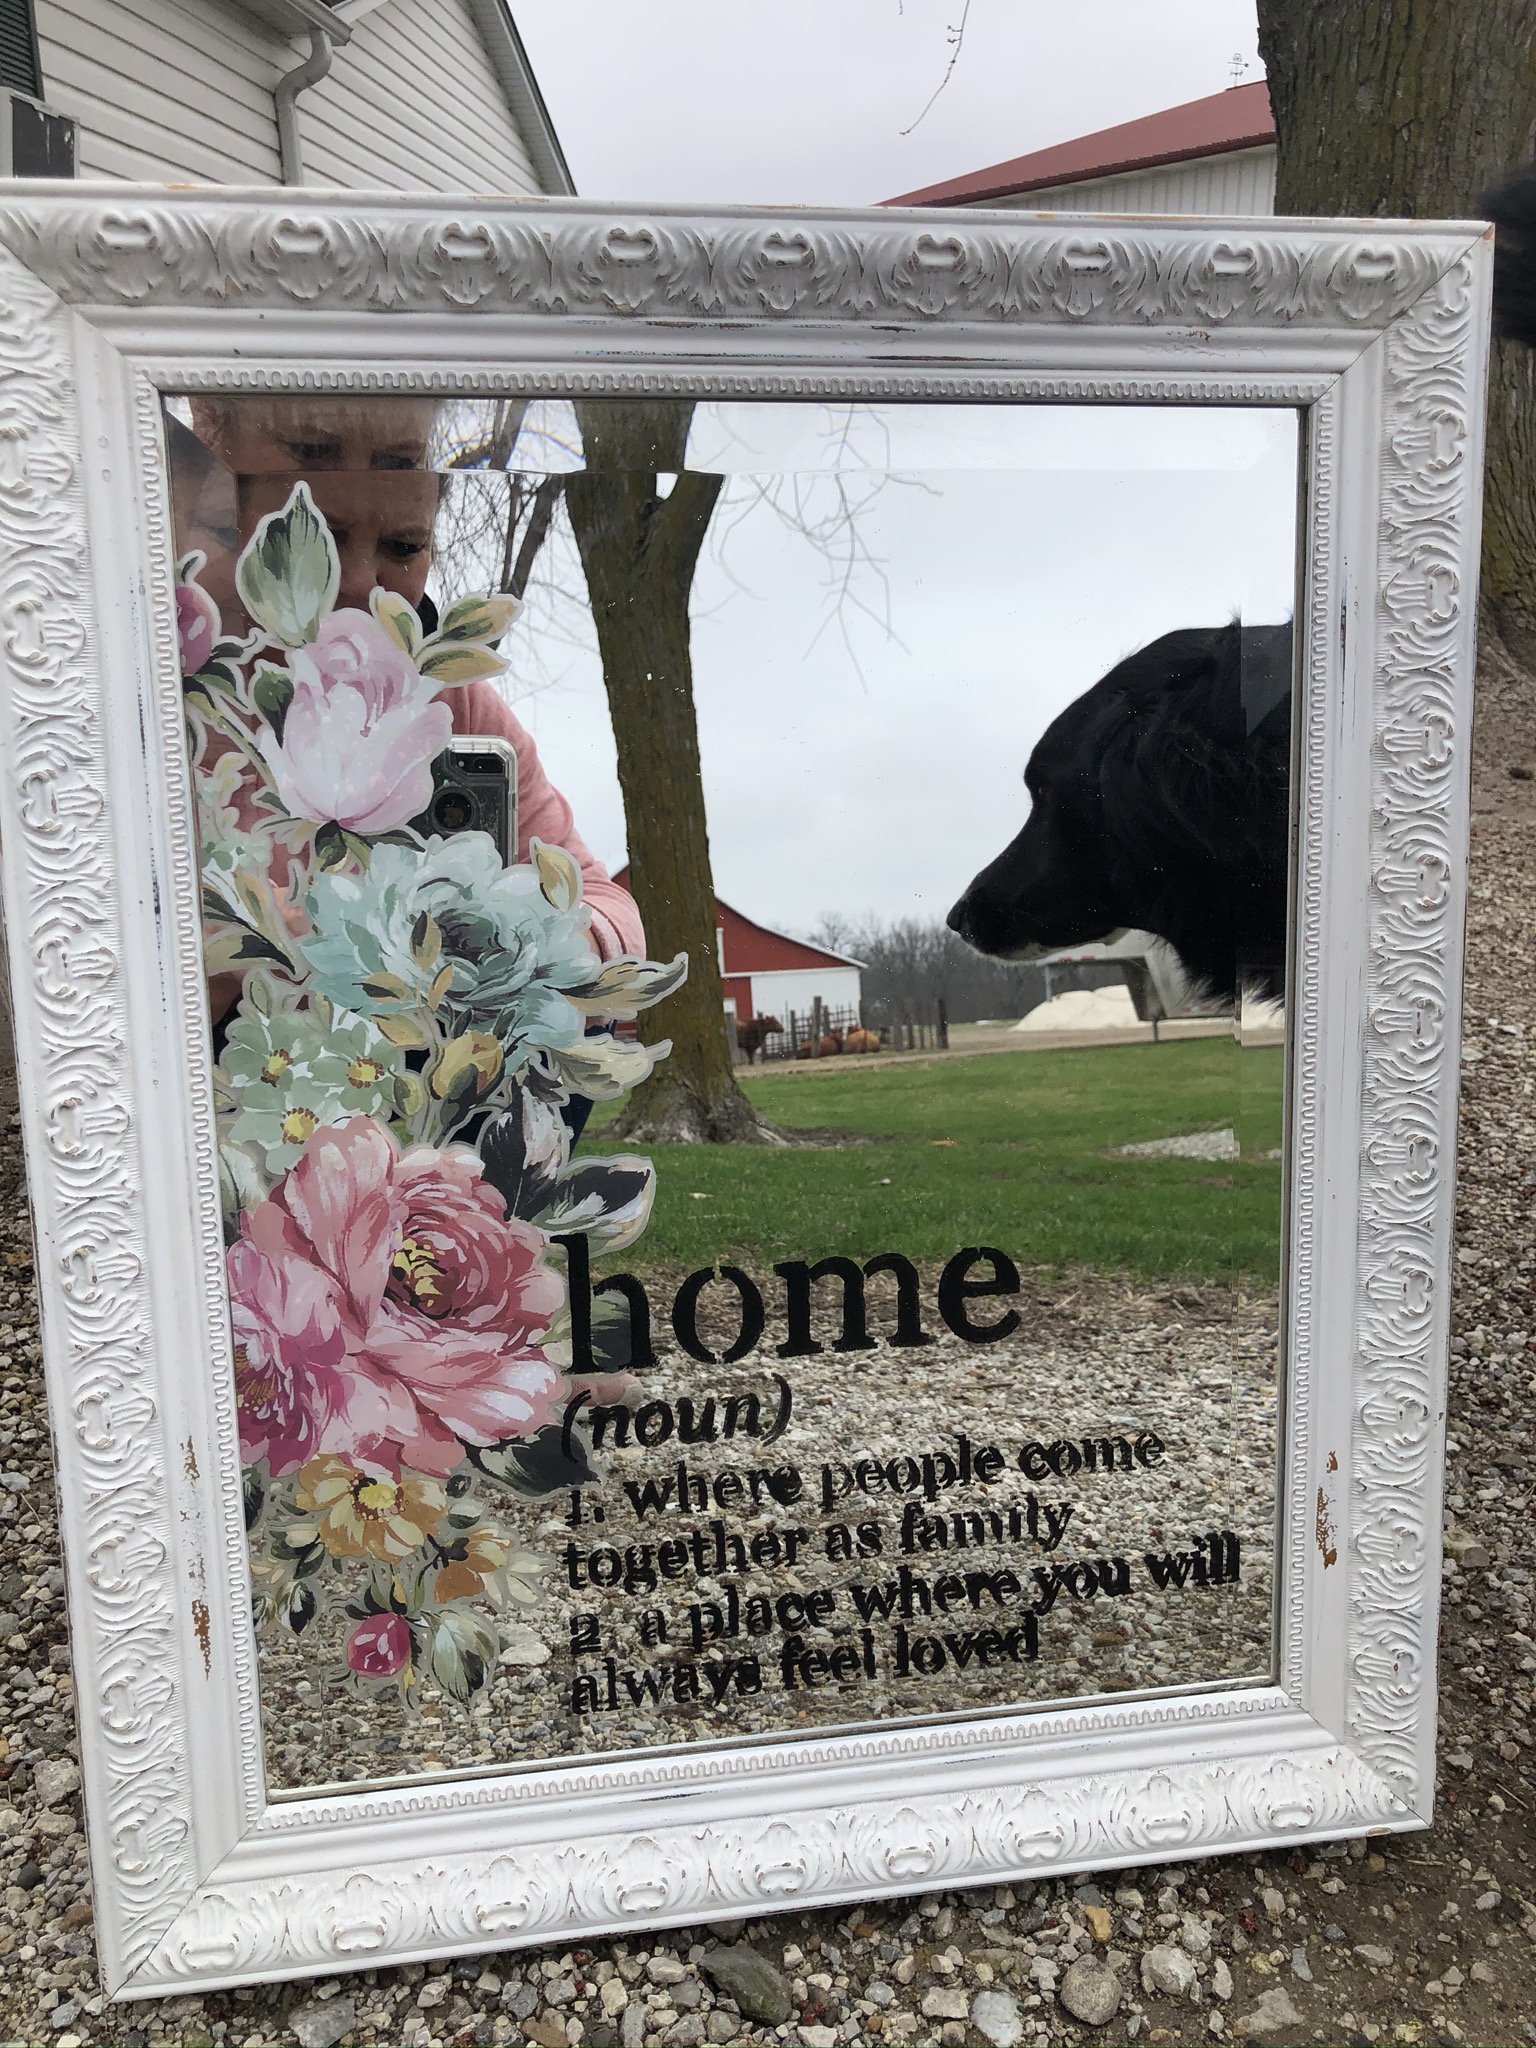
And there ya have it. I’m thinking about doing one similar for St. Patrick’s Day and Easter!
I hope you enjoy this project as much as I did! I actually did it on a Facebook live.
Supplies
This list contains affiliate links, if you make a purchase I make a commission, your price stays the same.
- Canvas or Piece of Wood
- Black Paint Dauber – https://amzn.to/2OZFsbo
- Your Choice of Scrapbook Papers
- Mod Podge Matte – https://flippinfurnitureshop.com/products/mod-modge-matte-notions
- Chip Brush – https://flippinfurnitureshop.com/products/2-synthetic-flat-brush-fusion
- Sanding Sponge – https://flippinfurnitureshop.com/products/paint-sticks-fusion
- Scissors
- Hot Glue Gun – https://amzn.to/2HwYMZ7
- Twine – https://flippinfurnitureshop.com/products/jute-cord-notions?_pos=1&_sid=65d8ac4b2&_ss=r
- Old Key – https://flippinfurnitureshop.com/products/lifes-journey-keys-notions or https://flippinfurnitureshop.com/products/metal-adornment-keys-by-tim-holtz-notions


6 Comments
AffiliateLabz
Great content! Super high-quality! Keep it up! 🙂
Alvera Gargis
It was helpful. Keep on posting!
Flippin Furniture Blog
Thank you!!!!
ปั้มไลค์
Like!! I blog quite often and I genuinely thank you for your information. The article has truly peaked my interest.
Flippin Furniture Blog
I’m so glad to be able to give you a little inspiration! If you haven’t already join the free group… https://www.facebook.com/groups/1037595059955549/
I also have a paid group if that would interest you.. https://flippinfurniture.lpages.co/flippinsocietyreopen/
리얼돌
This really solved my question.
I am super impressed with your writing skills.