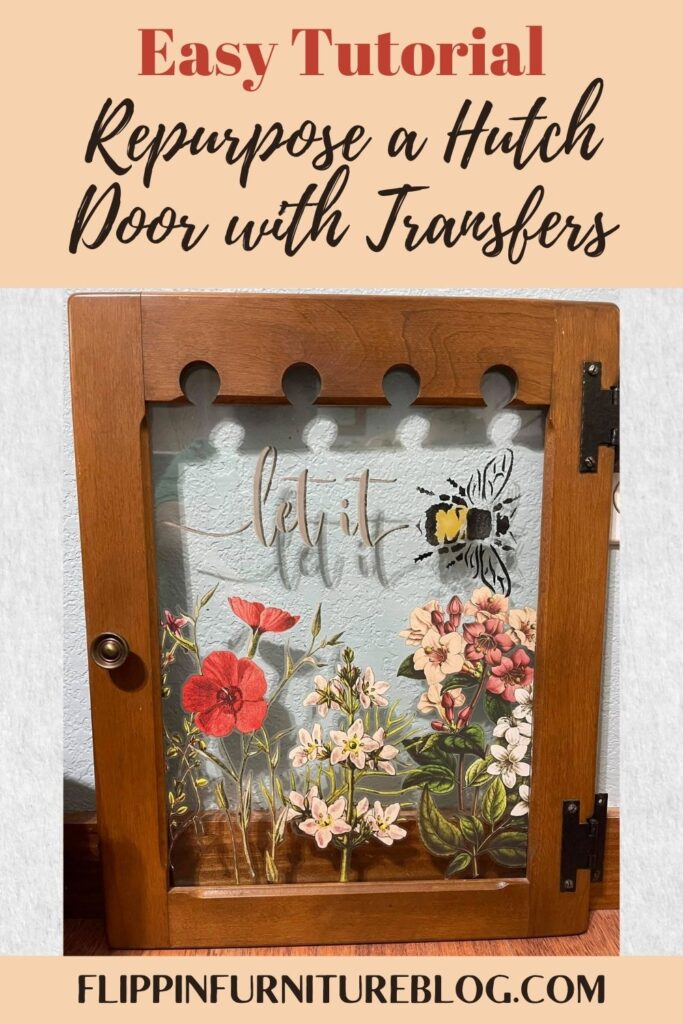
Repurpose A Hutch Door With Transfers
Follow along step by step as I show you how to make something old become something beautiful once again. I just love how I repurpose a hutch door using transfers turns out! You will make you think twice about any old piece of furniture after you see what I did.
There is not a piece of wood or furniture that I can’t love with my whole heart. No matter its condition. Be it old, tired, tarnished, or tattered. The piece still has beauty and potential in my eyes. Furniture can always come to life in so many ways. If you are willing to just show them even the littlest bit of love, it can happen. And this DIY craft using transfers is 100% evidence of that.
How To Repurose A Hutch Door
I saved these pretty little hutch doors from a different project I had worked on for a dear friend of mine. She didn’t want the doors on her hutch anymore, so I kept them. YAY me! To me, there is always something pretty to create from repurposed wood or even furniture. This DIY project is simply applying a transfer to the glass. Yep… you read that right.
There are so many possibilities to make this unique piece. So if you are like me and love to make old things new again, then this project is perfect for you.
The beauty of this project is you get to decide what fits your style best by finding the perfect IOD Transfer. Maybe florals aren’t your thing. No problem. Maybe you prefer lemons or plants. That is just fine. You do you, and just remember that whatever you create, is awesome! The steps are the same no matter your style. And don’t forget, you can make this project even more unique with a simple coat of paint too. Have fun with it, from start to finish.
Supplies:
- Old Hutch Door with Glass Center
- The Flower Fields by Prima
- Let It Bee Stencil (Not Exact)
- Scissors
- ReDesign Prima Transfer Tool
- Razor Blade
Steps:
- Grab your old Hutch door and be sure to make sure your surface is nice and clean with an old rag.
- If you want to paint the wood, you can do that now. Want the raw wood look, then keep on, keeping on with me!
- Select your style of IOD Furniture Transfer and measure out the amount to fit on your desired work space. Select styles that fit with your color palette and decor of the space you are hoping to hang this new DIY Jazzed Up Hutch Door.
- Cut out the piece you wish to apply. You will need to save excess pieces for another project at another time. Trim excess bottom part of transfer so as to not have any wasted space.
- Mix and match pieces of this style transfer or different set to create the images you desire to finish this project the way you like best.
- Remove air bubbles by rubbing your transfer down. Be sure to use the plastic tool that comes with the IOD kit and/or a ReDesign Prima Transfer tool kit. This is not neccessary but I do like to alternate.
- If you have any excess by chance, use a razor blade to easily remove transfer.
- Next be sure to remove all air bubbles before pulling off/peeling back the top layer of transfer.
- With the glass window, the color of the wall will show behind your transferred image. You could always paint the backside of glass if you would like a different color to be seen instead. Choosing to leave mine clear.
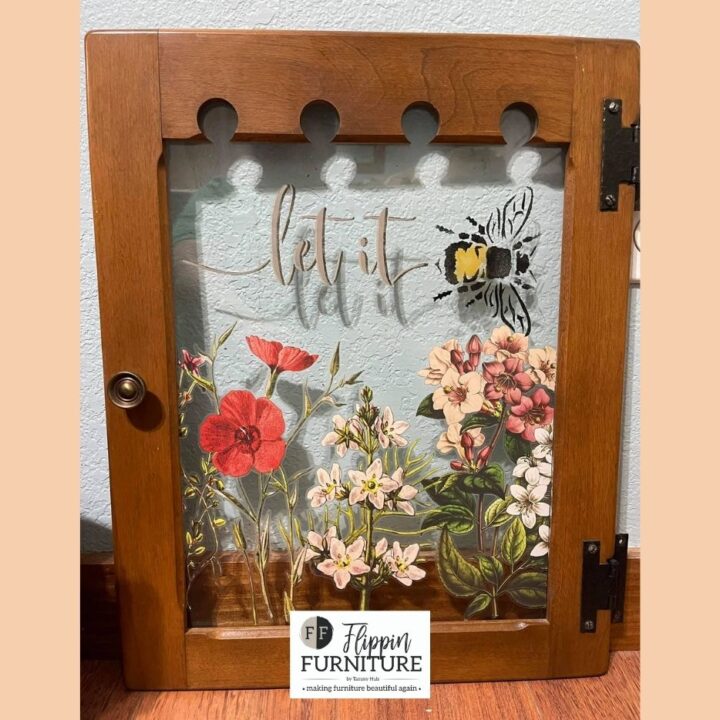
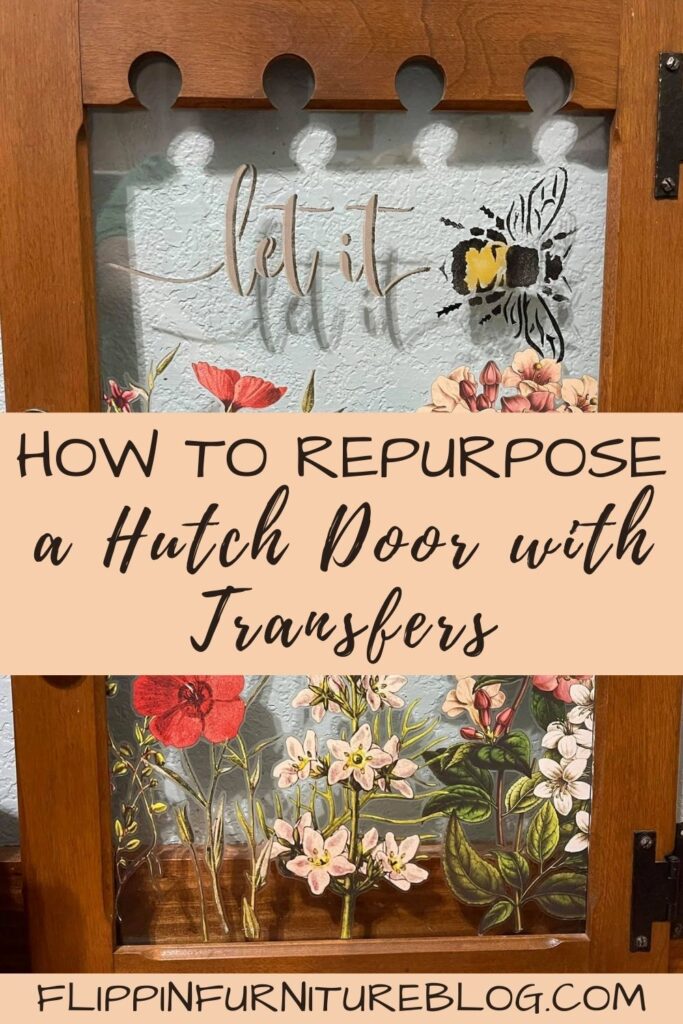
- I had some space up top so I added another transfer up there, saying, “Let it BEE. ” I got lucky and had an excess piece from a previous project. See why you save all your old scraps? If you wanted, you could even stencil on some letters up top. The possibilities are endless.
- And just like that, you are done!
Ok, so you finished it all up and what do you think? Wasn’t this such a simple DIY project? I just love taking something that has lived a good life and making it come to life again.
What else could you repurpose besides an old hutch door?
Save any and all pieces of wood, if you have the storage space. Old cabinet doors, old cutting boards, scrap wood, wood pallets. Just be creative!
Repurposing wood/furniture is my superpower. Do you have the same superpower? If yes, then I know you are going to love some of my other DIY tutorials. Be sure to check them out.
Repurpose A Hutch Door With Transfers
Follow along step by step as I show you how to make something old become something beautiful once again. This simple craft will make you think twice about any old piece of furniture.
Materials
- Old Hutch Door with Glass Center
- IOD Decor Transfers
- Scissors
- ReDesign Prima Transfer Tool
- Razor Blade
Instructions
- Grab your old Hutch door and be sure to make sure your surface is nice and clean with an old rag.
- If you want to paint the wood, you can do that now. Or if you prefer the raw wood look, then keep on, keeping on with me!
- Select your style of IOD Furniture Transfer and measure out the amount to fit on your desired work space. Select styles that fit with your color palette and decor of the space you are hoping to hang this new DIY Jazzed Up Hutch Door.
- Cut out the piece you wish to apply. Save excess pieces for another project at another time. Trim excess bottom part of transfer so as to not have any wasted space.
- Mix and match pieces of this style transfer or different set to create the images you desire to finish this project the way you like best.
- Remove air bubbles by rubbing your transfer down. Be sure to use the plastic tool that comes with the IOD kit and/or a ReDesign Prima Transfer tool kit. I like to alternate, but it's not necessary.
- If you have any excess by chance, use a razor blade to easily remove transfer.
- Be sure to remove all air bubbles before pulling off/peeling back the top layer of transfer.
- With the glass window, the color of the wall will show behind your transferred image. You could always paint the backside of glass if you would like a different color to be seen instead. I opted to leave mine clear, but you decide what you like best.
- I had some space up top so I added another transfer up there, saying, “Let it BEE. ” I got lucky and had an excess piece from a previous project. See why you save all your old scraps? If you wanted, you could even stencil on some letters up top. The possibilities are endless.
- And just like that, you are done!
Just pin this Repurpose a Hutch Door With Transfers tutorial below to find the instructions later!


You May Also Like
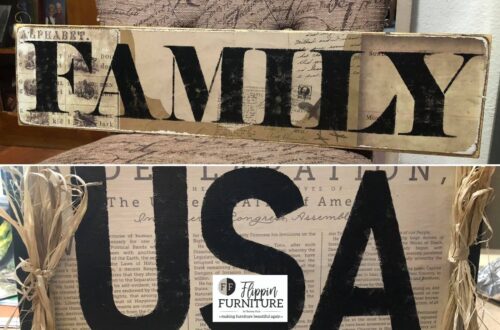
Simple USA and Family DIY Wood Sign Tutorial
Make Your Own DIY Farmhouse Decor