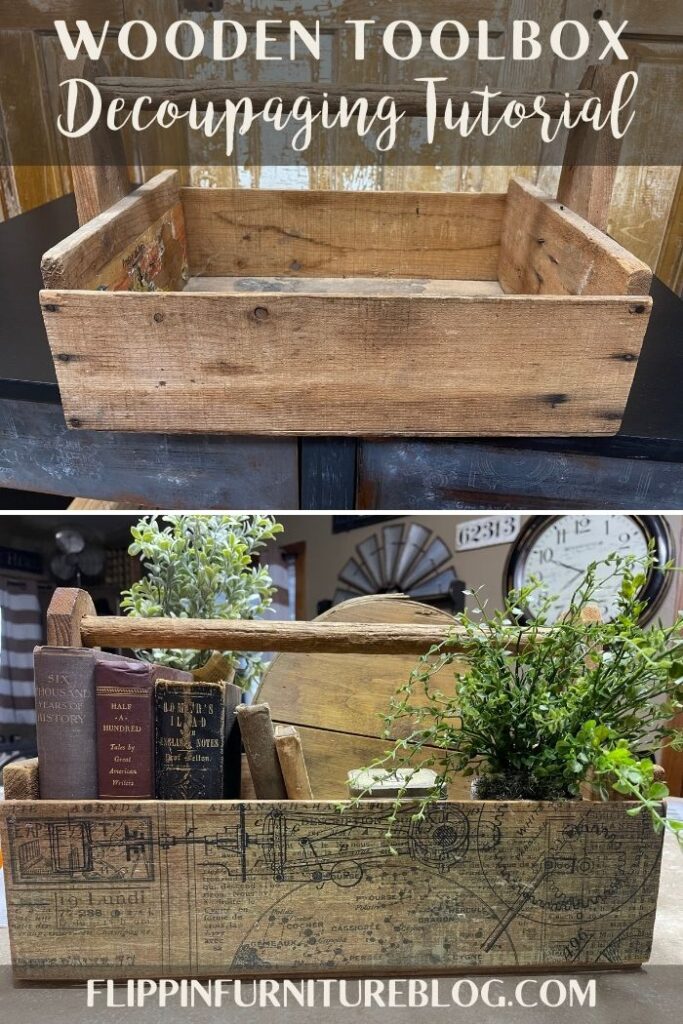
How to Decoupage a Wooden Toolbox
Follow this tutorial to learn how to make your own rustic decor by learning the technique of using tissue paper to decoupage a wooden toolbox.
Y’all know of my love for the Farmhouse look in my decor. My whole house is covered in it. Well, I have really started to open my heart a bit and take a chance on a new style.
Lately, I have really been into the Industrial Grungy looking stuff. There is just something about it. I think it is because it still has the natural vibes of Farmhouse, but a bit more masculine feel. And this DIY Decoupage Wooden Tool Box is too great not to start loving the Industrial look. Don’t you agree?
How To Decoupage your Own Wood Toolbox
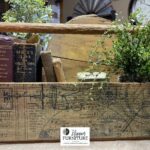
This wooden toolbox is pretty awesome on its own, but I had a vision. And it’s not wise to stop a woman when she has a vision. Am I right, y’all? Using just a bit of Soft Matte Gel and this decorative decor tissue paper helped my vision become a reality. This DIY craft was so simple!
Just because it is a tool box, doesn’t mean it has to have that masculine vibe. I just happen to love that look right now. But I’m here to tell you that if you want to make this with a different style to match your home decor, that is just fine. If you hope to keep its overall function as a wooden toolbox, you can do that too! You can accomplish both with any style of paper you select! You just have to be willing to do it! I’m here to teach the process to create it, step by step. Ultimately though, you have the opportunity to complete it in a way that best fits your style. So whatever style that might be, go and grab your supplies. I’m so excited to teach you how to make your own Wooden Tool Box using this awesome technique of Decoupage.
If you want to have a rustic look in your home or office, then follow these steps below to get started!
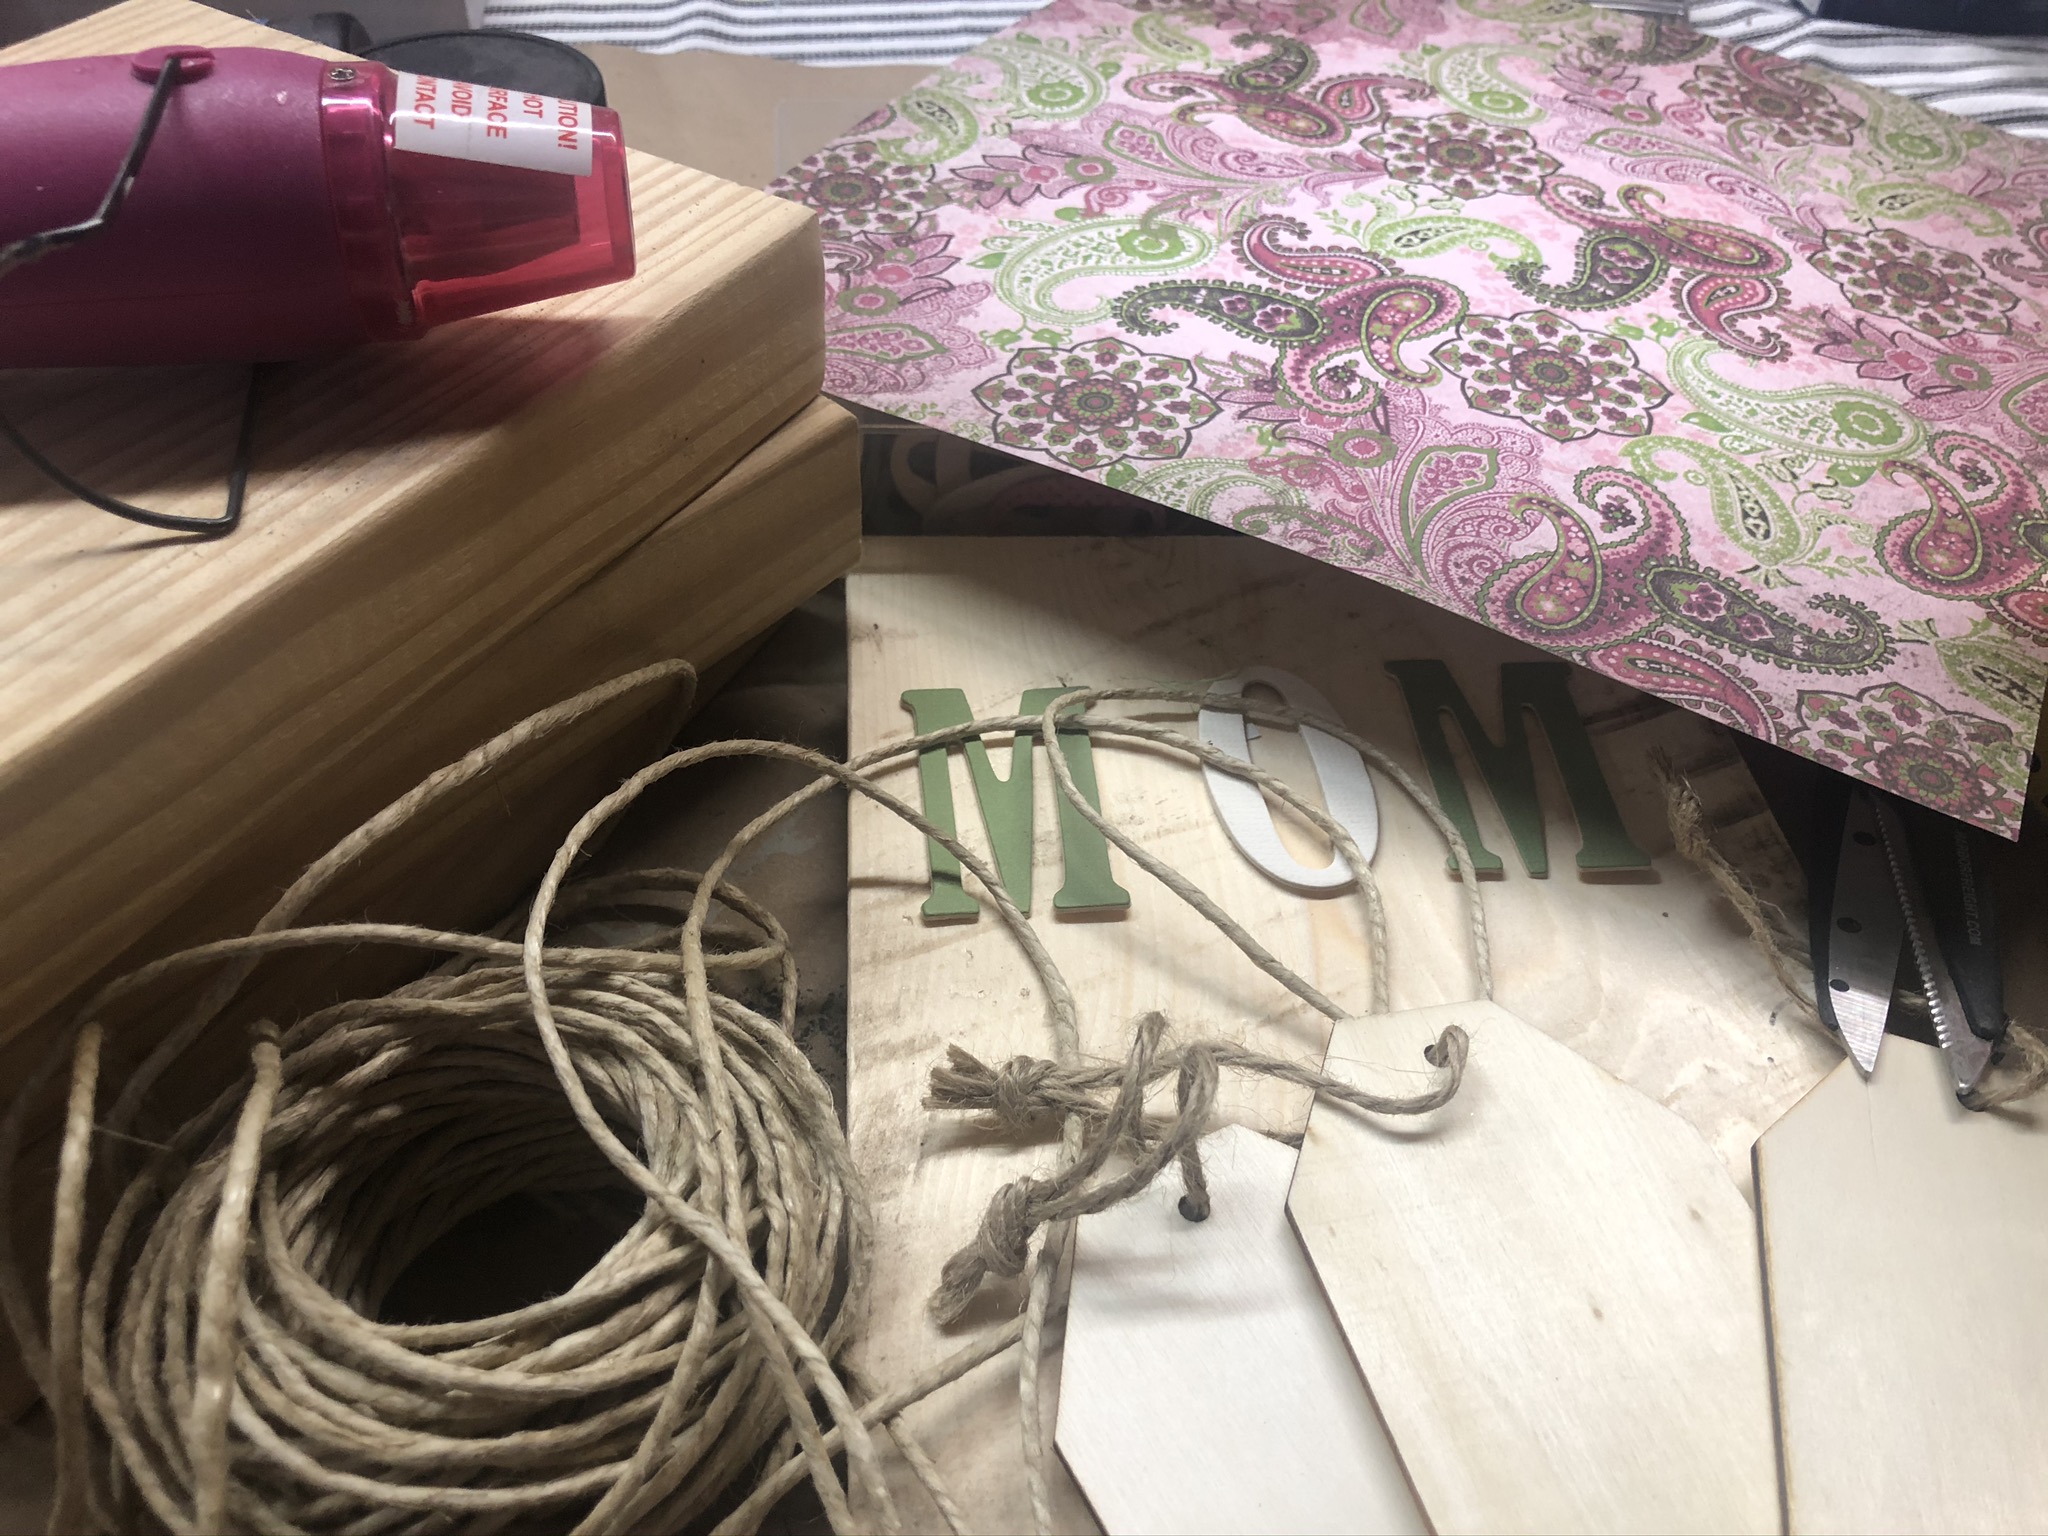
Supplies:
- Old Wooden Tool Box
- Decorative Decor Tissue Paper – “Science Lovers” (Your choice for design)
- Soft Matte Gel
- White paint
- Paint Brush
- Sanding block
- Flat edge applicator tool
How to Decoupage Your Wooden Toolbox
- Grab your old wooden toolbox, Soft Matte Gel, and decorative tissue paper of your choosing.
- Wipe wood clean of any grit or grime.
- Lay your paper on your wooden toolbox and determine where you want the images to rest best. Trim your paper with scissors for the amount to cover a side. Leave some excess.
- Apply a thin layer of your soft matte gel directly to your wooden toolbox. Carefully apply an even coat covering the entire area you wish to add your paper.
- Be extra careful as you add your tissue paper since this paper is so fragile. Do not let it accidentally hit in a spot you don’t want it to remain.
- Next, apply your decoupage tissue paper. Press firmly and smooth out any air bubbles as it adheres to the wood. You can use parchment paper or wax paper to ensure every part is adhering perfectly. Be careful!
- Let dry and sit overnight.
- Once completely dry, grab a sanding disc to rub off any excess of your tissue paper.
- Next, use your sanding block to smooth the sides of your paper on the edges of your wooden crate. Wipe clean of any debris.
- To seal this project, apply a thin coat of your Soft Matte Gel directly on top. Apply evenly.
- Let sit to dry when complete.
What is the Difference Between Decorative Tissue Paper and Decorative Decor Tissue Paper?
The tissue paper that we shove into gift bags is extra fragile, right? Well, so is decorative tissue paper, friends. Your fingernails can snag it so easily, so you have to be extra careful when working with it.
That is not the case when working with Decorative Decor Tissue Paper. That style of paper is much more sturdy and easily shapeable. I love how forgiving it is, and sometimes y’all when I craft, I make some mistakes. And I love those happy little accidents. You should too!
Can You Paint the Wood Underneath?
With this project, I did NOT decide to paint the wood underneath. I wanted to keep the wood grain showing through on my decoupage paper to help maintain the industrial vibe I was going for. But, if I was looking for a more shabby chic design, then yes. I would have selected a different design/pattern of decoupage paper to really pop on my wooden surface. So in that case, I would totally paint a coat on my wood. I would remember to let it dry completely before applying my decoupage paper. But all the other steps would remain the same. The fun thing about decoupage paper is that the options are endless when it comes to creating your own DIY projects.
How to Decoupage a Wooden Toolbox
Materials
Instructions
- Grab your old wooden toolbox, Soft Matte Gel, and decorative tissue paper of your choosing.
- Wipe wood clean of any grit or grime.
- Lay your paper on your wooden tool box and determine where you want the images to rest best. Trim your paper with scissors for the amount to cover a side. Leave some excess.
- Apply a thin layer of your soft matte gel directly to your wooden tool box. Carefully apply an even coat covering the entire area you wish to add your paper.
- Be extra careful as you add your tissue paper, since this paper is so fragile. Do not let it accidently hit in a spot you don’t want it to remain.
- Next apply your decoupage tissue paper. Press firmly and smooth out any air bubbles as it adheres to the wood. You can use parchment paper or wax paper to ensure every part is adhering perfectly. Be careful!
- Let dry and sit overnight.
- Once completely dry, grab a sanding disc to rub off any excess of your tissue paper.
- Next use your sanding block to smooth the sides of your paper on the edges of your wooden crate. Wipe clean of any debris.
- To seal this project, apply a thin coat of your Soft Matte Gel directly on top. Apply evenly.
- Let sit to dry when complete.
Video
Just pin this How To Decoupage your Own Wood Toolbox tutorial below to find the instructions later!


You May Also Like
Mother’s Day Craft Ideas

Easy DIY Winter Sign