Beautiful Ways to Display Your Vintage Photos
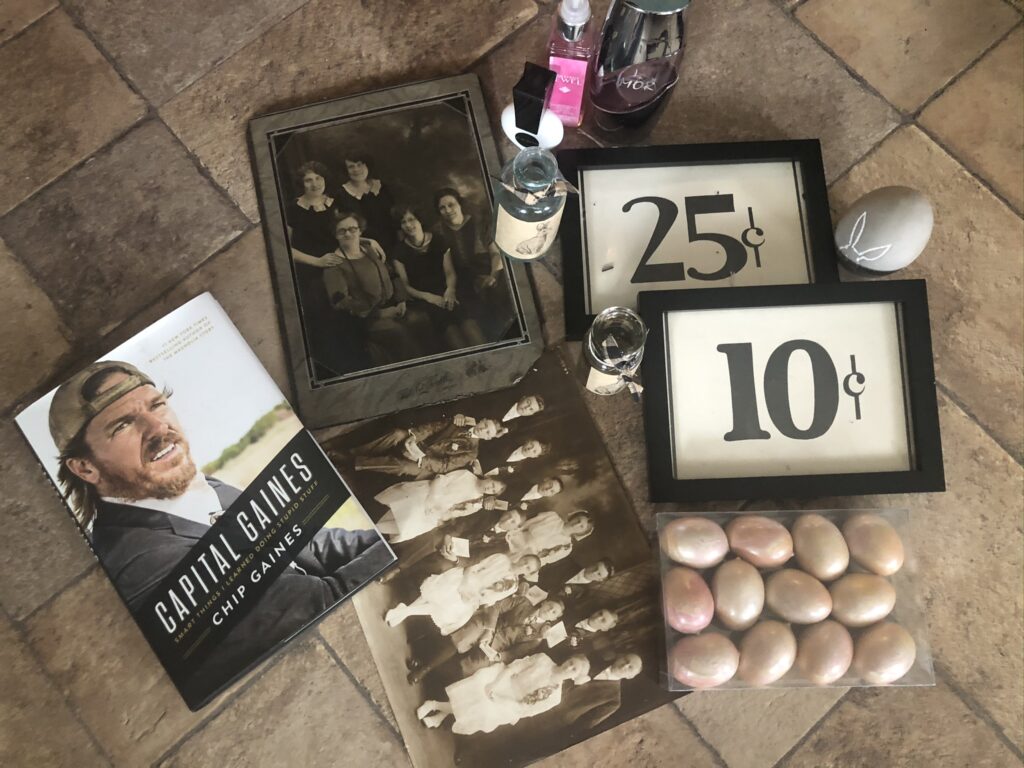
In one of my recent blog posts, I showed you these two photographs that I had picked up while out thrifting.
I do not know these people. I’m pretty sure I am not related to any of them. But I have now adopted them. Unless you know them, then I would love to see them in the hands of their rightful family.
So anyway, I keep thinking about these awesome photographs, and I know I NEED to do something cool with them. While I am at my computer one day, the idea came to me. Old clipboard + old photograph = very cool vintage display.
I knew I had an old clipboard somewhere, and luckily it wasn’t too hard to find.
Vintage Clipboard Photo Display
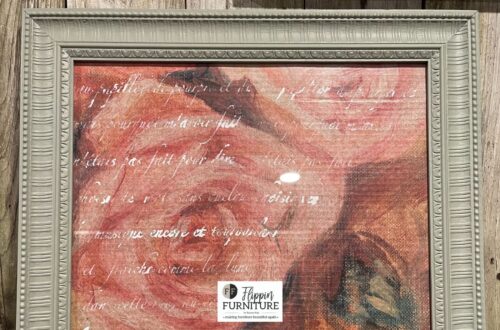
First, I painted the clip with patina paint. I used a little bit of copper and a little bit of the bronze. Then let it dry.
Next, I mod podged on a piece of scrapbook paper with the look and feel of what I was going for. I also mod podged over the top of the scrapbook paper.
While that top coat of mod podge was still wet, I laid the photo down on top of it to glue it on. At this point, I put a chunk of scrap wood about the same size as the picture on top of the picture and then added weight. I think I used full paint cans. I just wanted it heavy enough to keep it laid down to stick.
Then I added the little burlap flower with a dot of hot glue.
For the last step, I just wired on the two old keys (you can barely see them) and the padlock. I just wanted something old and vintage-y feeling. And this is it for this project! I haven’t done it yet, but it think it would be adorable displayed in an easel!


Another Vintage Photo Idea
The idea for this one also just came to me right out of the blue.
I decided it would be cute on a jug. But I wanted an amber jug. I checked my carport stash of glassware—no Bueno. I did find a regular glass jug, but it just wasn’t the look I wanted.
I kept thinking, “I know I have one around here somewhere.”
It finally hit me. I had one in my kitchen, with a cute chevron ribbon tied around it. So I snatched it, dusted it off a little, and got to work on it.
Of course, I chose to do this on a live. And I could tell right away that it was not going to work exactly the way I was hoping. I slathered on some mod podge and put the photo on it. It wasn’t really conforming. I did not want to curl with the jug.
So…I ran into my house and grabbed some rubber bands. I probably placed about ten rubber bands around the picture/jar to get it to hold. I had to excuse myself from the live and come back later, lol.
So I brought the jug in the house with me while I had to do some work on the computer, and I kept pushing it down when it wanted to come up and or readjust rubber bands.
Once that fiasco was under control, I came back live and finished it. I can’t remember when I made the tag for it exactly, but here’s how I did it. I stamped the tag with a script stamp, then stamped again with letters that spelled out “family” and glued on a little burlap flower.
I put a coat of mod podge over the photo also.
Next, I wrapped twine around the top and bottom of the photo and secured it with hot glue on the backside.
I just thought it added a little something to it.
And there you have it!
Two ways to make a unique display with your vintage family photos!


You May Also Like
Memorial Day Floral Arrangement On The Fly
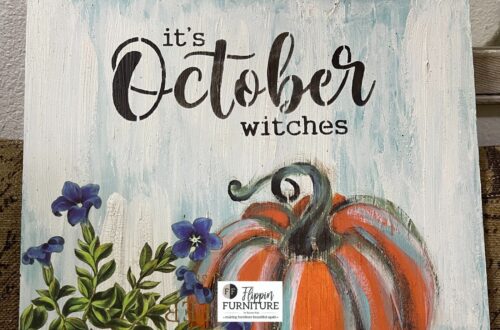
Create Your Own Fall Sign Using Fall Stencils and Transfers