How To Stencil A Pumpkin Fall Sign
Looking for a quick and easy DIY Pumpkin fall sign to compliment your autumn décor? When it comes to autumn, I enjoy decorating. That’s maybe because I really love the colors brown and orange, the colors of the season inspire me.
Fall has arrived, and I believe there’s no time like right now to start decorating and embracing the fall season. There’s something so exciting about saying bye to the heat and hello to cooler autumn days. One of the best things about fall is the décor, and the idea that you can put up your decorations and keep them up all the way through Thanksgiving if you want to.
Follow along with me in the video as I create a fun fall inspired sign, then use the written steps in the tutorial below to make your own.

DIY How To Stencil A Pumpkin Fall Sign
I just couldn’t help myself. Everywhere I look I see cute “Fall” signs… and pretty much any other short and sweet seasonal saying that you can think of. So, of course, we had to DIY our own version. And you can, too, with this simple tutorial for how to make a front porch fall sign.
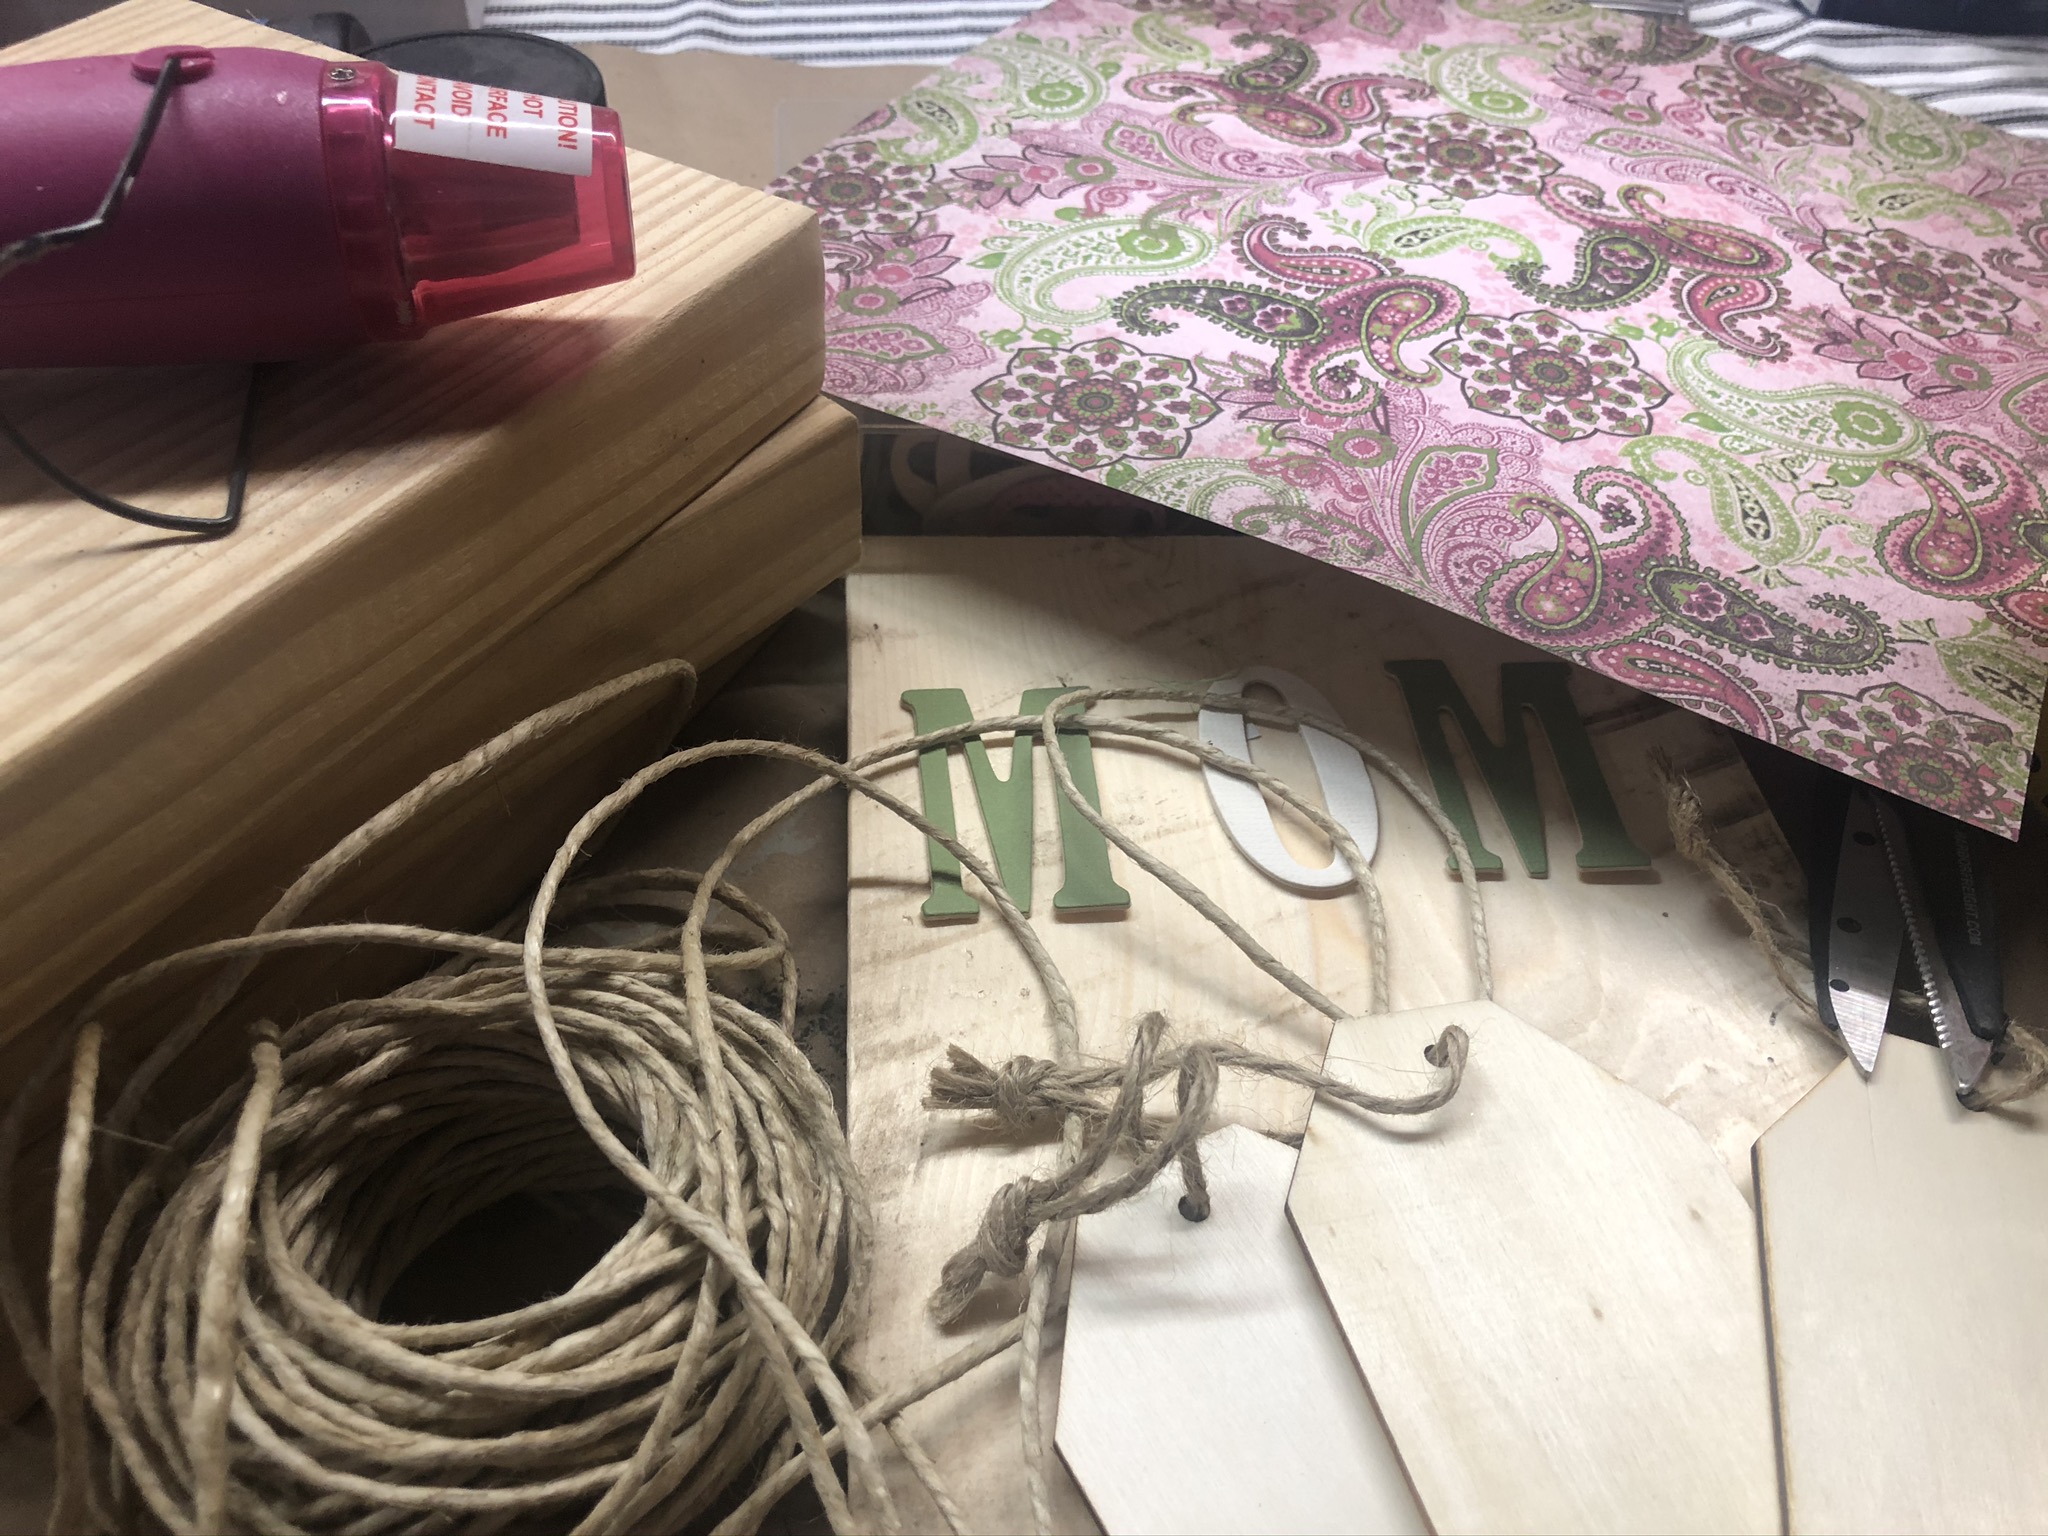
Supplies for your Pumpkin fall sign:
- Your sign base
- Stencils
- Mineral Paint
- Acrylic Paint
- Paint Daubers
- Stencil Brush
- Paint Brush
- Floral transfer
- Transfer Tool
- Heat Gun
- Scissors
Instructions for making your pumpkin fall sign:
- Start with your base and lay your stencil over it.
- Using your dauber, dab your brown paint where you want it on your stencil.
- Take your orange paint and use a brush to paint your pumpkin.
- Dry it with your blow dryer
- Add some white paint into your pumpkin.
- Dry the paint with your blow dryer
- Cut the shape out of your paper.
- Take your transfers and place them on your sign where you want them.
- Use your transfer tool and make sure that they are flat and nicely stuck down.
- Peel back your transfer paper.
- Take some black paint and dry brush over the sign.
Frequently Asked Questions
Do I need to use a sealant under a transfer?
You don’t NEED to use a sealant, but it might help to make sure that your transfer actually sticks well. If you don’t use a sealant, you might just need to press your transfer down with a little extra effort.
How to clean up a paint mistake?
Cleaning up fresh paint can be as easy as using a baby wipe and dabbing or wiping away your mistake. Just be careful not to wipe off anything you don’t want gone.
Looking for some fun and crafty DIY home decor ideas? Look no further than the Flippin Furniture blog. We have tons of tutorials to help you with everything from crafting to furniture makeovers.
And be sure to follow us on Facebook for even more inspiration.
Love our crafting tutorials and want be apart of a crafting community? Join the Flippin Society today!


DIY How To Stencil A Pumpkin Fall Sign
Materials
Instructions
- Start with your base and lay your stencil over it.
- Using your dauber, dab your brown paint where you want it on your stencil.
- Stake your orange paint and use a brush to paint your pumpkin.
- Dry it with your blow dryer
- Add some white paint into your pumpkin.
- Dry the paint with your blow dryer
- Cut the shape out of your paper.
- Take your transfers and place them on your sign where you want them.
- Use your scraper and make sure that they are flat and nicely stuck down.
- Peel back your transfer paper.
- Take some gray paint and dry brush over the sign.
Video
Just pin this DIY pumpkin fall sign tutorial below to find the instructions later!


You May Also Like
Mother’s Day Craft Ideas

How to: DIY Picture Frame Makeover with Decoupage