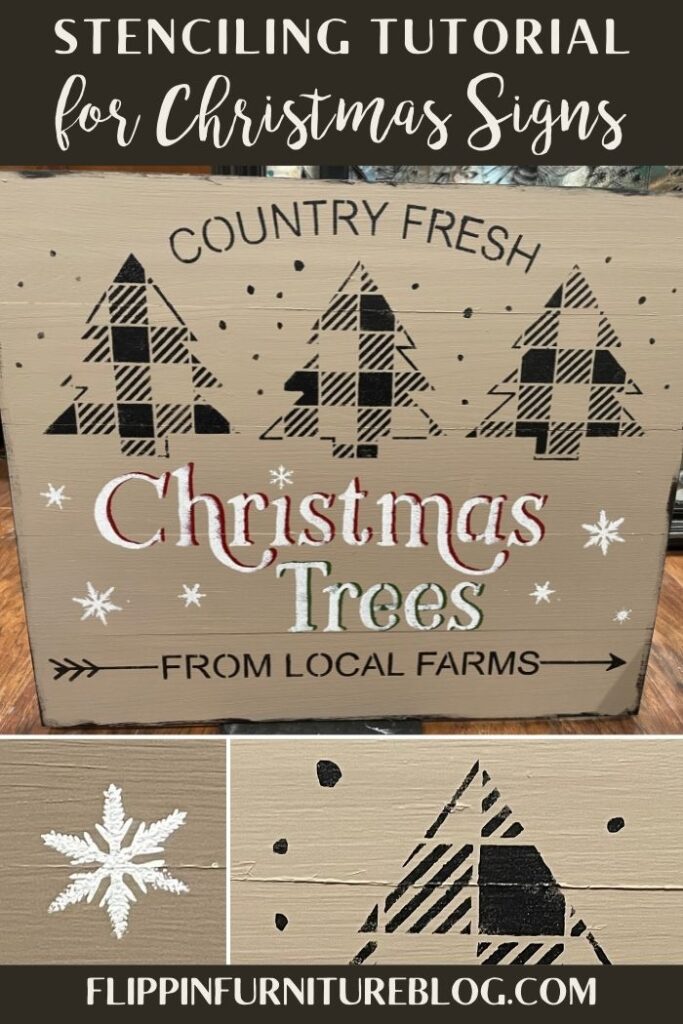
Buffalo Check Christmas Tree Sign
This easy tutorial will show you how to create your own rustic buffalo check Christmas Tree sign in less than 25 minutes!
Every year, around the holidays, I like to make new Christmas signs and decorations for my house.Like this buffalo check Christmas Tree sign. It’s a fun way to get into the Christmas spirit, and it also gives me an opportunity to try out new ideas. This year, I’m thinking of making a Christmas tree sign.
If you’re not familiar with buffalo check, it’s a type of pattern with a black and white check. It’s very popular right now, so I thought it would be a great choice for a Christmas decoration. Let me show you how to make your own buffalo check Christmas tree sign using some basic supplies and simple steps.

Make Your Own Christmas Sign
Do you love buffalo check? Well, I sure do! It’s the perfect print for the winter season. In today’s blog post, I’ll be showing you how to make your own buffalo check Christmas sign. I thought to actually start earlier than usual and get some Christmas signs made before the whole hustle and bustle of the Christmas season brings.
A few things you will see me likely always do is stick to neutrals color no matter the holiday. I love neutrals and then bring in a few colors of the holiday in the lettering. You will see in this one I paided my board a tan color, my tress and wording are black but the lettering I add in red and green.
Supplies:
- Blank Wood Board – I used a Cabinet Door
- Base Color – Fusion Mineral Paint Algonquin
- Christmas Stencil
- Acrylic Paint:
- Colors: Tan, Red, Black, White
- Heat Gun
- Fingers Daubers
Instructions On How To Make Your Own Christmas Sign:
- Start by selecting the board you wish to stencil on. If you don’t have one with the color you desire then apply a coat of paint to your surface.
- Once you have applied your paint, use your heat gun to speed up the drying process
- If you have other boards repeat steps 1 and 2.
- Apply a second coat of paint if your board needs it.
- Place your stencil down and see where you want to place your design on your board.
- Using a pouncer/dauber dip your pouncer in your paint color and pounce over the stencil.
- Allow your first section to dry. Use a heat gun to speed up the process. Now line your stencil up to stencil your next section onto your board.
- Switch up your paint color on words or items you wish in your Christmas sign.
- To add some special effects to your sign move your stencil over a little and put a different color over the top of the word. This allows you to do a showing feature on your wording.
- Use your heat gun to dry your paint.
- Add some green paint to stencil some of your trees green when using this same stencil.
- Using a different stencil add snowflakes using white paint around your sign.
How To Stencil When Your Board Is Too Small For Your Project?
If you love crafting, then you know that stenciling is a great way to add some fun and personality to your projects. But what do you do when your board is too small for your stencil? Don’t worry—you have a few options!
- Line up your stencil and fit what is most important to you onto the board
- Move the stencil around and add paint in sections so you make sure it tall fits.
What Is The Best Paint to Use When Stenciling on Wood?
I love using Fusion mineral paint however I will say that all paints are great to use. You can even use acrylic paint. Just be sure you are closing your paint up after each use and washing your pouncers often.
Also some paints may require you to put a clear coating over them.

Buffalo Check Christmas Sign
Materials
- Blank Wood Board – I used a Cabinet Door
- Base Color – Fusion Mineral Paint Algonquin
- Christmas Stencil
- Acrylic Paint
- Heat Gun
- Finger Daubers
Instructions
- Start by selecting the board you wish to stencil on. If you don't have one with the color you desire then apply a coat of paint to your surface.
- Once you have applied your paint, use your heat gun to speed up the drying process
- If you have other boards repeat steps 1 and 2.
- Apply a second coat of paint if your board needs it.
- Place your stencil down and see where you want to place your design on your board.
- Using a pouncer/dauber dip your pouncer in your paint color and pounce over the stencil.
- Allow your first section to dry. Use a heat gun to speed up the process. Now line your stencil up to stencil your next section onto your board.
- Switch up your paint color on words or items you wish in your Christmas sign.
- To add some special effects to your sign move your stencil over a little and put a different color over the top of the word. This allows you to do a showing feature on your wording.
- Use your heat gun to dry your paint.
- Add some green paint to stencil some of your trees green when using this same stencil.
- Using a different stencil add snowflakes using white paint around your sign.
Video
Just pin this buffalo check Christmas tree sign tutorial below to find the instructions later!

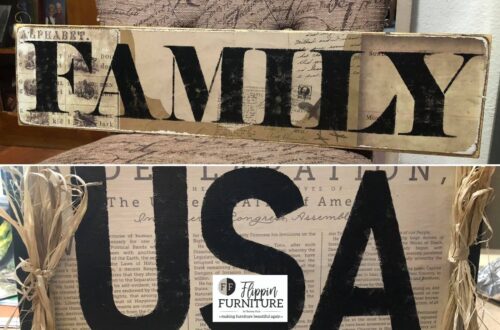
You May Also Like

DIY Floral Window Using Transfers
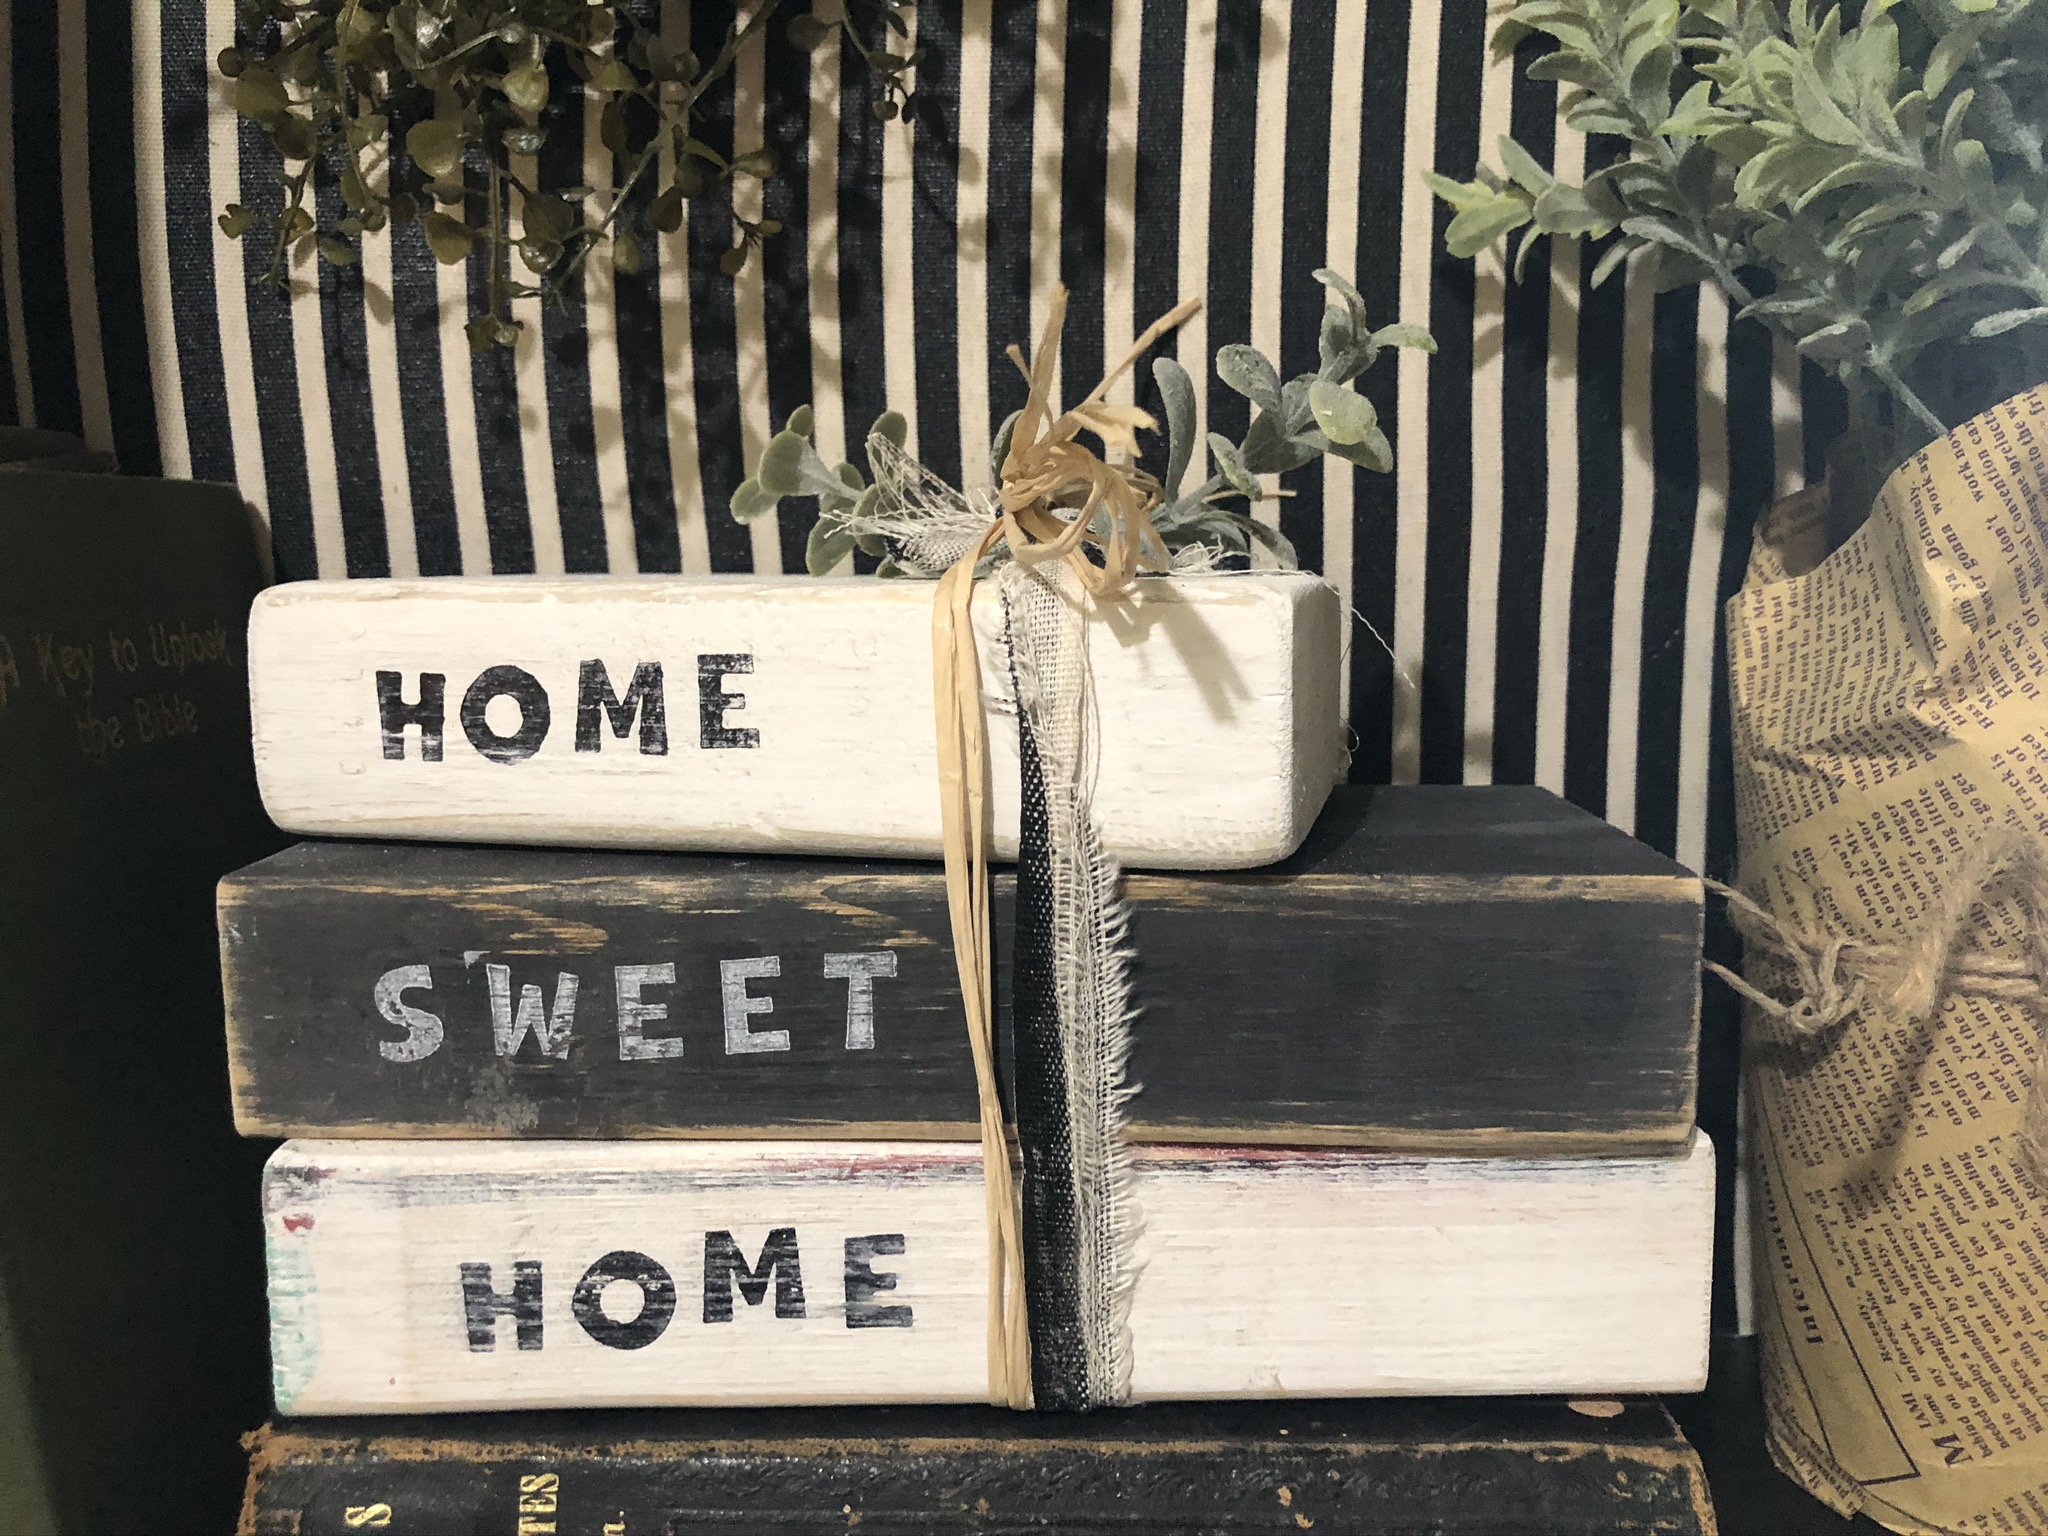
Wood Blocks/Books Sets