DIY Drink Local Wood Sign
I love gifting gifts to friends when we go over for an afternoon of fun and mingling. I have a few friends that have tiki bars and outside pool areas that I thought making them a DIY drink local wood sign would be a perfect gift to give them that is fun for the next time we are invited over.
With just a simple wood blank, some paint, and individual stencil letters this sign is so simple to make yourself but also looks amazing when done! What I love most about DIY wood signs is that you can customize any sign to fit the outside area you are hoping to place it.
Just think about your friends and whom you wish to gift it to and I am sure there are so many different possibilities when it comes to picking the paint colors for your sign. If they are huge football fans, you can make the sign the colors of their favorite football team. Also, it never hurts to stick to what I did and do black and white. That color combo really goes with anything honestly!

DIY Drink Local Wood Sign
Today I am showing you exactly how to make a DIY drink local wood sign to keep for yourself or gift to a friend. I am using the same technique I used to make my DIY Family sign.
Using only a blank piece of wood, stencils, and sponge daubers, and paint I promise this is truly the best way to make your own DIY signs that I promise you will love for yourself or find that it is perfect for gifting to others.
Supplies to make Drink Local Wood Sign:
Instructions for this DIY Drink Local Wood Sign
Start by applying a black coat of paint onto your board. Make sure it is dried before moving to the next step. If you wish to speed up the process you can use your heat gun.
Using individual letter stencils lay them out to make sure you can fit them all on your sign.
Grab your pouncer and using milky white paint start dabbing your paint into the inside of your stencil. I work the inside first and then go back and touch up any places I may have missed.
With a heat gun dry each letter as you can go. That way you do not smear your paint as you add more letters to make your words
Once you finish painting DRINK you are going to work backwards with your second word. To make sure you get it lined up and the word fits!
You will do each letter in the word “LOCAL” just like you did when painting “DRINK”.
Go back and touch up any spots of black that need to be touched up on your wood sign that you may have missed.
After you allow it to dry you will want to seal it with a clear coat
How do you stencil on wood without bleeding?
It is so important to know how to stencil on wood without bleeding from your paint. I highly suggest that you go really slow when stenciling onto the wood. You will also want to use sponge daubers when placing paint it really helps you see where your paint is going and where it has been. Less is more when stenciling. It is always easier to add more paint than take away!

DIY Drink Local Distressed Wood Sign
With just a simple painted wood blank and some individual letter stencils you can have your own outdoor bar decor in no time!
Materials
- Paintbrush
- Wood blank
- Black Paint
- White Paint
- Heat Gun
- Sponge Daubers
- Letter Stencils
Instructions
Start by applying a black coat of paint onto your board. Make sure it is dried before moving to the next step. If you wish to speed up the process you can use your heat gun.
Using individual letter stencils lay them out to make sure you can fit them all on your sign.
Grab your pouncer and using milky white paint start dabbing your paint into the inside of your stencil. I work the inside first and then go back and touch up any places I may have missed.
With a heat gun dry each letter as you can go. That way you do not smear your paint as you add more letters to make your words
Once you finish painting DRINK you are going to work backwards with your second word. To make sure you get it lined up and the word fits!
You will do each letter in the word LOCAL just like you did in DRINK.
Go back and touch up any spots of black that need to be touched up on your wood sign that you may have missed.
After you allow it to dry you will want to seal it with a clear coat
You will just love how beautiful this turns out and like I said this will be the perfect gift to give to your friends who have an outdoor tiki bar or pool area. It just adds a little fun décor piece and is simple, cute, and fun to make!
Just pin this DIY Drink Local Wood Sign tutorial below to find the instructions later!


You May Also Like
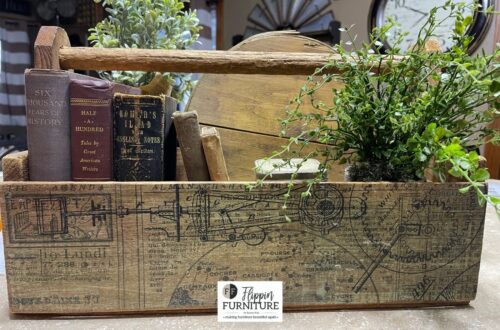
How to Decoupage a Wooden Toolbox
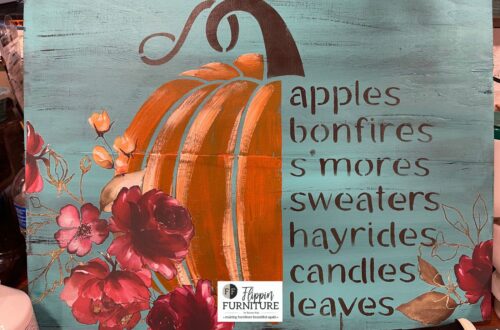
How To Stencil A Pumpkin Fall Sign