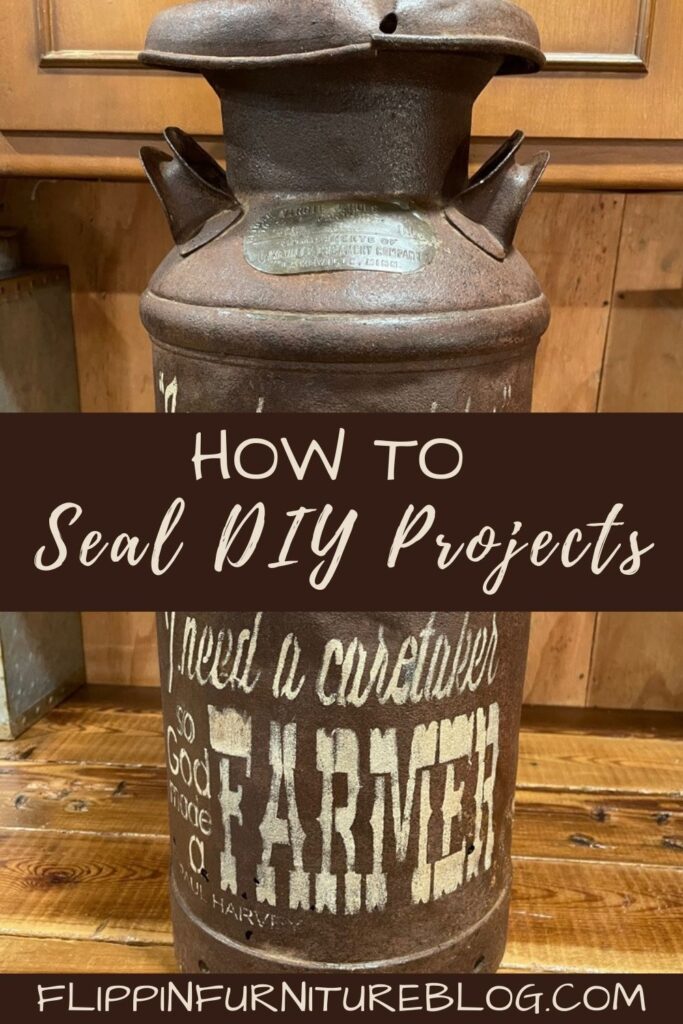
How To Seal DIY Projects
Just finished a DIY project? Check out this tutorial to learn why and how to properly seal DIY Projects!
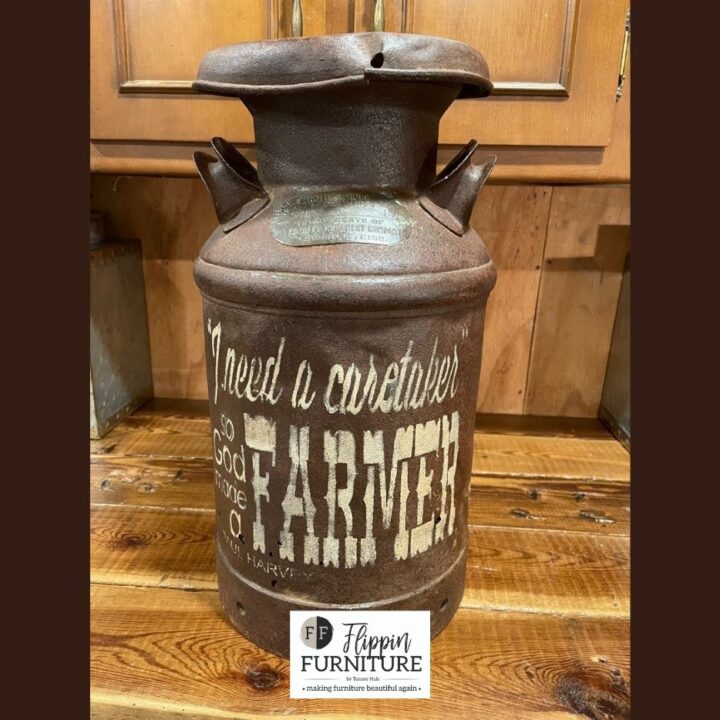
I had such a fun time stenciling the perfect quote onto this family heirloom we have in our family now. This was my husband’s uncle’s milk jug. One day I asked my husband if he knew where we had stored this old milk jug. I knew exactly what I wanted to do with it. When he told me he had found it I was so happy!
I had the perfect stencil and wanted to use it as my new front porch decor. Stenciling this milk jug was the best thing that has happened to it and now I am going to teach you to seal it!
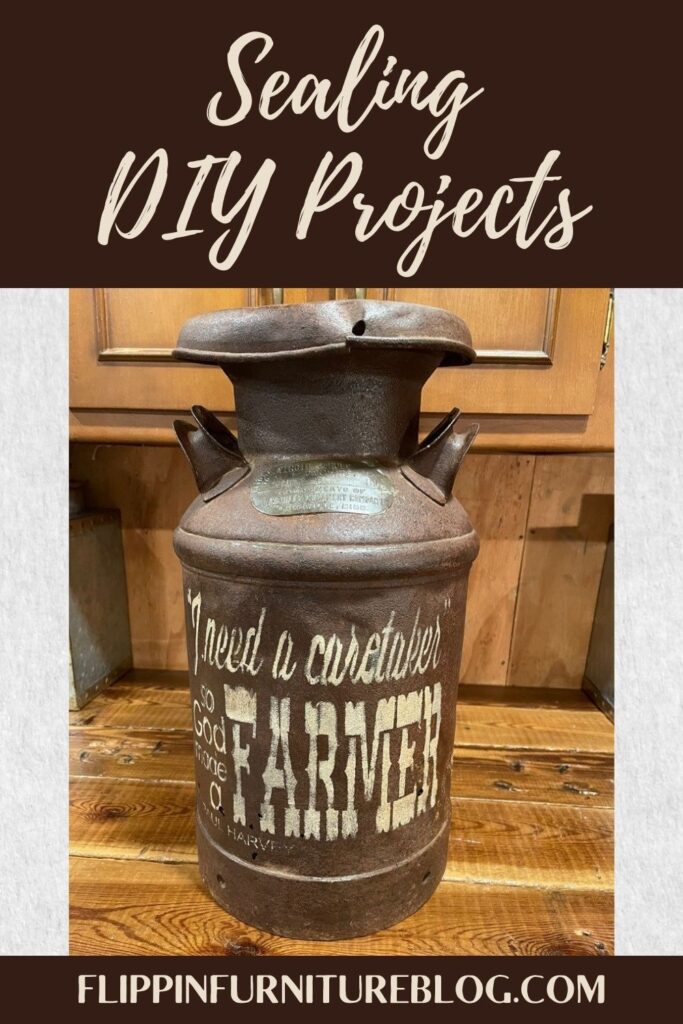
Sealing DIY Projects
Are you a crafter who likes to make your own projects? If so, you know how important it is to seal them properly. Sealing your projects helps keep them looking new for longer and prevents damage from accidental spills and exposure to the elements.
No matter if you are gifting these craft projects as gifts or keeping them for yourself it is important to know how and why to seal them. Check out these tips and tricks below for sealing DIY projects and ensure your hard work lasts a really long time.
Supplies Needed:
- Paint Brush
- Dixie Bell Top Coat – Clear Coat in Satin
- I used Dixie Belle on these projects but have since transitioned to Fusion 🙂 – Fusion Tough Coate, Matte
- Quick Dry Polyurethane in the Can
- Spray Polyurethane
Steps to Seal A Project:
- Pour some fast-drying polyurethane from your can into a bowl.
- Dip your brush into the bowl of polyurethane and then start brushing your brush over the milk jug.
- Make sure you cover every inch of the jug.
- You will see the shine appear as you go. This makes it easy to see which areas you have not covered.
- Finish off by doing the top and inside that you can reach.
- Be careful if your milk jug is rusting like mine and leaking out the bottom. It is is just be sure not to get the rusty drippings on the paint brush you are using to seal your jug with.
Does Polyurethane Yellow Your Craft?
Yes, it will turn some things yellow but I do not typically use it on a white background. Try to avoid having a white background so you can avoid the yellowing it can cause.
Why Should Use Fast-Drying Polyurethane in A Can vs Spray?
I do find that the spray can is much quicker and easier however I mostly perfer to use the one you apply with a paint brush vs. spray. Applying with a paintbrush is more accurate and you can see exactly where you are applying it. I just feel that painting it on is way better than spraying it on. You will see me using both but when time allows I will always paint the sealant on.
How to determine if you should seal or not seal your project?
You can debate this all day long. I typically always seal. I do this to add a glossy clear finish to my projects. However, it is always best to seal when you Modge Podge, stencil, or use transfers. It will help hold things in place and give it good protection as well as presentation.
How To Seal DIY Projects
Just finished a DIY project? Check out this tutorial to learn why and how to properly seal DIY Projects!
Materials
- Paint Brush - 2 and a half inch angle brush
- Dixie Bell Top Coat - Clear Coat in Satin
- Quick Dry Polyurethane in the Can
- Spray Polyurethane
Instructions
- Pour some fast-drying polyurethane from your can into a bowl.
- Dip your brush into the bowl and then start brushing your brush over the milk jug.
- Make sure you cover every inch of the jug.
- You will see the shine appear as you go so it will be easy to see which areas you have not covered.
- Finish off by doing the top and inside that, you can reach.
- Be careful if your milk jug is rusting like mine and leaking rustic out the bottom then be sure not to get the rusty drippings on the paintbrush you are using to seal your jug with.
Hope these tips and tricks help when it comes to adding the finishing touches to your DIY projects. Keep crafting and finding joy in your creativity.
Just pin this How To Seal DIY Projects tutorial below to find the instructions later!


2 Comments
Connie Garner
What sealer do you use on white
Flippin Furniture Blog
Most water-based sealers are fine, I use Fusion’s Tough Coat. 🙂