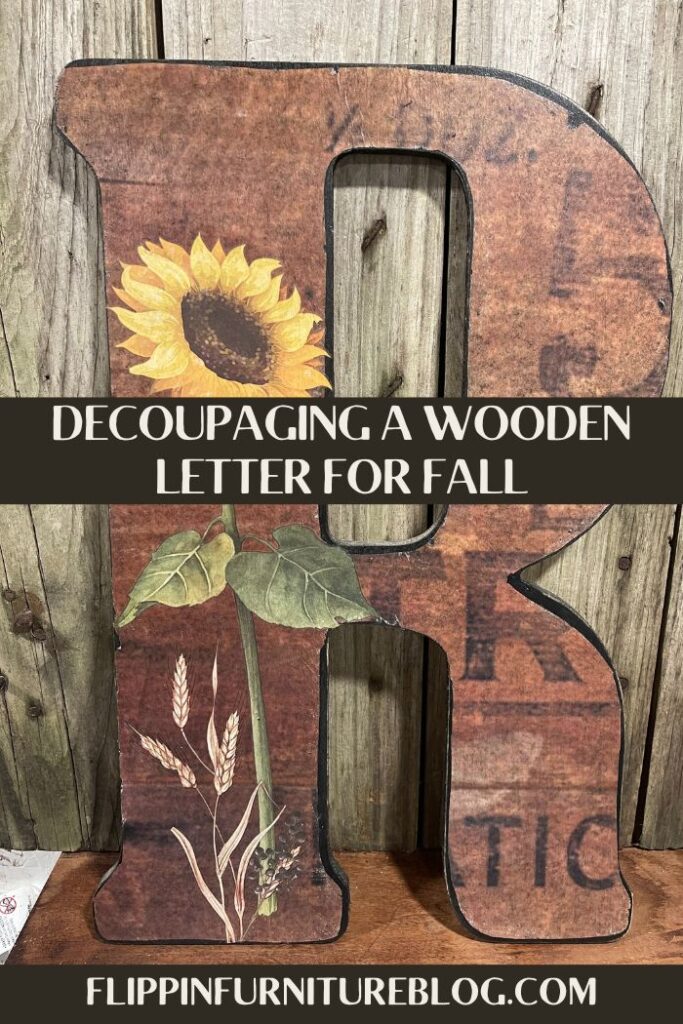
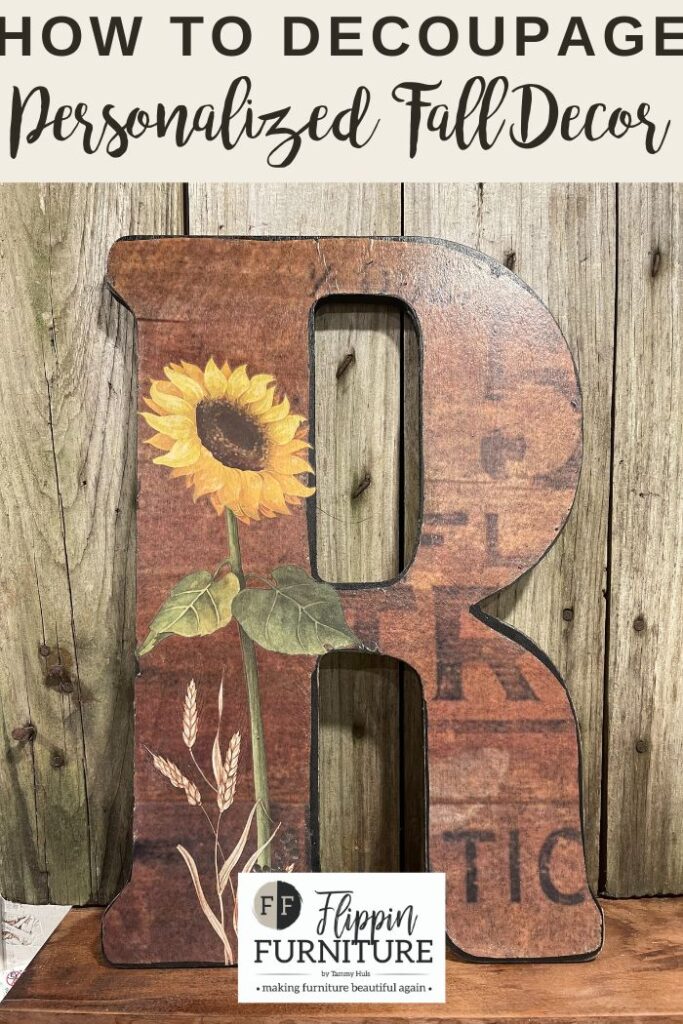
HOW TO DECOUPAGE A WOODEN LETTER FOR FALL
Learn how to easily decoupage a wooden letter for fall using this quick and easy tutorial. This would be a great gift idea or used beautifully in your home during this fall season.
Using Mod podge is so much fun and so versatile! This decoupage wooden letter is not just your basic letter but we went ahead and added a fun floral transfer to create a unique design.
Follow along with me in the video as I decoupage a fall inspired, pretty pattern onto a wooden letter with a sweet sunflower to make it pop, then use the written steps in the tutorial below to make your own.
How to decoupage a wooden letter for fall
I love decoupaging these wooden letters because they are so super simple but make a bold statement in your home. You can do so much with them like spell out someone’s name, a saying or quote or be simply used as a monogram. Wooden letters are wildly available in all different sizes at most craft supply stores. All you need to do is choose your sizes, your fun paper (which is also available in a range of colors and patterns) and start creating!
This tutorial is super simple and will transform any space!
Supplies for your decoupage wooden letter:
- Mineral Paint
- Stain and finishing oil
- Sanding Block Or Sanding Paper
- Wooden Letter
- Paintbrush
- Decoupage Paper
- Scissors
- Transfer of your choice
- Mod Podge
- Transfer Tool
- Heat gun
Instructions for making your decoupage wooden letter:
- Start with your wooden letter.
- Sand your letter with some sandpaper.
- Paint your letter with your coal black mineral paint, making sure that all your edges are covered.
- Lay your letter on top of your decoupage paper and outline it with a pen.
- Cut the shape out of your paper.
- Paint mod podge on your wooden letter.
- Stick your cut out paper on your wooden letter so that it sticks in the decoupage.
- Use your transfer tool and make sure that it is flat and nicely stuck down.
- Using sandpaper, sand the edges.
- Cover your paper with mod podge again.
- Dry it with a heat gun.
- Decide where you are placing your transfer.
- Place your transfer down and use a transfer tool to make sure it’s stuck down.
- Peel off the plastic top layer.
- Paint stain and finishing oil over your transfer and then blend it out with a tissue.
Frequently Asked Questions
What are my favorite mediums I use to decoupage with?
I use Mod Podge, Fusion’s Decoupage & Transfer Gel. If it is a thicker type of paper or fabric project I opt for the Mod Podge. For a basic tissue paper, I use Fusion’s Decoupage and Transfer Gel — it is water based and is quick drying and water resistant and easier to work with than traditional Mod Podge.
Looking for some fun and crafty DIY home decor ideas? Look no further than the Flippin Furniture blog. We have tons of tutorials to help you with everything from crafting to furniture makeovers.
And be sure to follow us on Facebook for even more inspiration.
Love our crafting tutorials and want be apart of a crafting community? Join the Flippin Society today!

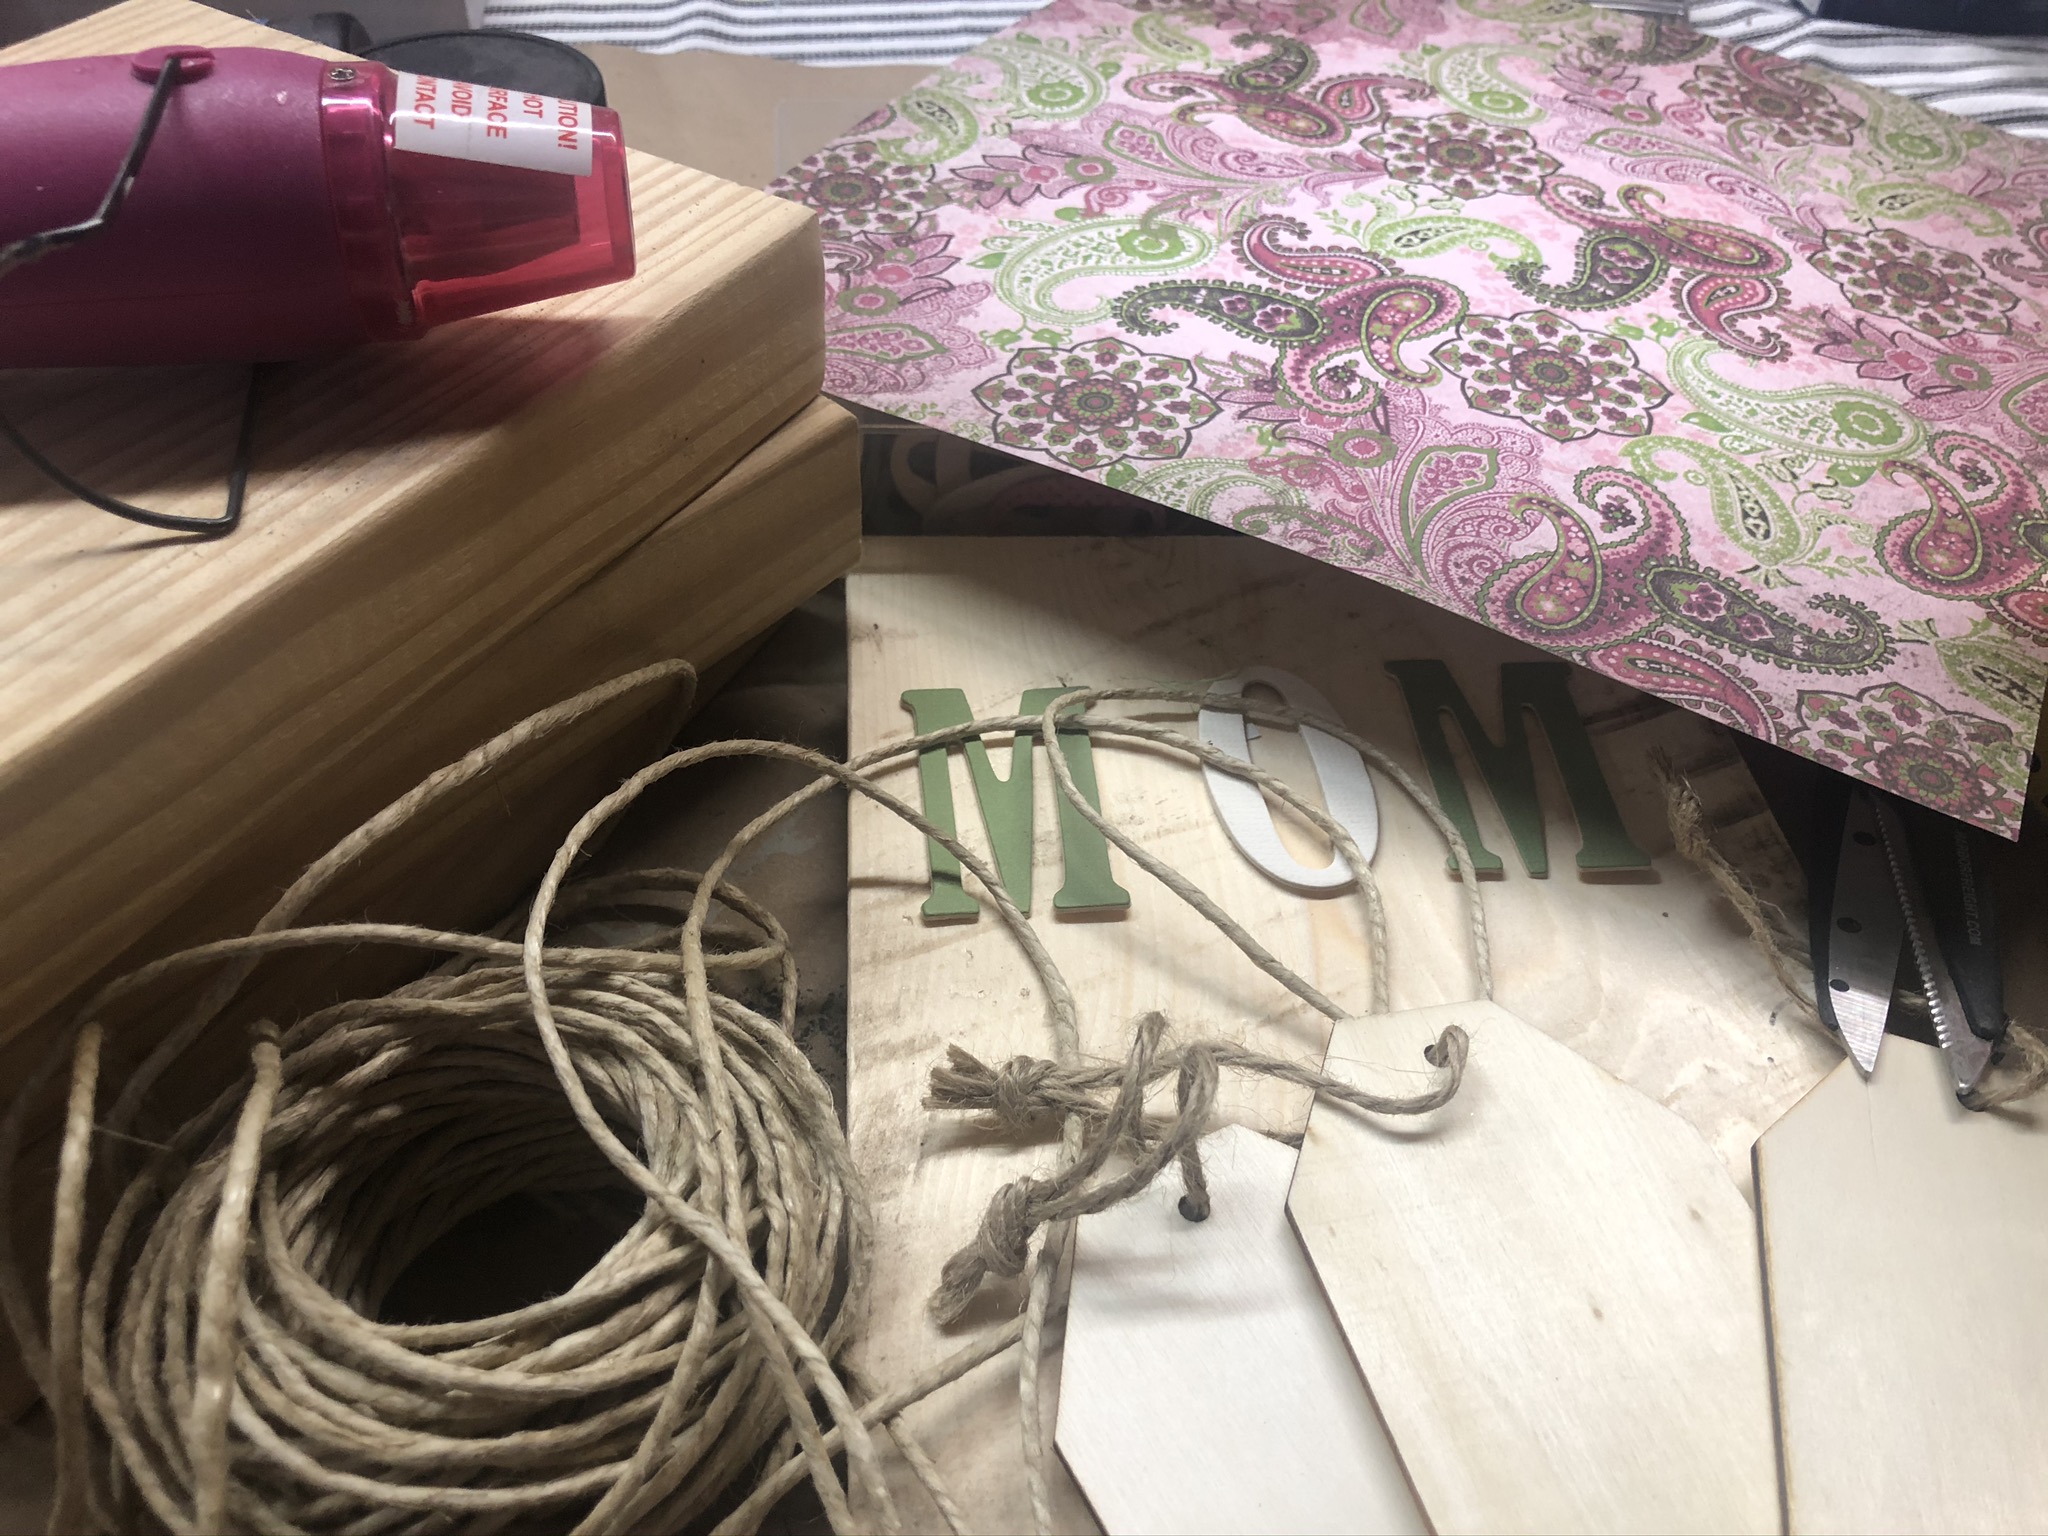
Decoupaging a Letter Blocks for Fall
Materials
- Mineral Paint Coal Black
- SFO – Stain & Finishing Oil All in One Cappuccino
- Sanding block
- Pen/Pencil
- Wooden Letter
- Paintbrush
- Decoupage Paper Wood Crate "Trolley"
- Scissors
- Sunflower Afternoon Transfer
- Mod Podge
- Transfer Tool
- Heat Gun
Instructions
- Start with your wooden letter.
- Sand your letter with some sandpaper.
- Paint your letter with your coal black mineral paint, making sure that all your edges are covered.
- Lay your letter on top of your decoupage paper and outline it with a pen.
- Cut the shape out of your paper.
- Paint mod podge on your wooden letter.
- Stick your cut out paper on your wooden letter so that it sticks in the decoupage.
- Use your transfer tool and make sure that it is flat and nicely stuck down.
- Using sandpaper, sand the edges.
- Cover your paper with mod podge again.
- Dry it with a heat gun.
- Decide where you are placing your transfer.
- Place your transfer down and use a transfer tool to make sure it’s stuck down.
- Peel off the plastic top layer.
- Paint stain and finishing oil over your transfer and then blend it out with a tissue.
Video
Just pin this decoupaging a wooden letter for fall tutorial below to find the instructions later!