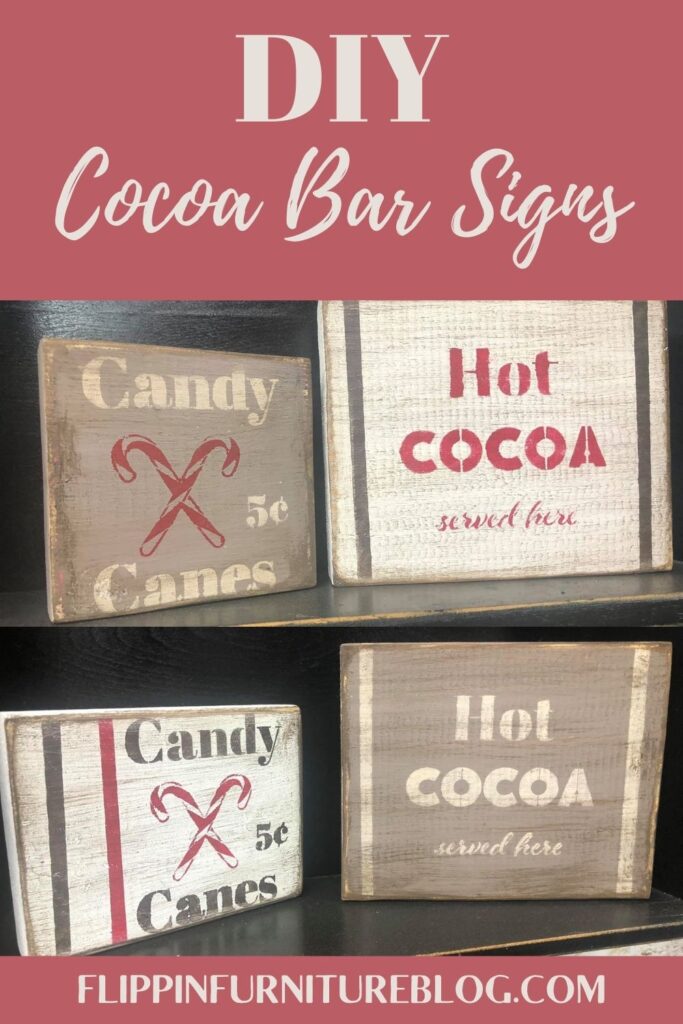
DIY Cocoa Bar Signs
Follow along step by step as I show you how to make the perfect DIY Cocoa bar signs for your Hot Cocoa Bar in your home. This simple craft will be just as sweet as the delicious treat that inspired it.
Do you have a hot cocoa bar in your home? I want a cozy, farmhouse vintage, little corner in my home dedicated solely to hot cocoa. Call me crazy, but a cute little spot to hold my cups/mugs sounds like heaven. Jars of all shapes and sizes filled with all the yummy fixings to make that delicious drink. I figure if I make these DIY Cocoa Bar signs, my hot cocoa bar area will become a reality for me. My own little taste of heaven all from hot cocoa! Do you feel the same as I do about that chocolatey powder perfection?
DIY Cocoa Bar Signs Tutorial
Painting pieces of wood of all shapes and sizes makes me happy. A cup of hot cocoa makes me super happy too. Making signs to create a hot cocoa bar for my home, makes me just plain ecstatic. This DIY sign tutorial for your own hot cocoa bar will surely make you happy as well.
Using old scrap wood, your own choice of base color paints, and stencils are all you need to create this DIY craft. My design style is farmhouse vintage and these DIY Cocoa Bar signs will represent that vibe perfectly. These will serve as great accents to the rest of my home decor since I stuck with the same color palette found throughout my home. Have fun with your paint choices. I can’t wait to get these cute little signs into my hot cocoa bar area. In fact, my mouth is watering just thinking about it!
Just follow the steps below and have some fun! One question though, what yummy toppings will you have stocked in your hot cocoa bar? Marshmallows and candy canes are a must in my home.
Supplies needed to make your own DIY Cocoa Bar Signs
- 4 wooden blocks – scrap lumber of all different sizes
- Fusion Mineral paint
- Acrylic paint
- Paintbrush
- Heat Gun/dryer
- Cocoa Bar Stencil Pack
- Sanding block/Electric sander
- Antiquing glaze
Create Your Own Hot Cocoa Signs:
- Grab your desired size wood blocks. You can use scrap wood if you like. I am using pieces that are all different sizes.
- With some tan/gray/taupe/white paint, give a base coat to your wooden blocks. Cover completely. Don’t forget to do the sides. It doesn’t have to be a thick coat because we will distress the boards.
- Paint your wooden blocks different colors of base coats like me, or keep them all the same shade. It is your preference.
- Dry completely with a heat gun/dryer to speed up the process.
- Touch up any spots that you may have missed.
- With your cocoa stencil, plan on where you want it to be placed. Play with placement on your wooden board. You can measure it out if you are extra precise, or eyeball it like me.
- With your acrylic paint, begin dabbing out your first stencil. Use finger daubers to stencil best. Hold stencil in place as you work. You decide your accent paint color. You can’t go wrong with white or blacks.
- If you had some extra room on your board, use painters tape to create lines on the sides of your board. Place 2 pieces of tape on board on each side. You will lay down 4 total pieces of tape.
- Dab your paint in between the negative space on your board. Repeating the same way as you did with your stencil. Carefully remove tape. Set aside to dry.
- Repeat steps with your next boards, as you stencil on with your next color of choice. I am going with a red for this one on my white base coat.
- Be creative with your stencils as you finish out your boards with the different holiday stencils. Use browns, greens, black, white, or reds to stencil. You can even mix and match colors on your same board. Create more lines on boards where you see fit. Just have fun with it.
- Now set aside to dry. Or, use a heat gun or hair dryer to speed up the drying process.
- To distress your blocks, grab your sanding block/electric sander and rub along the edges. Distress as much as you like.
- To give an antique look to your blocks, grab your antiquing glaze. With a tiny amount, lightly brush along your edges. A little goes a long way with this product. Give it a dirty little look by brushing it from left to right over the whole board. This will give that vintage farmhouse vibe I am going for. You can do this on all of your blocks if you prefer. Or you can skip this step entirely.
- Carefully wipe your blocks of any debris, paying attention not to smear your paint.
- If you feel your blocks need a little more, feel free to add some twine, jute, string, or even ribbon of your liking, and unravel a bit so you have some to wrap easily. Apply a thin line of hot glue to start your wrapping, to help it stay in place. Wrap around several times to make it thick. Cut and hot glue the end to secure.
- Last but not least, enjoy your simple DIY Cocoa Signs, while enjoying a warm, delicious treat.
DIY Cocoa Bar Signs
Learn how to make your own DIY Hot Cocoa Signs.
Tools
- 4 wooden blocks - scrap lumber of all different sizes
- Chalk Type paint - Gray/Tan/taupe/white neutral color to match home decor
- Black, white, off-white, red, green, brown acrylic paint
- Paintbrush
- Heat Gun/dryer
- Cocoa Bar Stencil Pack
- Sanding block/Electric sander
- Antiquing glaze
Instructions
- Grab your desired size wood blocks. You can use scrap wood if you like. I am using pieces that are all different sizes.
- With some tan/gray/taupe/white paint, give a base coat to your wooden blocks. Cover completely. Don’t forget to do the sides. It doesn’t have to be a thick coat because we will distress the boards.
- Paint your wooden blocks different colors of base coats like me, or keep them all the same shade. It is your preference.
- Dry completely with a heat gun/dryer to speed up the process.
- Touch up any spots that you may have missed.
- With your cocoa stencil, plan on where you want it to be placed. Play with placement on your wooden board. You can measure it out if you are extra precise, or eyeball it like me.
- With your acrylic paint, begin dabbing out your first stencil. Use finger daubers to stencil best. Hold stencil in place as you work. You decide your accent paint color. You can’t go wrong with white or blacks.
- If you had some extra room on your board, use painters tape to create lines on the sides of your board. Place 2 pieces of tape on board on each side. You will lay down 4 total pieces of tape.
- Dab your paint in between the negative space on your board. Repeating the same way as you did with your stencil. Carefully remove tape. Set aside to dry.
- Repeat steps with your next boards, as you stencil on with your next color of choice. I am going with a red for this one on my white base coat.
- Be creative with your stencils as you finish out your boards with the different holiday stencils. Use browns, greens, black, white, or reds to stencil. You can even mix and match colors on your same board. Create more lines on boards where you see fit. Just have fun with it.
- When finished with paint, set aise to dry. Or, use a heat gun or hair dryer to speed up the drying process.
- To distress your blocks, grab your sanding block/electric sander and rub along the edges. Distress as much as you like.
- To give an antique look to your blocks, grab your antiquing glaze. With a tiny amount, lightly brush along your edges. A little goes a long way with this product. Give it a dirty little look by brushing it from left to right over the whole board. This will give that vintage farmhouse vibe I am going for. You can do this on all of your blocks if you prefer. Or you can skip this step entirely.
- Carefully wipe your blocks of any debris, paying attention not to smear your paint.
- If you feel your blocks need a little more, feel free to add some twine, jute, string, or even ribbon of your liking, and unravel a bit so you have some to wrap easily. Apply a thin line of hot glue to start your wrapping, to help it stay in place. Wrap around several times to make it thick. Cut and hot glue the end to secure.
- Last but not least, enjoy your simple DIY Cocoa Signs, while enjoying a warm, delicious treat.
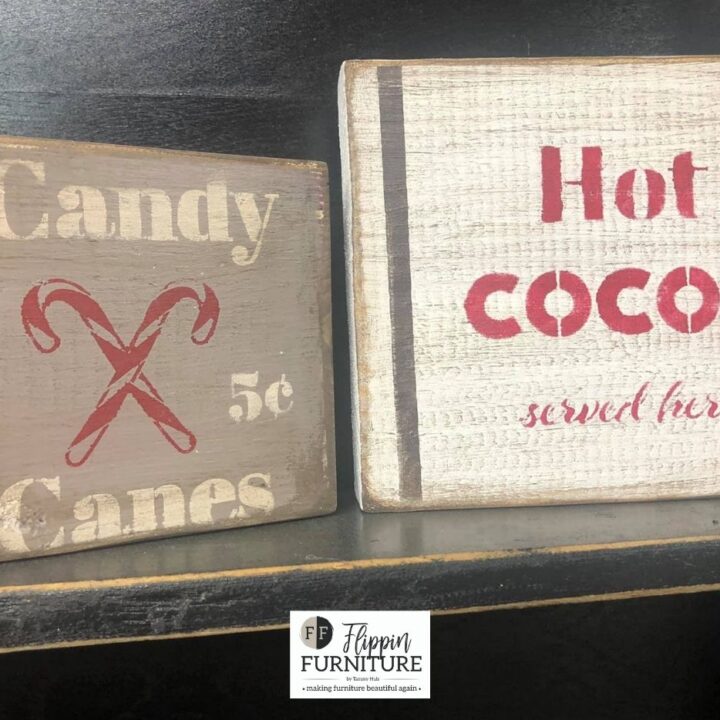
These hot cocoa bar signs could not have turned out any better! I just love how cozy and cute they turned out to be. They are the perfect little addition. I am so excited to invite some friends and family over to enjoy some yummy cups of hot cocoa with me. And you know everyone loves hot cocoa!
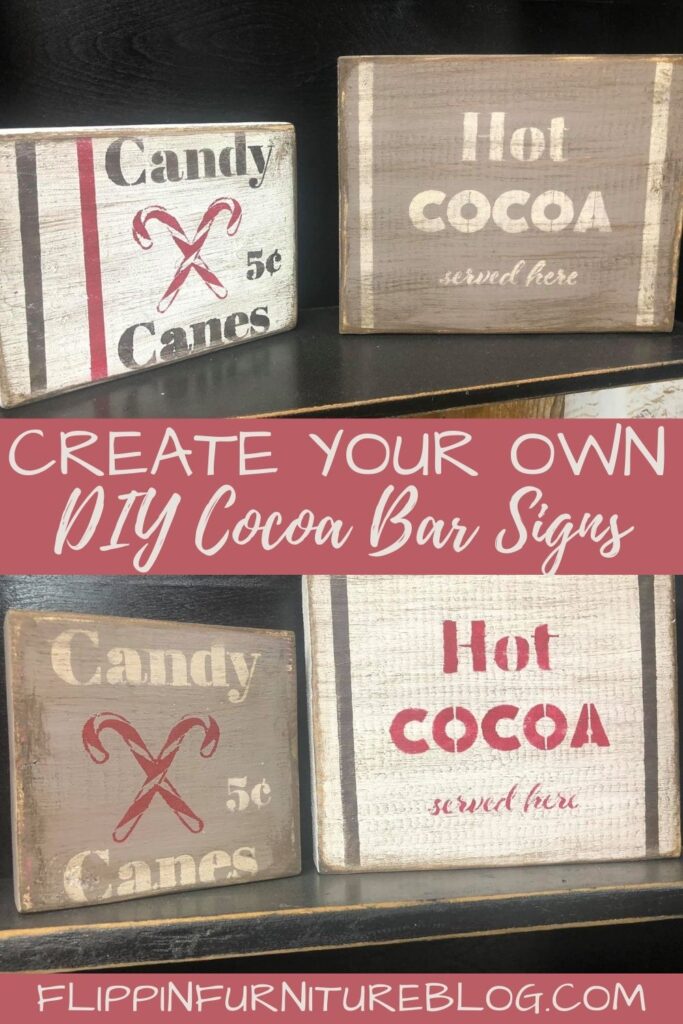
Just pin this DIY Cocoa Bar Signs tutorial below to find the instructions later!

You May Also Like
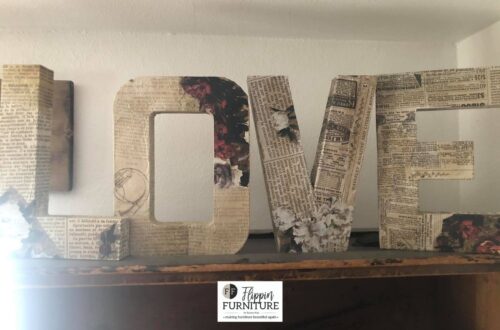
DIY Love Signs
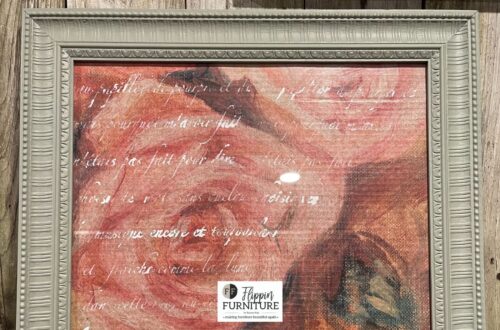
How to: DIY Picture Frame Makeover with Decoupage