Learn How To Apply A Transfer
Have you ever seen a really cute saying or graphic and wished you could put it on everything? Well, there’s good news: with a little bit of patience and some basic tools, you can apply transfers to basically any surface! In this how to apply a transfer tutorial I will show you how it’s done. So go find your perfect transfer, and let’s get started!
When it comes to using transfers on walls, doors, or even furniture you have to make sure it is one you love. I don’t have a problem finding something I love because honestly, I love everything. I love quotes, floral designs, and even farm animals! Once you have selected the transfer you wish to use you are ready to prep your wall or door and get to adhering your transfer.
Learn How To Apply Transfers
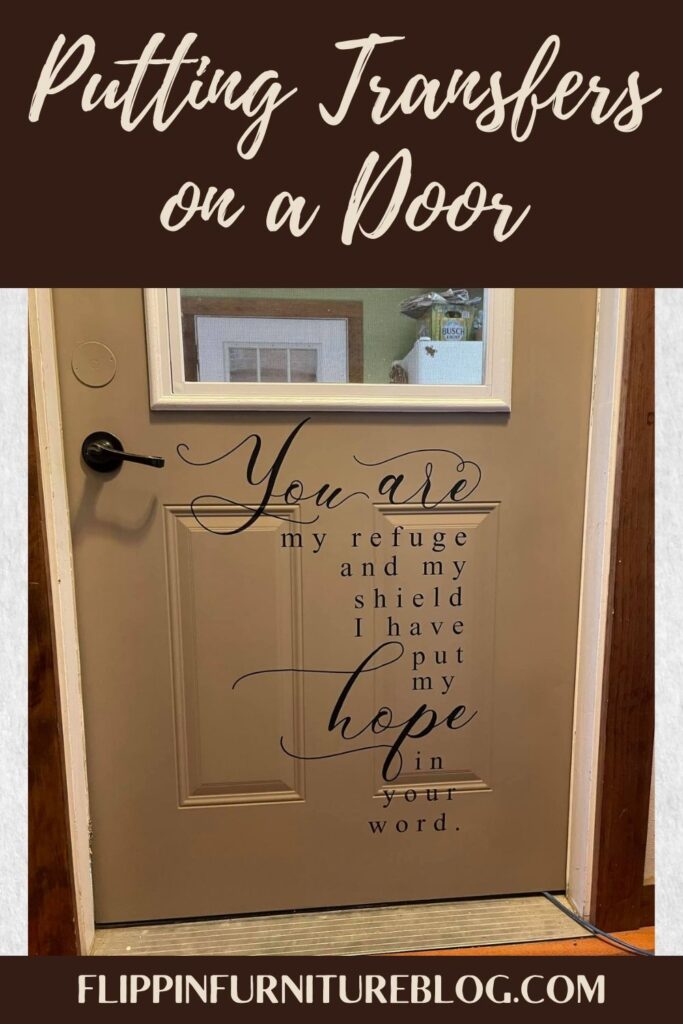
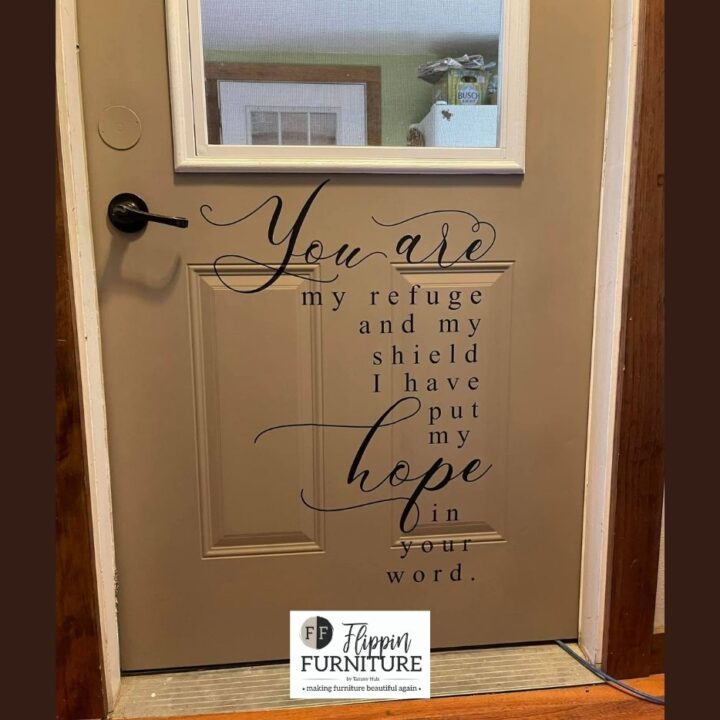
You guys know I love making something old into something new by using a little paint and some transfers. This door makeover project was no different. Not that my door is old I just wanted something on it to jazz it up a little. This door is the door that leads into our garage. We pass through this door multiple times a day so I knew I wanted a saying or quote to help remind us to find joy in our day. This transfer was one I have had forever and I am so glad I remembered I had it because it is the perfect saying to read each time I enter our garage.
To apply a transfer to a door it is not that hard. It really requires a lot of patience and time. With the right mindset, you can totally do this. Follow along and I will teach you some tips and tricks to applying transfers to different surfaces.
Supplies:
- Prima ReDesign Transfers
- Transfer tool
- Sealer
- Painters tape
Steps To Apply Transfer:
- Lay transfer on the area you wish to transfer to.
- Use your scraper tool to go over your sheets to make sure it adheres to the area you are placing them.
- Once you peel off the backing pull the wax sheet off and then rub your finger over the wording. This helps smooth out any bubbles that may have developed when applying.
- If your transfer has multiple pieces just be sure you line them up correctly. Take your time and rub over the lettering once you have it in place.
- The best way to get it on is using a flat edge tool.
- If you have any spots that may have pulled off I just use a sharpie of that color and fill in the imperfection
- Go back over all the lettering with your fingers one final time to smooth out and flatten the words
Tips and Tricks to Learning How To Apply Transfers
- You may wish to apply a sealer on the surface first. This allows your transfers to really stick to the surface better.
- To keep your transfer from fading if it is in direct sunlight spray a sealer over it to protect it from the sunrays.
- If your transfer is large you can use painters tape to hold the edges to help you apply the tranfer to the wall.
Where Can Prima Design Transfers Be Applied?
You are in luck because these transfers can basically be applied to any surface. I like to say the possibilities are endless. Typically you will find me applying these to furniture, walls, doors, and even kitchen cabinets. No project is too big or too small when it comes to applying these transfers. I always so if you think it will look good then go for it!
Learn How To Apply A Transfer
Have you ever seen a really cute saying or graphic and wished you could put it on everything? Well, there's good news: with a little bit of patience and some basic tools, you can apply transfers to basically any surface! In this how-to apply transfer tutorial I will show you how it's done.
Materials
- Prima ReDesigns Tranfers
- Flat edge transfer tool
- Sealer
- Painters tape
Instructions
Lay transfer on the area you wish to transfer to.
- Use your scraper tool to go over your sheets to make sure it adheres to the area you are placing them.
- Once you peel off the backing pull the wax sheet off and then rub your finger over the wording. This helps smooth out any bubbles that may have developed when applying.
- If your transfer has multiple pieces just be sure you line them up correctly. Take your time and rub over the lettering once you have it in place.
- The best way to get it on is using a flat edge tool.
- If you have any spots that may have pulled off I just use a sharpie of that color and fill in the imperfection
- Go back over all the lettering with your fingers one final time to smooth out and flatten the words
Just pin this Learn How to Apply Transfers tutorial below to find the instructions later!


You May Also Like
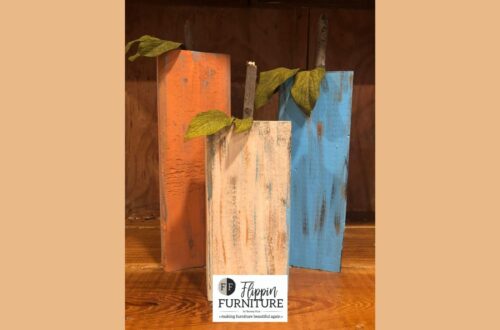
DIY Scrap Lumber Pumpkin Decor
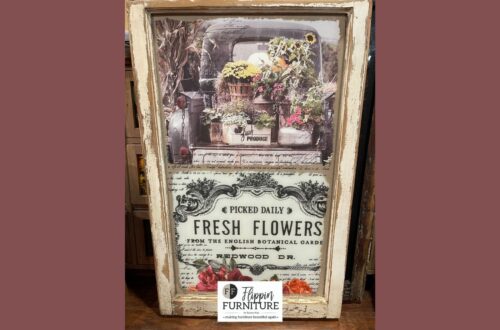
Upcycle a Window Using Transfers