How to Stencil a Custom Wood Sign for Your Home
Learning how to stencil a custom wood sign for your home can really help you save money on decorations for your home. Watch and learn as I show you how to create your own signs for your own home.
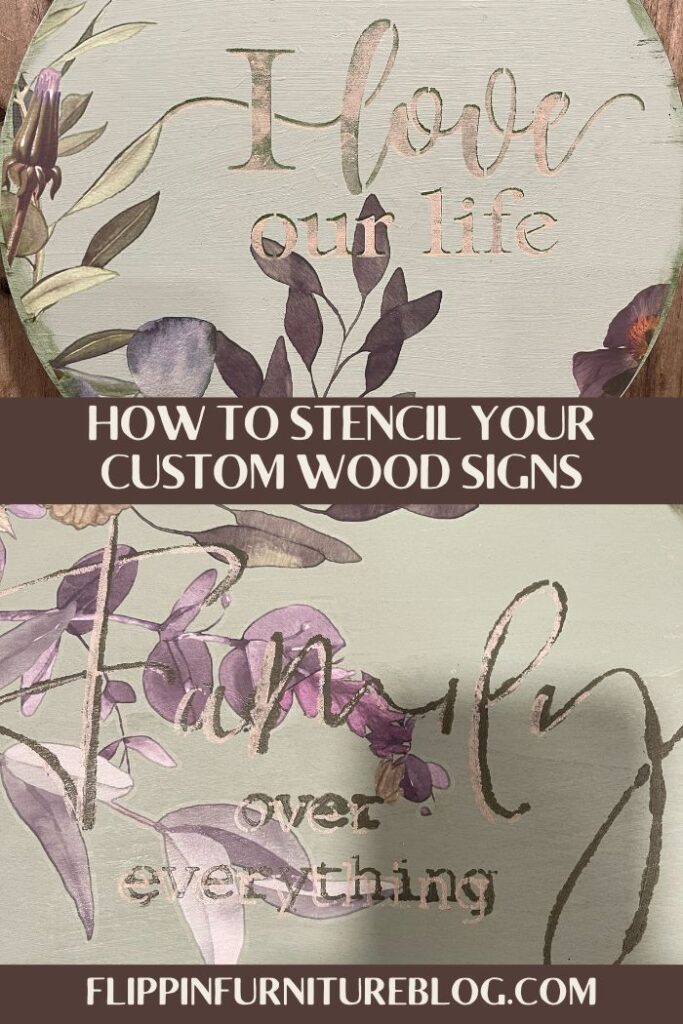
This Custom Wood Sign turned out so dreamy. Even dreamier than I thought it could be. It looks so pretty on my buffet sitting next to a pretty candle and vase of deep brown florals. I love creating Custom Wood Signs for my home to go with my decor.
It is the best feeling to have the freedom to decide everything from start to finish. Colors, styles, fonts, phrases, sizes, and shapes – It is all up to me. If that seems daunting to have that much free reign right off the back, then just go ahead and copy my steps exactly as I did. Or be brave and try something new. Either way, let’s get to crafting.
With a piece of wood – round, square, or rectangular – some paint, your favorite phrased stencil and a transfer, you can make this Custom Wood Sign in less than an hour. Yep, you read that right… less than an hour. Believe me? Well set your timer. I’ll show you the steps, and you let your creative juices flow. So if you want to learn how to get this look in your home, let me show you how. Grab your supplies and let’s get started.
Make Your Own Custom Wood Sign With Stencils
There really is nothing better than being able to make something beautiful with your own hands. DIY projects are so satisfying and this Custom Wood Sign with Stencils and Transfers is exactly that… satisfying. I love that when working with transfers and stencils, you can make your home decor exactly how you want it. Follow along as I teach you step by step to make this Custom Wood Sign with Stencils and a pretty little transfer.
Supplies
- Wooden Circles
- “I Love Our Life” Stencil
- “Family over Everything” Stencil
- Acrylic Paint
- Heat Gun
- Finger Dauber
- Floral Transfer
- Fusion Furniture Paint – Brook, Bayberry
- Small Brush
- Flat Brush
- Transfer Tool – Flat edge
- Polyurethane Spray
How to Stencil a Custom Wood Sign for Your Home
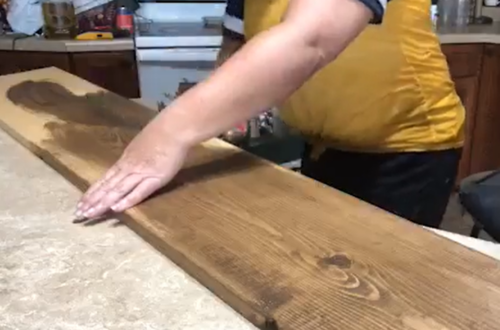
- Grab your large round wooden board or scrap wood. I painted mine with a base coat of Brook from Fusion Mineral Paint. Let dry completely before moving on.
- Grab your floral transfer and cut enough to cover sections of your board based on the amount you wish to cover. Be sure you leave enough space for your Stencil to stand out on your board.
- Apply your transfer with your flat edge transfer sheet tool but pressing firmly. Pay attention to the curves of your round board when placing the transfer, so you don’t leave a gap of space.
- Be sure your transfer sheet is securely adhered to your board before you begin removing the backing.
- Slowly peel back plastic backing.
- Grab your “I Love Our Life” stencil,
- With your finger dauber begin dabbing in some Bayberry in the lettering of your stencil. Dab carefully.
- Highlight your lettering a bit to help it pop out from your bed of florals.
- Let dry a bit with your heat gun.
- Use Dark Titanium White to highlight. Carefully place your stencil back over your letters shifted just a bit off to add the white pop of color.
- Once dry, add some edging to your sign’s edges with your finger daubers. Lightly rub, just adding a little detail to your sign.
- You can add a sealer to this if you want, but I did not.
What if you tear your transfer when pulling it up?
I have done this time and time again. And let me ease your worries and concerns. This is not the end of the world, folks. In fact for this little project, I did this exact thing but you can’t even tell, can you? If this happens, simply find another little spot on your transfer sheet and add another little floral on top to hide your “so-called mistake.” Then move on with life. No need to stress friends. Making your own custom Wood Sign is supposed to be fun. So focus on ALL the fun crafting can be!
Creating decor to fit your home decor the way you want is just as easy as that. You decide it all to fit your style, your colors, your exact location in your home. ALL of it! And then just sit back and wait to hear all the compliments come rolling in from friends and family who stop by and happen to notice your adorable Custom Wood Sign. Thanks for crafting with me. Until next time.

Looking for some fun and crafty DIY home decor ideas? Look no further than the Flippin Furniture blog. We have tons of tutorials to help you with everything from crafting to furniture makeovers.
And be sure to follow us on Facebook for even more inspiration.
Love our crafting tutorials and want be apart of a crafting community? Join the Flippin Society today!


Custom Wood Sign
Materials
Instructions
- Grab your large round wooden board or scrap wood. I painted mine with a base coat of Brook from Fusion Mineral Paint. Let dry completely before moving on.
- Grab your floral transfer and cut enough to cover sections of your board based on the amount you wish to cover.Be sure you leave enough space for your Stencil to stand out on your board.
- Apply your transfer with your flat edge transfer sheet tool but pressing firmly. Pay attention to the curves of your round board when placing the transfer, so you don't leave a gap of space.
- Be sure your transfer sheet is securely adhered to your board before you begin removing the backing.
- Slowly peel back plastic backing. Grab your “I Love Our Life” stencil, With your finger dauber begin dabbing in some Bayberry in the lettering of your stencil. Dab carefully.
- Highlight your lettering a bit to help it pop out from your bed of florals. Let dry a bit with your heat gun. Use Dark Titanium White to highlight. Carefully place your stencil back over your letters shifted just a bit off to add the white pop of color.
- Once dry, add some edging to your sign’s edges with your finger daubers. Lightly rub, just adding a little detail to your sign. You can add a sealer to this if you want, but I did not.
Video
Just pin this Custom Wood Sign tutorial below to find the instructions later!


You May Also Like

DIY Campfire Sign
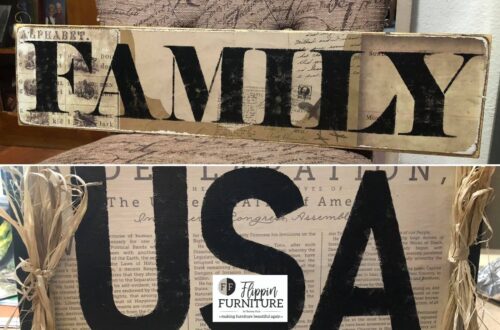
Simple USA and Family DIY Wood Sign Tutorial