Easy Easter Crafts
Ok, so I have kind of been on a roll lately. Today was day 12, in a row, of going live with either a craft or showing you what I got to do more crafts with.
With all the craziness going on right now, I am just trying to be a bright spot—a positive distraction for the crafty people that are on lockdown.
So with that being said, let’s hop on into some Easter crafting!
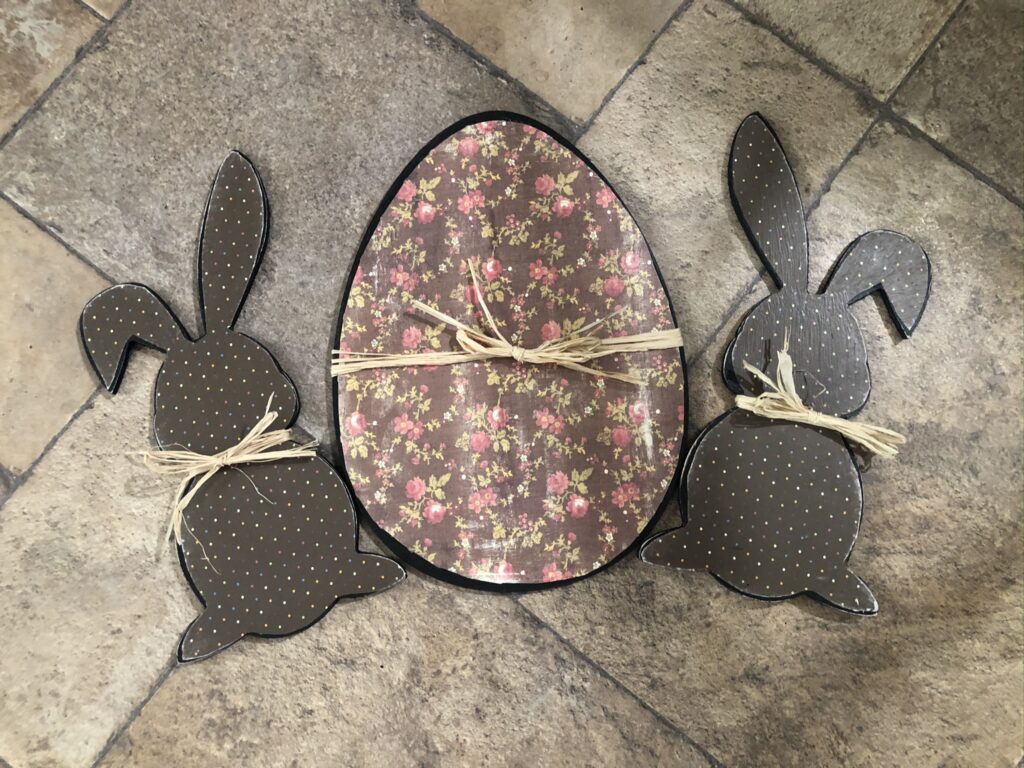
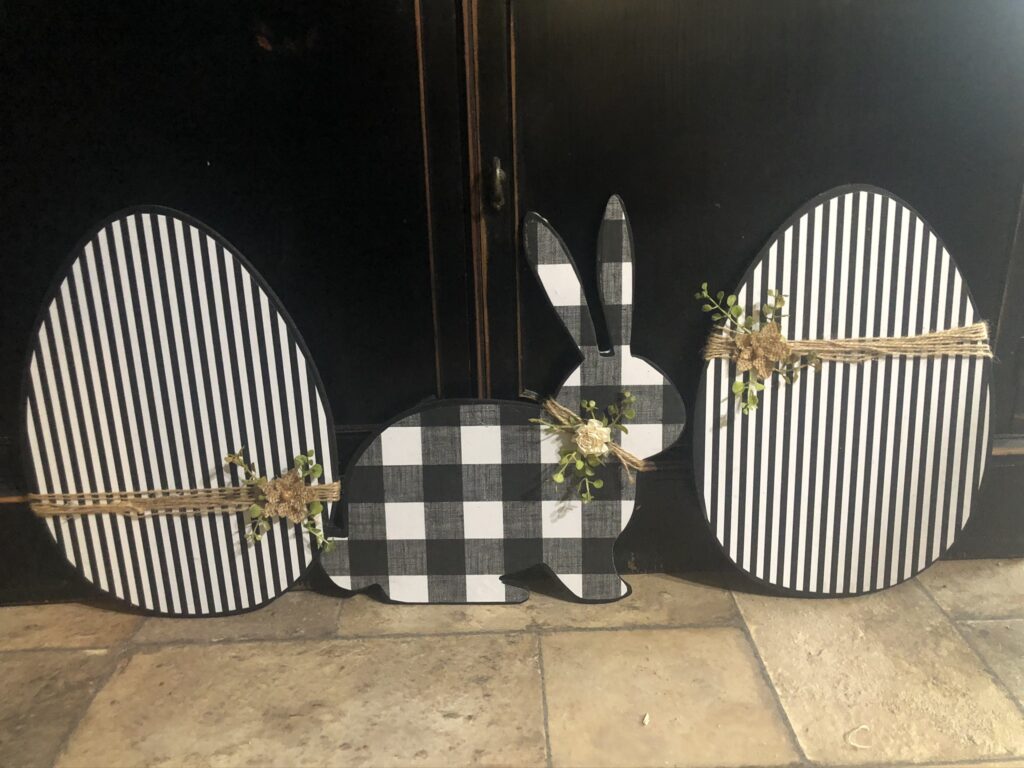
HOW ABOUT THESE SWEET LITTLE BUNNIES
Super easy. I purchased the wood cutouts from amazon.
I painted the edges black and mod podged on the scrapbook paper.
I then wrapped some raffia on.
Done.
Supplies:
- Wood Bunny Cutout – https://amzn.to/3acZpEd
- Wood Egg Cutout – https://amzn.to/33FBHhe
- Mod Podge Matte – https://flippinfurnitureshop.com/products/mod-modge-matte-notions
- Scrapbook Paper – Your Choice
- Raffia – https://amzn.to/3bfY3bC
- Dixie Belle Caviar 8 OZ – https://amzn.to/2Ua083k
- Hot Glue Gun – https://amzn.to/2UfajUq
- Cordless Hot Glue Gun – https://amzn.to/3aphYVT
- Squeegee – https://flippinfurnitureshop.com/products/the-blue-tool-hp
How about another easy one?
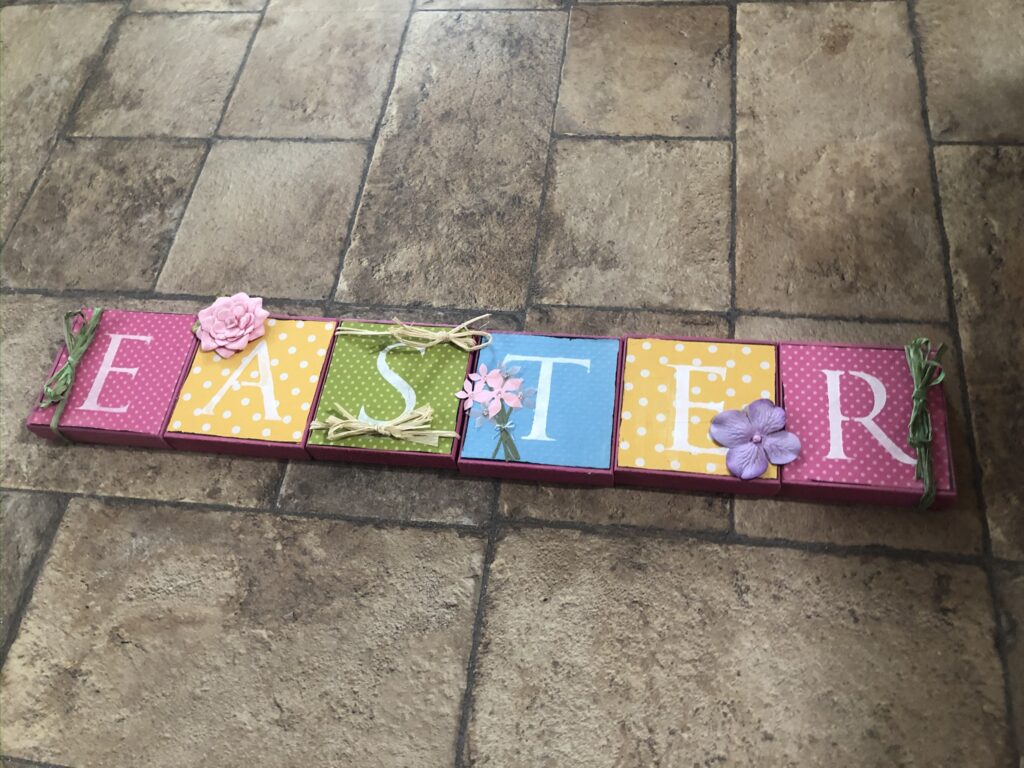
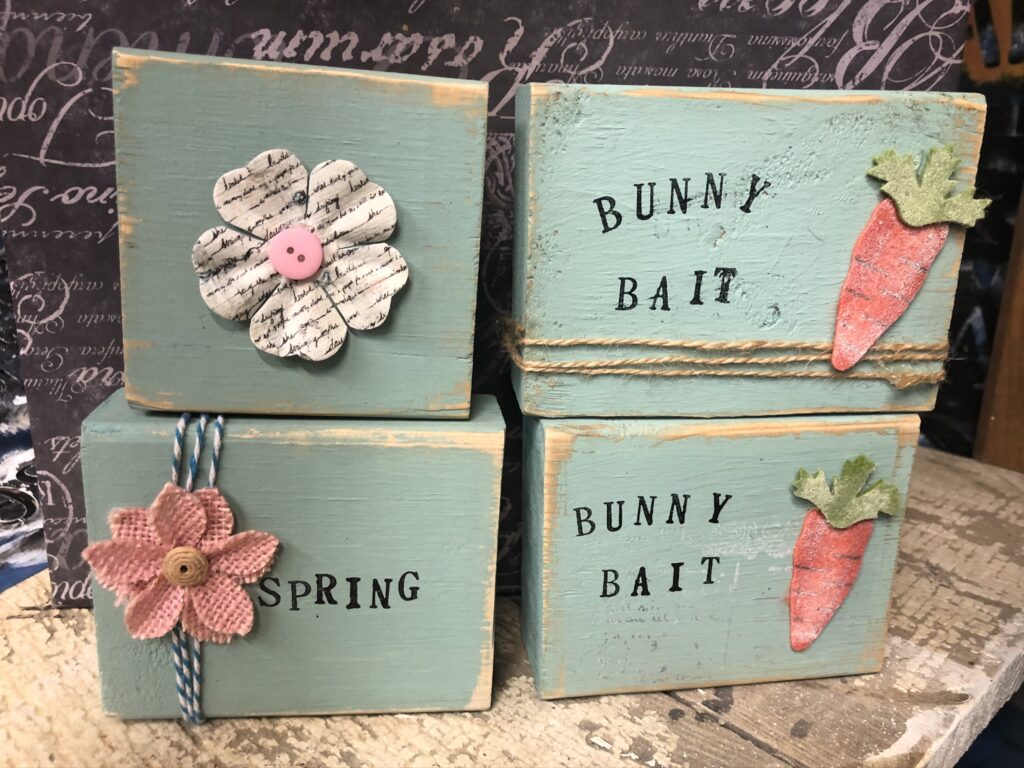
EASTER BLOCKS
I have had these little wood blocks for over five years now. They measure about 3 ¾” x 3 ¾”. I’m assuming they were cut from a 1×4.
I painted the outside edges with pink paint, then cut the scrapbook papers to fit the blocks and mod podged them on.
After that, I added some embellishments. A few flowers hot glued on here and there.
And wrapped green raffia around the first and last blocks and secured that with hot glue also.
Done.
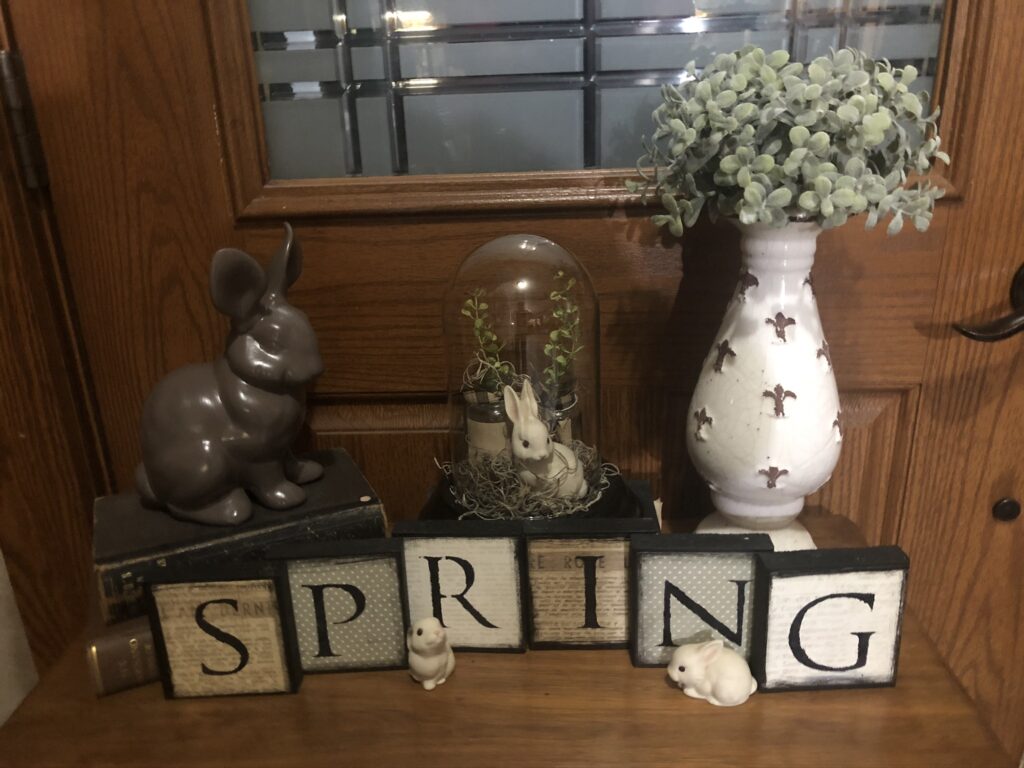
I did this in your typical, traditional Easter colors. Then I did it again in more of the neutral, farmhouse style for “spring”. The neutrals are for me 🙂
HAVE YOU HAD ENOUGH YET?
HOW ABOUT A FEW MORE? CAN YOU HANDLE IT?
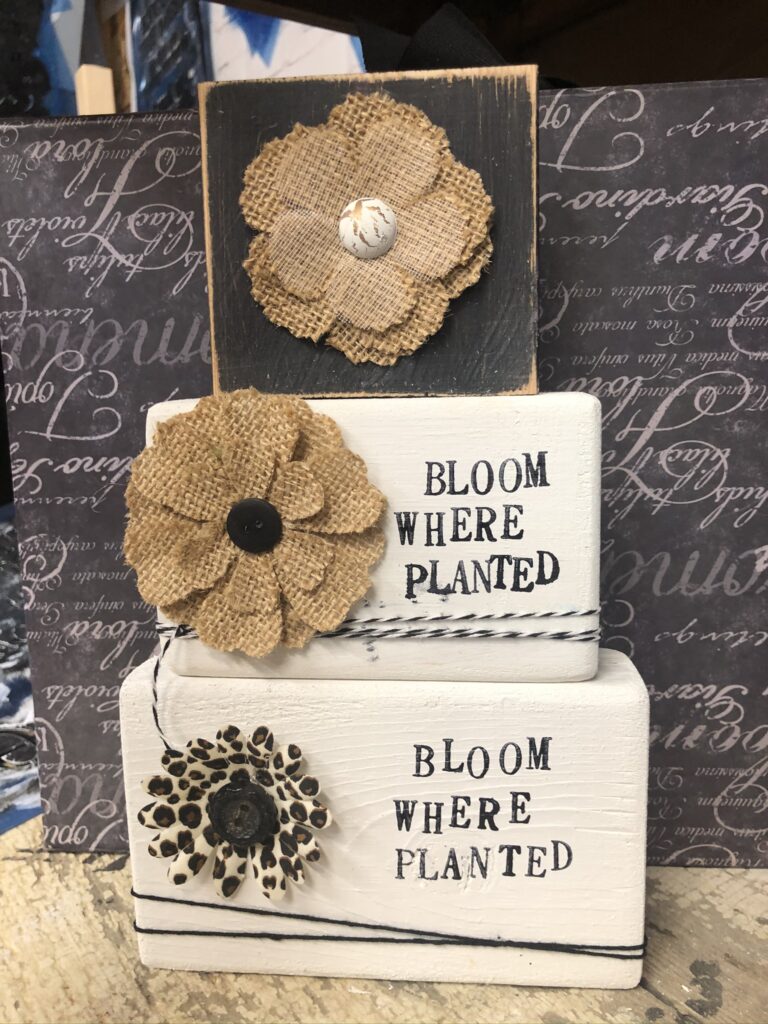
Same wood blocks as used above.
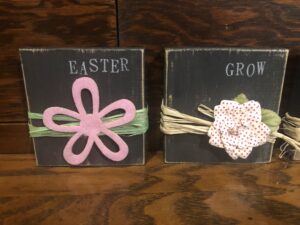
I painted all the blocks black and distressed them with my sanding sponge.
Then I used my little stamps and stamped “Easter,” “Grow,” “Spring,” and “Grow.”
For the Easter block, I wrapped green raffia around it and secured it with hot glue and then hot glued on the pink flower.
For the “Grow” block, I wrapped regular raffia around the block, secured it with hot glue, and added the flower with hot glue also.
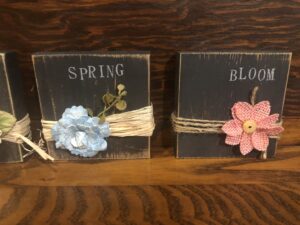
For the “Spring” block, basically, the same as the “Grow” block. I just added a tiny sprig of greenery to it.
And for the “Bloom” block, I used twine in place of the raffia.
So simple but so cute!
Perfect little fillers for those tiered trays!
Supplies:
- Raffia – https://amzn.to/3bfY3bC
- Dixie Belle Caviar 8 OZ – https://amzn.to/2Ua083k
- Hot Glue Gun – https://amzn.to/2UfajUq
- Cordless Hot Glue Gun – https://amzn.to/3aphYVT
- Green Raffia – https://amzn.to/3bjE2Rz
- Alphabet Stamps – https://amzn.to/2Jatc4k
- Floral Embellishments – https://amzn.to/2UukAej
- Floral Embellishments – https://amzn.to/2WNYOoH
ANOTHER CUTE EASTER DISPLAY
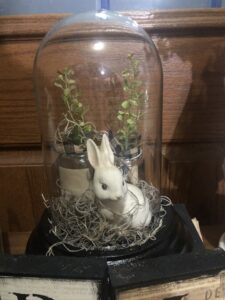
This little domed display was $2.99 at Good Will. All I did was clean it up and painted the wood base black.
Next, I added two little glass bottles that I had bought at an antique mall. I added some greenery to them, the bunny, and some Spanish moss.
BAM!
Supplies:
- Dixie Belle Caviar 8 OZ – https://amzn.to/2Ua083k
- Spanish Moss – https://amzn.to/2WD5WnJ
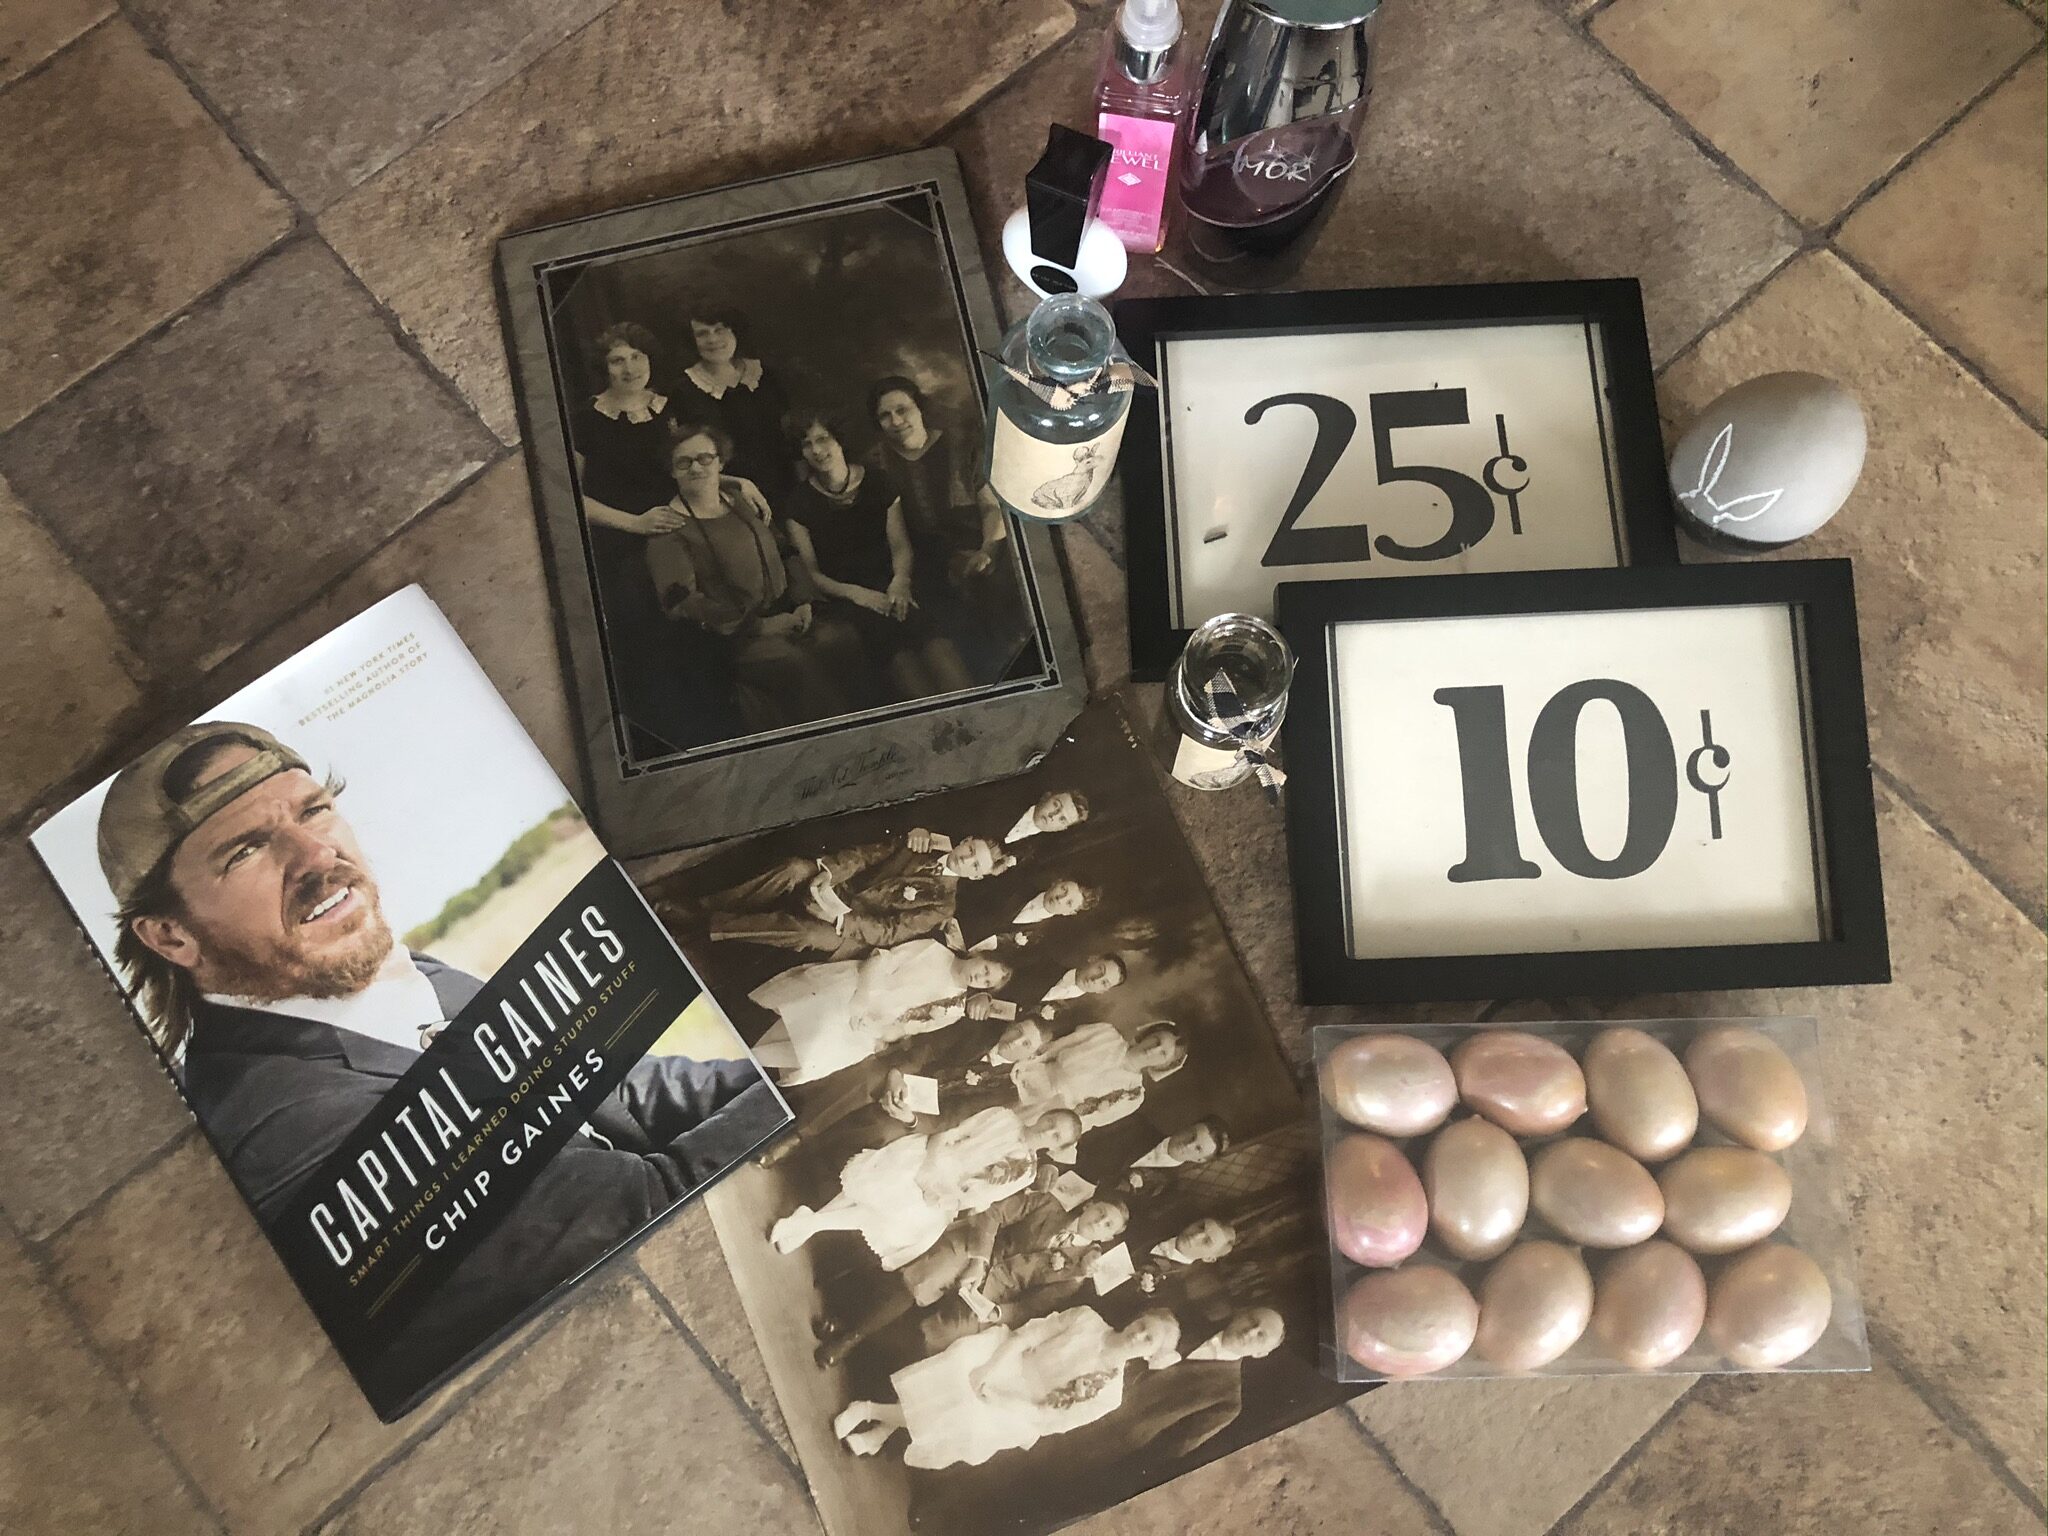
LAST ONE, I PROMISE
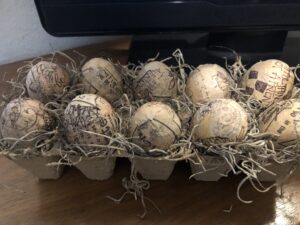
I bought the little peat pots from Amazon, and the eggs came from an antique store. The eggs were pink and plastic.
To cover the eggs, I used an old sewing pattern. For me, I absolutely LOVE things with script and numbers on them. The pattern didn’t have quite enough going on for my liking, so I stamped some more designs on it.
Next, I tore the sewing pattern into small pieces and mod podged on a few layers to the eggs.
Once the eggs were completely dry, I hot glued Spanish moss into the peat pots and then hot glued the eggs onto the moss.
And there you go!
Most of these projects were done during Facebook lives if you want to “watch” me do them!
I would love for you to try any of these projects or ALL and show me!!!
P.S. I recently started a free group called “The Flippin Community.” I would love to have you join us there. It is just a smaller group where I share most of the same things that are on my “Flippin Furniture” page. Facebook wants us to have communities so they let you see more of the content in the group than they do on my business page. Don’t ask me why. I just try to keep them happy! Please join us!
https://www.facebook.com/groups/1037595059955549/
Supplies:
- Peat Pots – https://amzn.to/2y32Y1u
- Mod Podge Matte – https://amzn.to/2QHYpjI
- Spanish Moss – https://amzn.to/2WD5WnJ
- Hot Glue Gun – https://amzn.to/2UfajUq
- Cordless Hot Glue Gun – https://amzn.to/3aphYVT
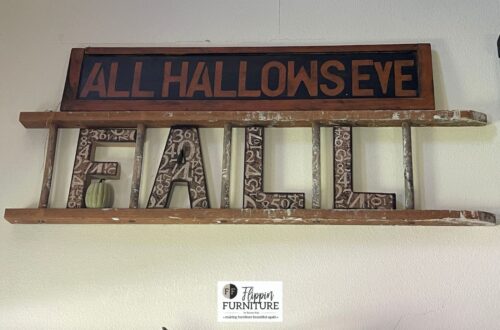
Here are just a few more wood blocks for more inspiration!
You May Also Like
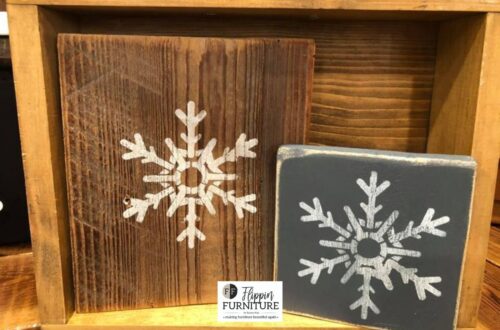
DIY Snowflake Craft

How to Turn a Book into Fall Decor