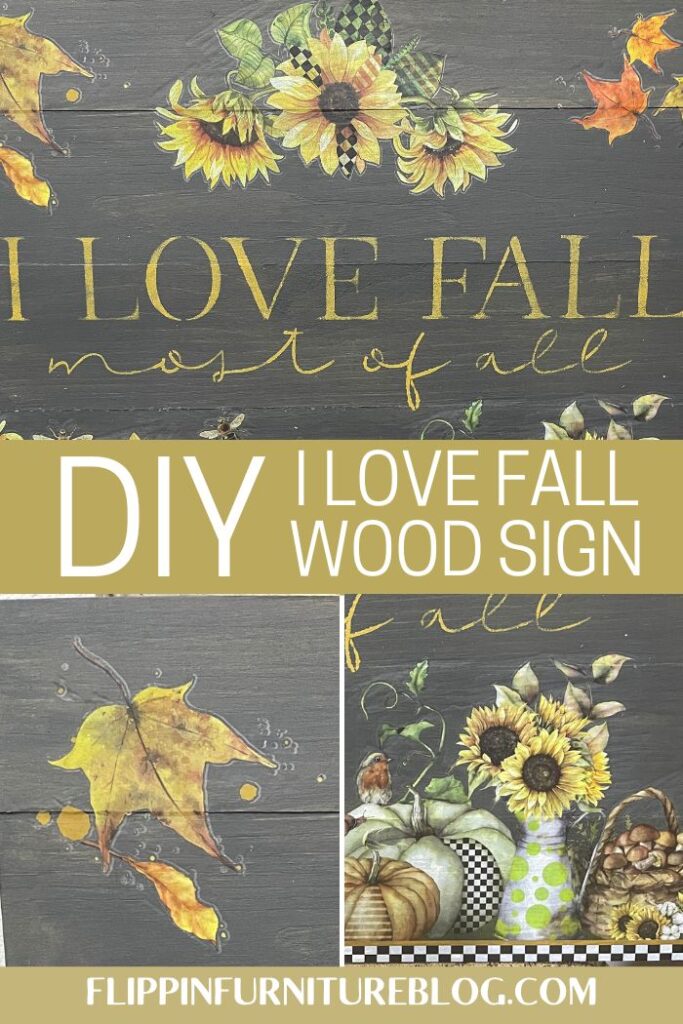
DIY I Love Fall Wood Sign
It’s autumn! I LOVE fall! My favorite season is here! I love the cooler weather and the fun activities we do in fall. Whether it’s raking leaves, picking apples or decorating pumpkins, there is so much to do in the fall! If you love fall as much as I do then try out this pretty I love fall sign to decorate your home.
Creating a DIY Fall Sign is such an easy way to spice up your décor as we move into the fall season this year! You don’t have to be a professional wood worker to create an awesome fall wood sign for your home! This post will show you exactly how to make a fun I love fall wood sign with just a few simple supplies and steps!

Making Your I Love Fall Sign
If you want to give this easy I love Fall sign a go, then here’s the step-by-step instructions to create it!
Supplies to make your I love fall sign:
- Wooden Sign board
- Stencil
- Transfers
- Transfer Tool
- Scissors
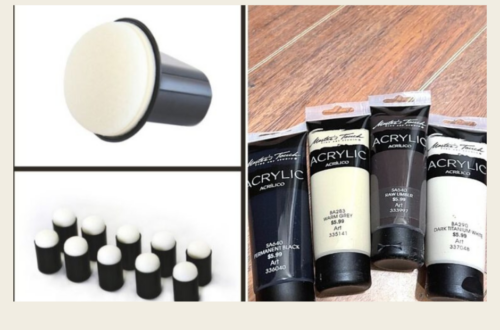
- Mineral Paint
- Paint Daubers
- Transfer Gel
- Paint brush
Instructions to make your I love fall sign:
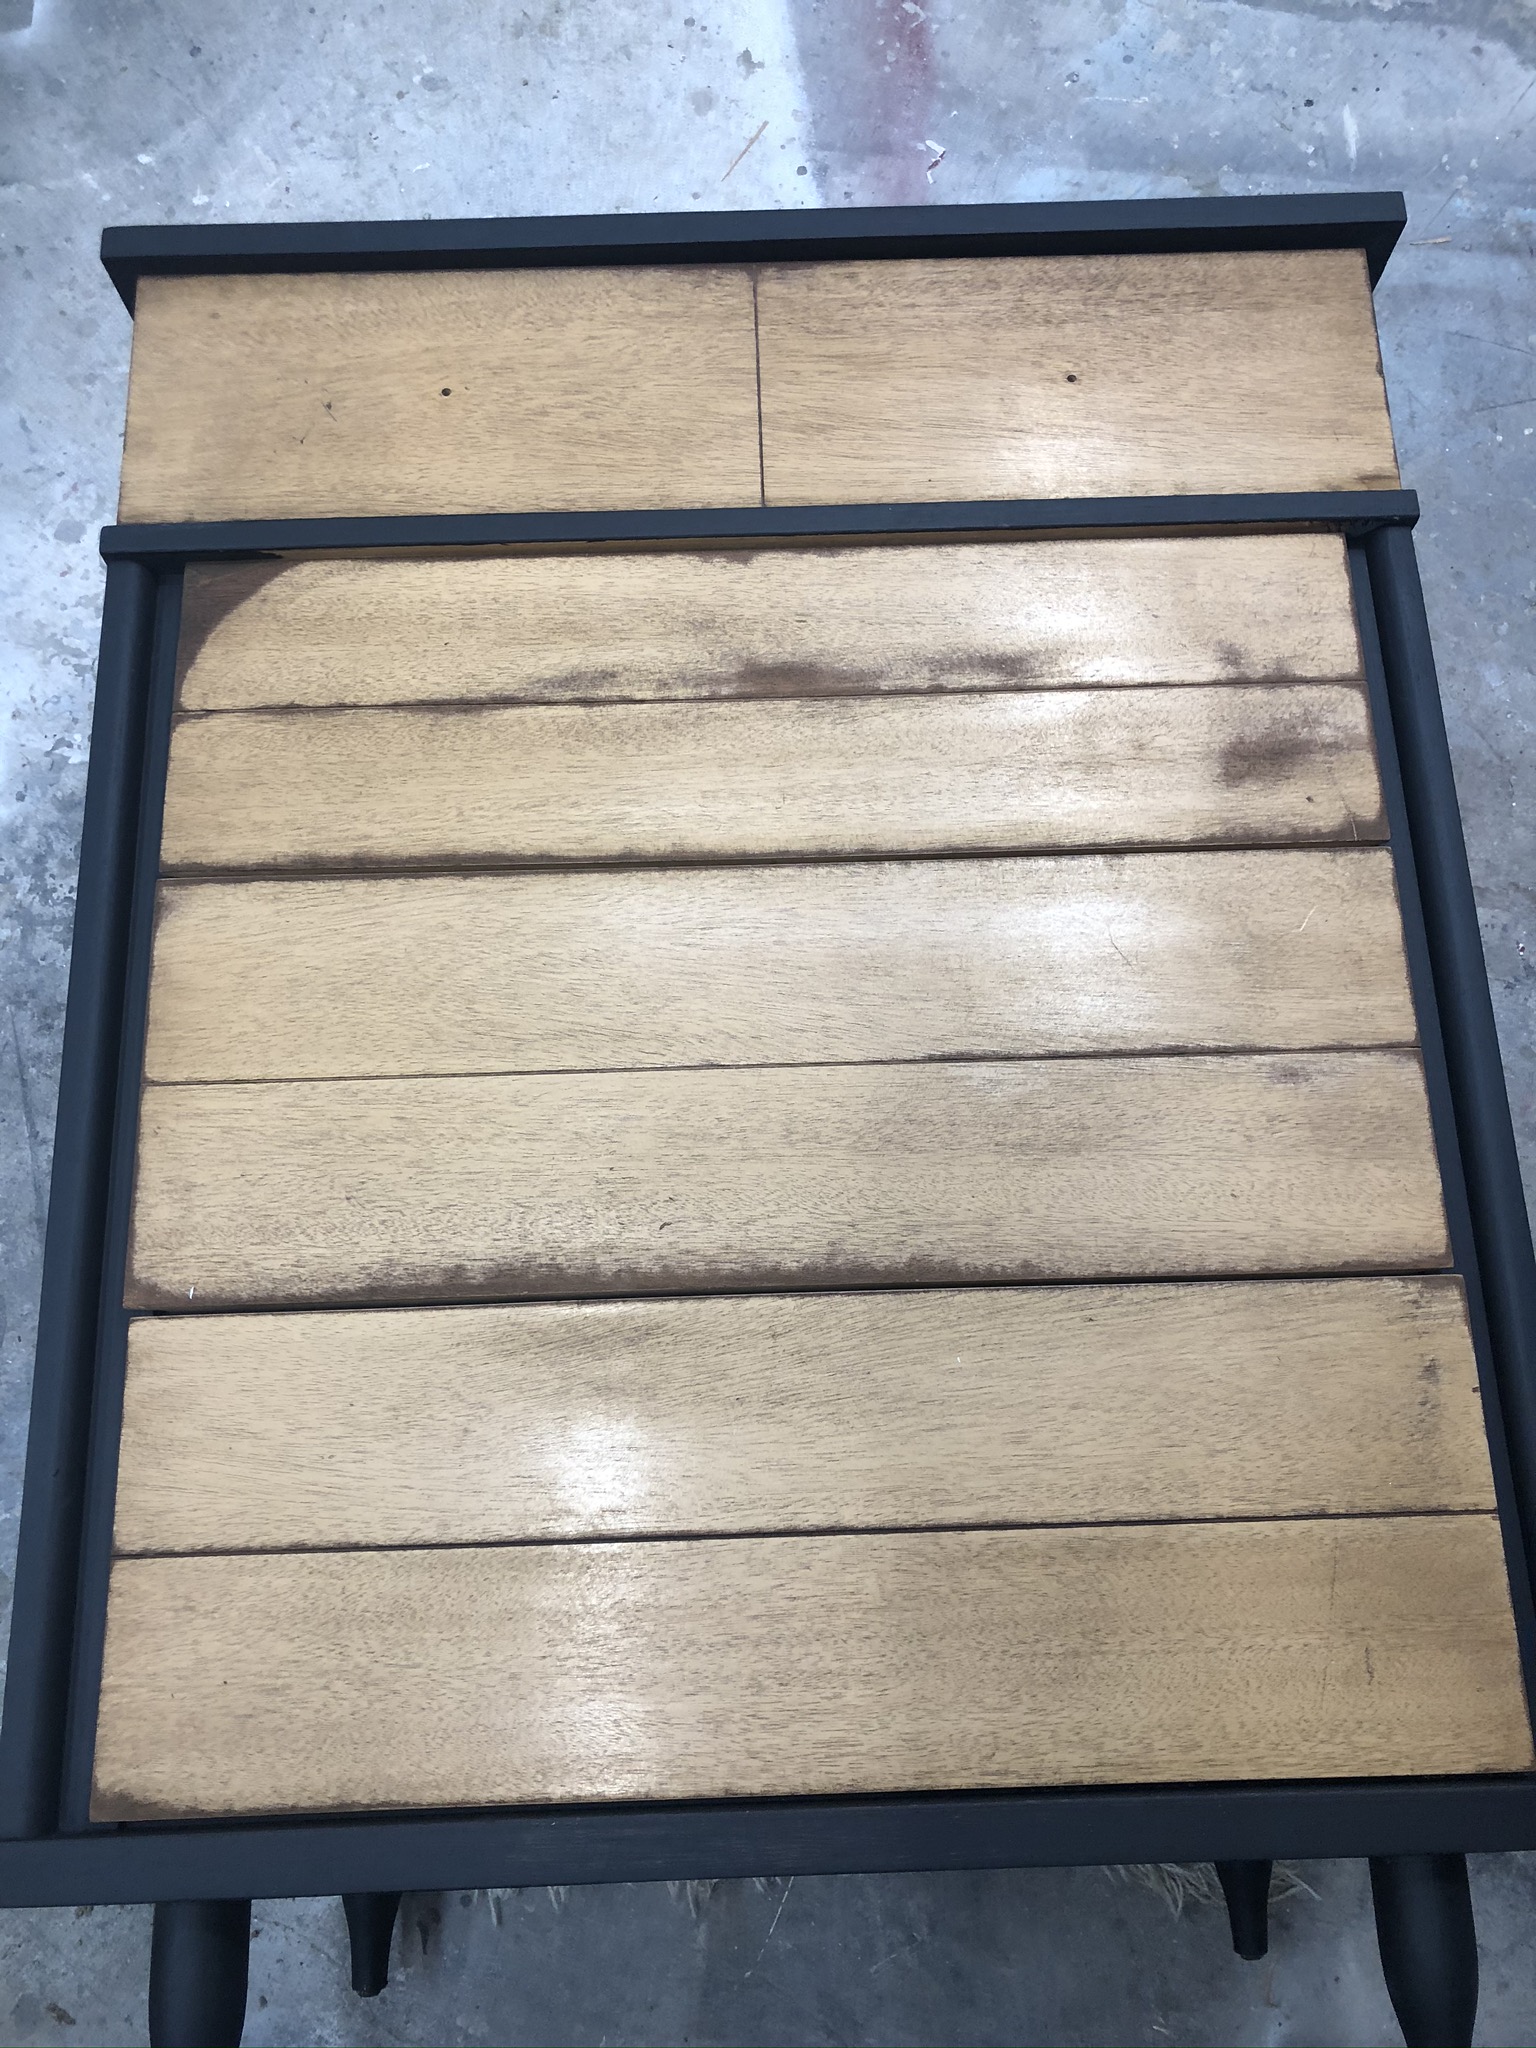
- Start with your board, paint it the color you prefer if it is not already done.
- Cut out your transfers the size you want.
- Take your transfers and place them on your base where you want them.
- Use your transfer tool and make sure that they are flat and nicely stuck down.
- Peel back your transfer paper.
- Lay your stencil on your base where you want it.
- Using your dauber, dab your paint where you want it over your stencil.
- Add some more transfers to your design where you see fit.
- Seal the design with a sealant.
Frequently Asked Questions:
How to apply a transfer?
Have you ever seen a really cute saying or graphic and wished you could put it on everything? Well, there’s good news: with a little bit of patience and some basic tools, you can apply transfers to basically any surface! In this how to apply a transfer tutorial I will show you how it’s done. So go find your perfect transfer, and let’s get started!
What paint should I use when using Stencils?
Naturally, I typically use whichever paint is the closest to me, but in all honestly, I start with finding the right color I want for my project. If I had to pick a brand that is my favorite to use when stenciling I would say it is Master’s Touch acrylic paint from Hobby Lobby. You will find it in the art department. I love it because it is thicker and creamier than a lot of other craft paints.
Some people, like my best friend from high school who is a lifelong crafter, will say to use the more runnier stuff. She loves it but I do not. I think a lot has to do with what you love and what you started off using and are comfortable with. For more on this check out this post.
Looking for some fun and crafty DIY home decor ideas? Look no further than the Flippin Furniture blog.
We have tons of tutorials to help you with everything from crafting to furniture makeovers.
And be sure to follow us on Facebook for even more inspiration.
Love our crafting tutorials and want be apart of a crafting community? Join the Flippin Society today!


DIY I Love Fall Wood Sign
Materials
Instructions
- Start with your board, paint it the color you prefer if it is not already done.
- Cut out your transfers the size you want.
- Take your transfers and place them on your base where you want them.
- Use your transfer tool and make sure that they are flat and nicely stuck down.
- Peel back your transfer paper.
- Lay your stencil on your base where you want it.
- Using your dauber, dab your paint where you want it over your stencil.
- Add some more transfers to your design where you see fit.
- Seal the design with a sealant.
Video
Just pin this project name tutorial below to find the instructions later!


You May Also Like
Dresser & Side Table ft. Furniture Transfers
Learn How To Stencil