My New Staging Wall!
Since I have been getting my furniture groove back lately, it only makes sense that I need somewhere to stage the pieces when they are done.
I used to have a plastic sheet of a white brick wall that I would photograph in front of but usually ended up other things being in the way and having to move them before I could put the newly finished piece in place and take its picture.
Lately, I have been trying to take them outside and that works well except for some of the pieces are just too heavy to be carrying in and out any more than I have to. And the weather is starting to change so my days of being able to photograph outside are numbered.
We recently redid our middle garage bay for me to have a nicer, cleaner studio. While we worked on that, everything from the middle bay had to find a new home for a while. This first bay of our garages caught a lot of it.
Now that the studio is in mainly good working condition, I have finally been able to start working on a few pieces again.
So in the middle of working on a buffet and two side tables and get the idea to make a staging wall in there. I don’t think I have any pictures of it, but at that point, I still had two 10’ folding tables in there holding a lot of ‘stuff’.
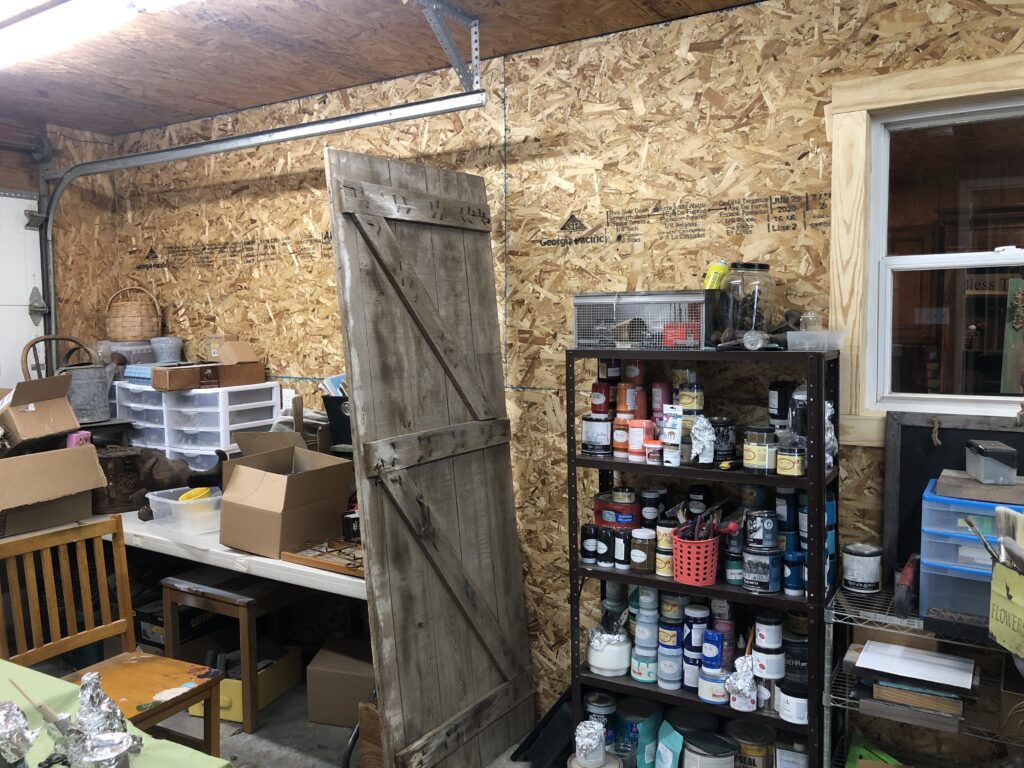
So this past Monday morning (Columbus Day), I enlisted my daughter’s help and we tackled this bay. We put away or stowed away almost everything that we could. Moved things to other storage areas when applicable and even threw a few things away.
The plan was to paint the wall. I thought I had a gallon of white that Greg had found a while back. I did but I didn’t. The paint had about 6 inches of oil sitting on top and was hard as a rock underneath. So on to Plan B. I have a good gallon and a half of a beautiful black but just didn’t think that felt right. Also, have a couple shades of some pretty blues, but wanted it more neutral.
In the midst of realizing I didn’t have the gallon of white that I thought I did…I kept walking in and out the back door. The plan was also to hang a barn door on the newly painted wall as a backdrop. So I kept going outside to look at it and get a feel for the look I was going for.
In the meantime, there are also these three wooden doors that we sanded a couple weeks ago for other projects. Nothing in stone, but wanted them ready for whenever I got that far. It dawned on me that they were all basically the same style of door. And the three of them together could make a unique backdrop. A new plan was forming.
I found some white chalk type paint, not a full gallon, but enough to do what I did. I put the doors up against the wall to get an idea of how much room they would take up and then painted around. That saved me from needing quite as much paint. And as I started painting, I decided to keep it minimal coverage. Saving me paint, time, and creating a different look.
My only problem now was that there were two outlets behind the doors and I have an outlet shortage in that bay. I posted my problem on Facebook and one of my friends, Amy Pembrook, had a brilliant solution. Sleek socket ultra-thin electrical outlet covers. I never knew these were a thing! So I have those ordered and they should be here soon!
Link to Outlet Covers – https://amzn.to/2Hdh30G
I finished painting and then screwed the doors directly to the particleboard walls and then sealed them. Not bad for a day’s work. Hubby was impressed.


Here is how it turned out and some furniture pieces that I photographed against the new staging wall!


Yes, I could have gotten more plastic hangings but I wanted it more permanent. I’ve gone the other way before and didn’t love it.
Now I just need to get a neutral rug to place where I can roll up when I don’t need it. As I’m typing this, I remember that I may just have a bamboo rug out in the carport! I love it when I can use something that I already have!
Hope you are have an amazing week!
XOXO,
Tammy


You May Also Like

Refreshing My Kitchen Walls & Décor

Dressing Room, Cry For Help