Stick Projects!
Projects made from sticks in your yard!
It doesn’t get much simpler than this!
The first one is more of an Easter craft, and the second one is more ‘springtime,’ and the third one is ‘anytime’!!
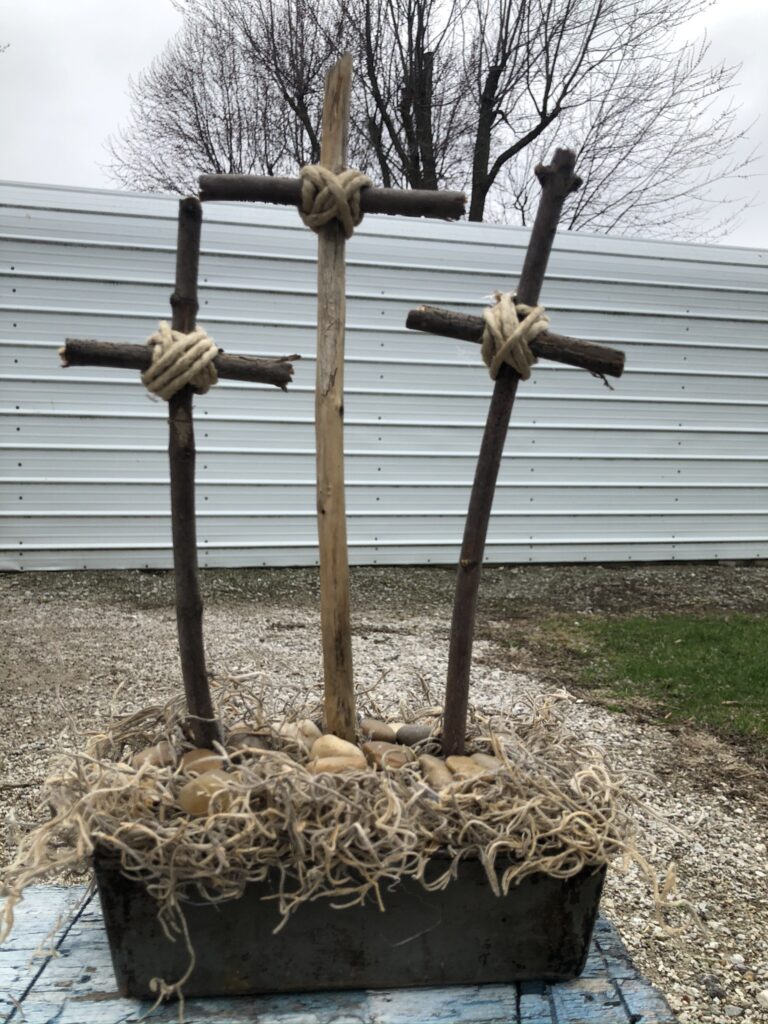
The Three Crosses
I wanted a small, rectangular-shaped box for this project, but I came across this old mini loaf pan and ran with it!
First, I started with my sticks. I just guessed at the sizes of the sticks and broke them to the length I thought they should be. When I placed the smaller stick across the taller one, I carved out just a tiny bit of wood to give it a little bit of flat area to help it lay better.
I then hot glued them together and then wrapped twine around them and hot glued it on the backside.
In the loaf pan, I glued floral styrofoam to have something for my sticks to stick in.
Next, I took a smaller twig and “pre-drilled,” where I wanted the crosses to go. Once I was happy with the placement, I put the bigger sticks in. ✝
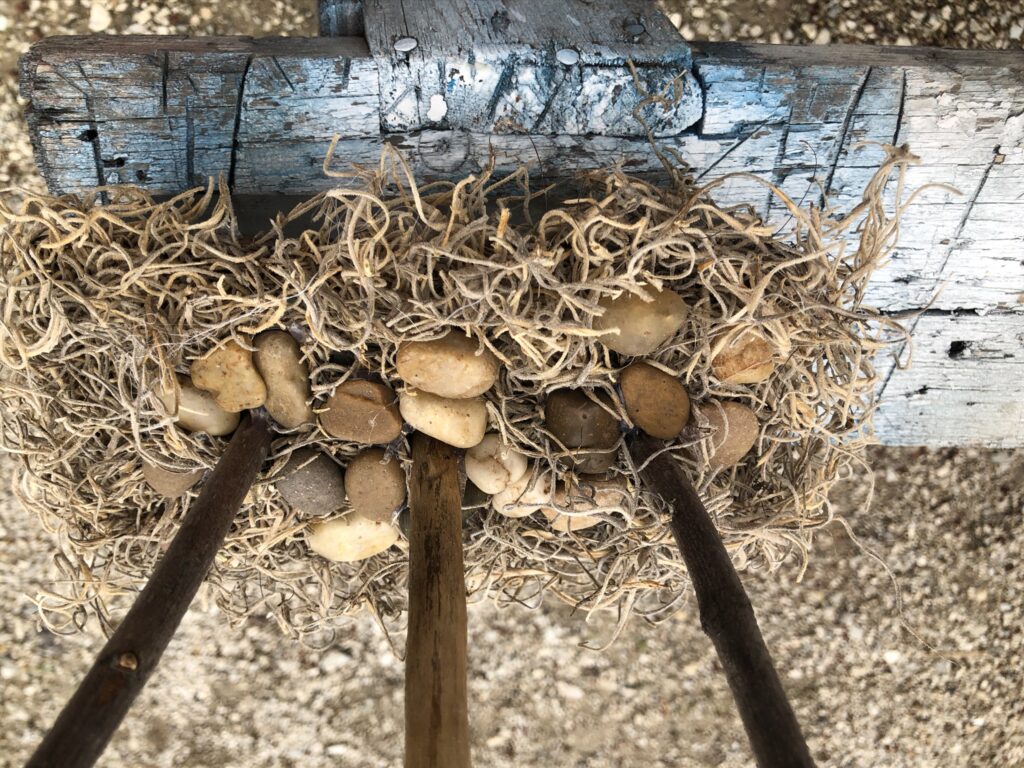
After that, I added the Spanish Moss. I was also wanting to add in some of those green, mossy looking rocks that are usually available at the Dollar Tree, but they did not have any at the store I went to.
Anyway, I hot glued the Spanish Moss on and then glued on the little rocks. I basically placed them randomly and then around the bases of the crosses.
Easy enough for kids to do also!
Another super simple burst of sunshine!
Depending on the age of your children, they may be able to do this one also! Or at least go pick you out some sticks!
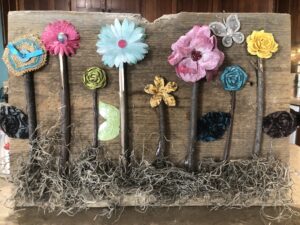
Spring Time Flower Garden
Like so many of my crafts start…I went to one of my scrap piles and pulled out a piece. This was a cool piece of barn wood. I barely knocked the cobwebs off of it before I started, lol. You could clean it up more and even clear coat it if you wanted to.
I just broke some twigs to the height I thought I wanted and hot glued them on. If I had made them a couple inches shorter, I could have either stenciled a word across the top or added more butterflies or some bees.
Next, I rummaged through my scrapbook flowers and brought out some springy flowers and hot glued those on. I also found some random leaves in the mix, so I glued some of those on also. And a butterfly.
The last step was adding the Spanish Moss at the bottom.
I did these project live on Facebook if you would like to see my physically do them, see the video below!
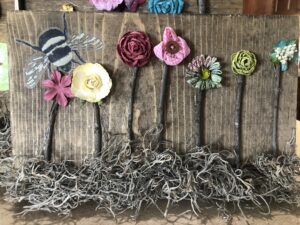
Another Spring Flower Garden
For this one, I got another piece of random scrap wood. Instead of staining the wood, I just put on some brown glaze and rubbed it in good and used my heat gun to make sure it was dry before the next step.
The next thing I did was add the bee transfer. I just thought it looked sooo cute! And for the rest of it, I just did it exactly the same way as above.
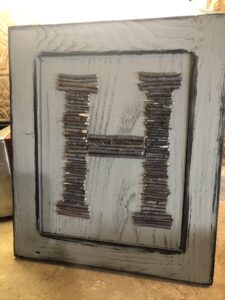
Stick Art Initial
For this project, I chose an old, small cabinet door. I cleaned it up and painted it “dried sage” and dried it with my heat gun.
The next step is a little boring. Ok, probably a lot boring, at least if you were watching me do this live on Facebook.
Anywho…it’s pretty self-explanatory but you break the sticks to the size you want. I started at the bottom with longer pieces and worked my way up. If this is clear as mud, feel free to watch the live.
Once I had the “H” complete, I just felt like it needed something. I added a little bit of my black paint dabber to go around the edges to finish it off. You could add some florals if you wanted to add more to it. Whatever your style is, make it your own!
I hope you have enjoyed playing with the sticks as much as I have! So easy and cheap!
See you next time!
Supplies:
- Sticks from your yard!
- Spanish Moss – https://amzn.to/2WTPbVf
- Tim Holtz Black Dabber – https://amzn.to/39vcPtK
- Twine – https://amzn.to/2WXejdM
- Decorative Rock – https://amzn.to/3au5lbP
- Floral Styrofoam – https://amzn.to/33VOCvG
4 Comments
Connie potts
Ty
Maggie Aulet
I love working with sticks with my greatgrandchildren. With the boys we make army sites and with the girls fairy gardens. Lots of inexpensive fun
Edda Johansson
Hi, I couldn’t get much from your webpage. I’m really interested in stick or wood projects and art.
Could you please send me direct to my email anything that you would like to share.
Thank you.
Flippin Furniture Blog
I’m not sure what you mean by webpage. This is the only stick project I every did, I think. I haven’t had time to keep up with this blog ;( You can find me on fb https://www.facebook.com/FlippinFurniturebyTammy and I have hundreds of videos on youtube https://www.youtube.com/@flippinfurniturebytammy and this is my website where I sell supplies flippinfurnitureshop.com