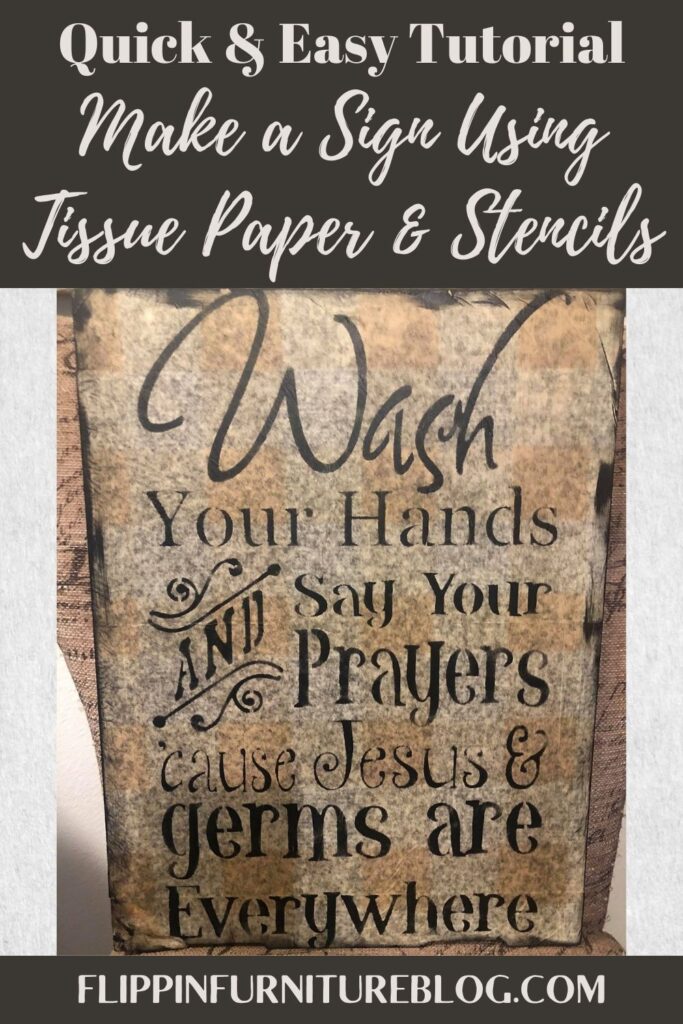
Make Your Own Tissue Paper and Stencil Sign Decor
Learn how to make a sign from tissue paper and a stencil. This is an easy project that you can complete in less than 20 minutes. It makes for great wall decor!
Do you want to add some character to your walls? Using just a stencil, tissue, and paint, it’s easy! Here is a step-by-step tutorial on how to make a sign from tissue paper and a stencil. This makes the perfect DIY wall decor for a wall in your home.
How To Make Your Own Sign Using Tissue Paper and Stencil
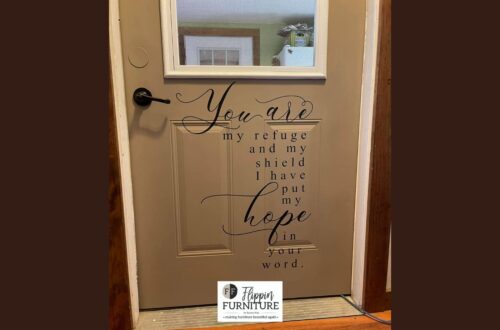
I am really good at making old furniture look pretty again. That is my passion and what I just love spending my time doing. However, today I found this buffet cabinet door and thought this would be a great piece to make a new wall decor with it. I had the perfect stencil to use and got to work. I mean who doesn’t need a cute reminder these days to wash your hands! That seems to be the last two years’ motto.
Supplies
- Old Buffet Door
- Tissue Paper
- Mod Podge
- Paint Brush
- Sanding Block
- Jesus & Germs Stencil
- Painters Tape
- Black Paint
- Daubers
Steps To Make A Tissue Paper and Stencil Sign:
- Start by putting a nice layer of Modge Podge on your old buffet door. Use a paintbrush to apply it onto the flat surface.
- Next, lay your tissue paper down start on the edge, and push it flat over the door as you push it flat.
- Now go around and smooth out the surface with your hands. You can use a squeeze but it may be too rough and tear it.
- Grabbing your heat gun or blow dryer. This will help speed up the drying process. Make sure you really dry those sides.
- Sand the excess tissue paper with a sanding block. Be very careful going over the edge. Continue this process until you have worked your way around all the sides.
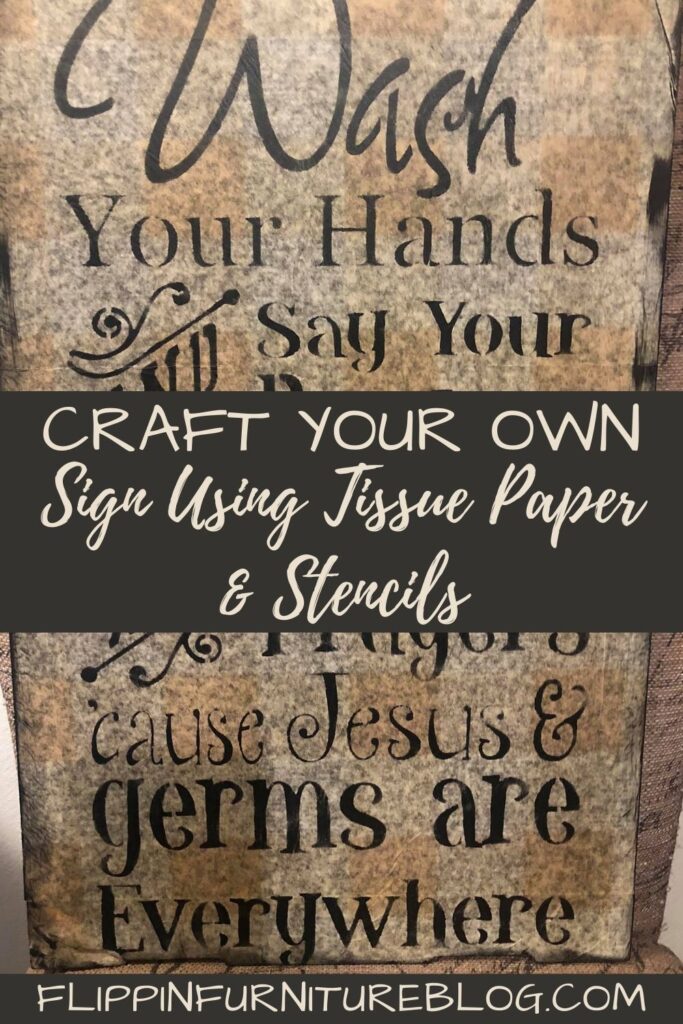
- Now it is time to use your stencil and stencil onto the tissue paper you just applied. Using your pouncer and black paint start applying over the letters.
- Work your way down your stencil. Then lift up and check to make sure you don’t need to go back over any sections. If you see some areas that need more paint use your pouncer and go back over some letters.
- Using your pouncer go around the outside edge of your board and give it a little distressed look.

Make Your Own Sign with Tissue Paper & Stencil
Learn how to make a sign from tissue paper and a stencil. This is an easy project that you can complete in less than 20 minutes. It makes for great wall decor!
Materials
- Old Buffet Door
- Tissue Paper
- Modge Podge
- Pain Brush
- Sanding Block
- Stencil
- Painters Tape
- Black Paint
- Pouncers
Instructions
Start by putting a nice layer of modge podge on your old buffet door. Use a paintbrush to apply it onto the flat surface.
Next, lay your tissue paper down start on the edge, and push it flat over the door as you push it flat.
Now go around and smooth out the surface with your hands. You can use a squeeze but it may be too rough and tear it.
Grabbing your heat gun or blow dryer. This will help speed up the drying process. Make sure you really dry those sides.
Sand the excess tissue paper with a sanding block. Be very careful going over the edge. Continue this process until you have worked your way around all the sides.
Now it is time to use your stencil and stencil onto the tissue paper you just applied. Using your pouncer and black paint start applying over the letters.
Work your way down your stencil. Then lift up and check to make sure you don’t need to go back over any sections. If you see some areas that need more paint use your pouncer and go back over some letters.
Using your pouncer go around the outside edge of your board and give it a little distressed look.
Now that you know how to make your own it’s time for the fun part. Where will this new wall decor go in your home? I recommend putting it somewhere where everyone can see and enjoy it! You could even use this sign to gift to someone who perhaps just bought a new home. Even if it isn’t this specific stencil this technique with any stencil would be a great gift.
What to Use To Stencil a Sign
I have stenciled a lot of signs over the years. I’ve used paintbrushes and pouncers, but the best way to get those perfect coverage is with finger daubers!
Dipping the daubers in paint first and then pouncing them over the letters of the stencils. The best thing about stencils is that they can be reused. Once you are done just be sure to give your stencil a nice clean with soap and water. Let it dry and you are ready for the next craft!
Just pin this Tissue Paper and Stencil Sign tutorial below to find the instructions later!

You May Also Like
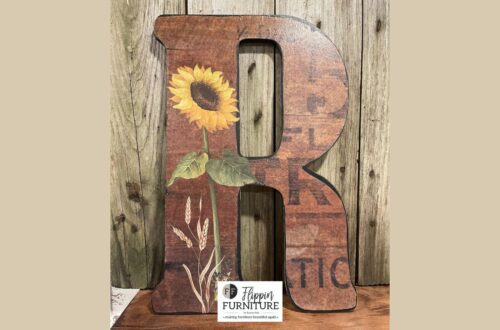
HOW TO DECOUPAGE A WOODEN LETTER FOR FALL
Learn How To Apply A Transfer