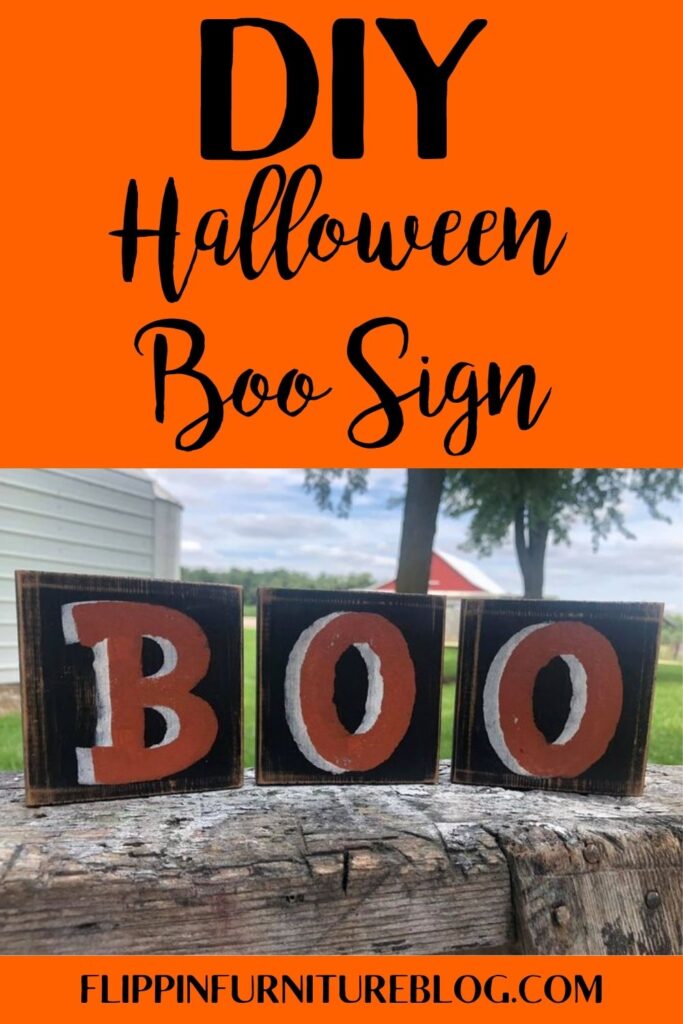
How to make your own DIY Halloween Boo Sign
If you are looking for a new way to decorate for Halloween then you are in the right place! Watch as I show you how to make a simple DIY Halloween Boo Sign. It is the perfect way to add some cute and fun decorations to your home this Halloween.
Boo! Today I will be sharing with you how to make such a simple but cute Halloween decor. It is a DIY Halloween Boo sign on wood blocks. It’s so easy and it will look great on a shelf, mantel, or tabletop. With very few supplies needed you can make multiples of these at a time for maybe those friends and family in your life who aren’t as crafty as you!
DIY Halloween Boo Sign
Ya’ll as you know I just love wood decor signs. Making new seasonal decor wood signs brings me so much excitement. These DIY Halloween Boo signs are no different.
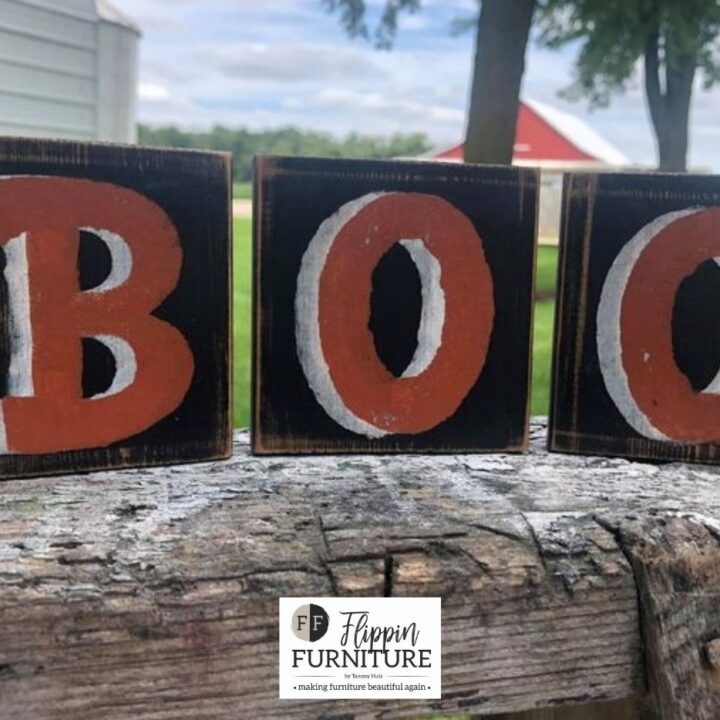
Since Halloween is approaching I thought it would be the perfect time to pull out some stencils and create some simple but cute Halloween decor. Today I decided to make some BOO signs for my home. I plan on displaying these around some pumpkins on my mantel. You can use them however you wish. The best part about making your own decor using stencils is you can totally make this how you want them to be! Follow the steps below but change up the paint color or wood size. Just have fun and let’s get started.
Supplies needed for your DIY Halloween BOO Sign:
- 3 wooden blocks – 4” squares
- Black paint
- Paintbrush
- Heat Gun/dryer
- Letter stencils – “B” & “O”
- Finger daubers
- White paint
- Orange Paint
- Fast Drying Acrylic Spray Seal
Steps:
- Grab your desired size wood block. You can use scrap wood if you like.
- Lay out your stencils letters, “B” & “O” to be sure they fit on your wooden blocks.
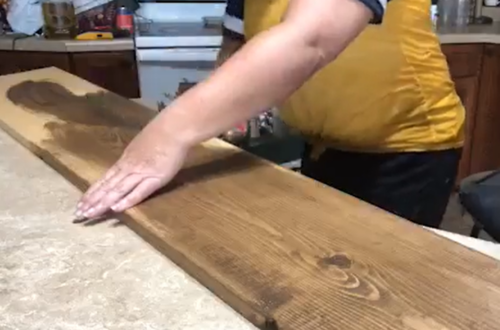
- With some black paint, give a base coat to your 3 wooden blocks. Cover completely. Don’t forget to do the sides.
- Dry completely with a heat gun/dryer to speed up the process.
- With your finger paint dauber, start applying white paint inside your stencil working with the letter “B” first.
- If your stencils have a little gap within the letter and you don’t prefer that look, you can always use a small brush to paint in by hand to close the gap. Blend it to make it look neat. You can use a finger dauber too, but a paint brush would keep it neater. Dry again.
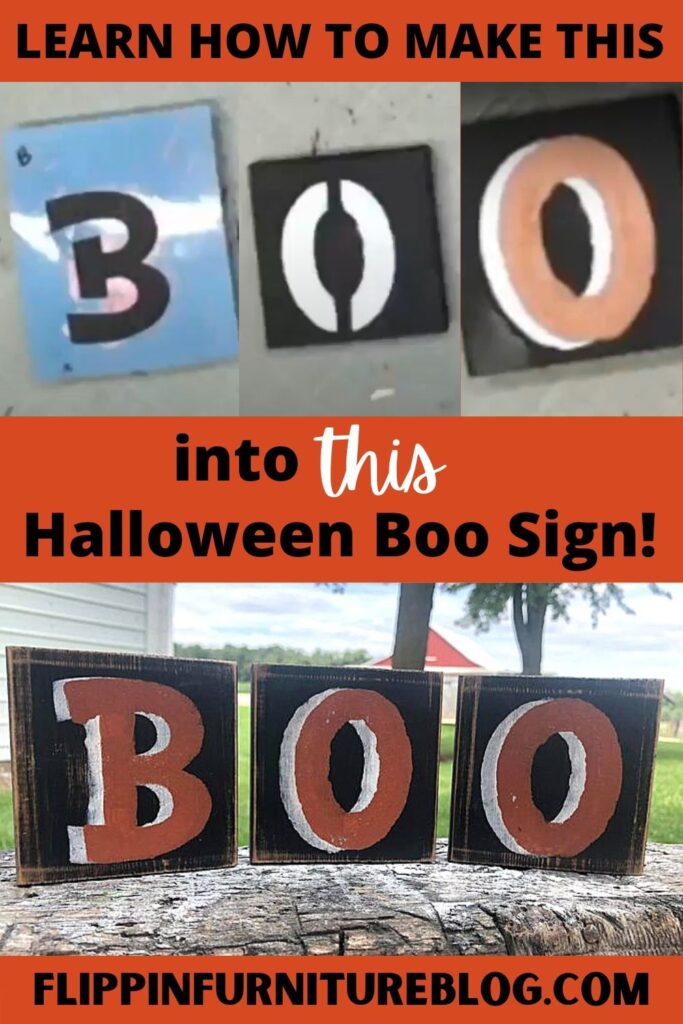
- Grab your “B” stencil and reapply on top of your white, shifted slightly to the right side, giving a shadowed look.
- With your thin paintbrush, fill in your orange gaps to make your letter neat and clean.
- Repeat with your two Letters “O’s”. Touch up where needed. Dry again.
- To make your board appear more rustic/distressed, you can take a hand sander and rough up the edges.
- Once your boards are completely dry, you can rough up the whole board by lightly sanding, letters and all to continue with your distressed look.
- Spray seal your painted wooden blocks.
DIY Halloween Boo Sign
Learn how to make this cute Halloween Boo Sign!
Materials
- 3 wooden blocks - 4” squares
- Black paint
- Paintbrush
- Heat Gun/dryer
- Letter stencils - “B” & “O”
- Finger daubers
- White paint
- Orange Paint
- Fast Drying Acrylic Spray Seal
Instructions
- Grab your desired size woodblock. You can use scrap wood if you like.
- Layout your stencils letters, “B” & “O” to be sure they fit on your wooden blocks.
- With some black paint, give a base coat to your 3 wooden blocks. Cover completely. Don’t forget to do the sides.
- Dry completely with a heat gun/dryer to speed up the process.
- With your finger paint dauber, start applying white paint inside your stencil working with the letter “B” first.
- If your stencils have a little gap within the letter and you don’t prefer that look, you can always use a small brush to paint in by hand to close the gap. Blend it to make it look neat. You can use a finger dauber too, but a paintbrush would keep it neater. Dry again.
- Grab your “B” stencil and reapply on top of your white, shifted slightly to the right side, giving a shadowed look.
- With your thin paintbrush, fill in your orange gaps to make your letter neat and clean.
- Repeat with your two Letters “O’s”. Touch up where needed. Dry again.
- To make your board appear more rustic/distressed, you can take a hand sander and rough up the edges.
- Once your boards are completely dry, you can rough up the whole board by lightly sanding, letters, and all to continue with your distressed look.
- Spray seal your painted wooden blocks.
The DIY Halloween BOO Sign made with stencils, paint, and wooden blocks is the perfect way to get your family in on the fun of decorating this year. You can have a blast making these signs together (especially if you’re like me and enjoy crafts) or make them as gifts for friends who are not as crafty as you are! Either way, it’s going to be an awesome Halloween! How do you plan to use these DIY wood block decorations?
Just pin this DIY Halloween BOO Sign tutorial below to find the instructions later!


One Comment
Patsy Laurin Webb
Tammy that is just so cute! I’m definately going to do that.