Breast Cancer Awareness Pumpkin Sign
Follow these simple directions on how to make a breast cancer awareness pumpkin sign! Make one for yourself or share it with your friends. You can even give them as gifts during October, which is national breast cancer awareness month!
October is Breast Cancer Awareness Month and I want to show my support through a craft. Follow along as we make a project that shows hope, love, and support for those who are fighting cancer in any way. This activity will remind you of the importance of regular mammograms!
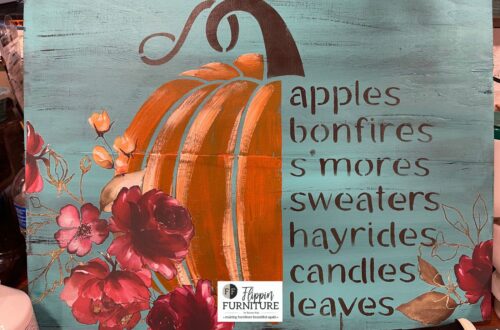
Breast cancer awareness is symbolized through lots of pink ribbons, socks, bumper stickers, and water bottles. Pink anything reminds me of Breast Cancer Awareness month. Pink pumpkins can be a nice way to remind yourself to get checked, and those you love too. This craft would be a loving gift, for one who is battling, one who has survived, and the family of those of one who fought a good fight.
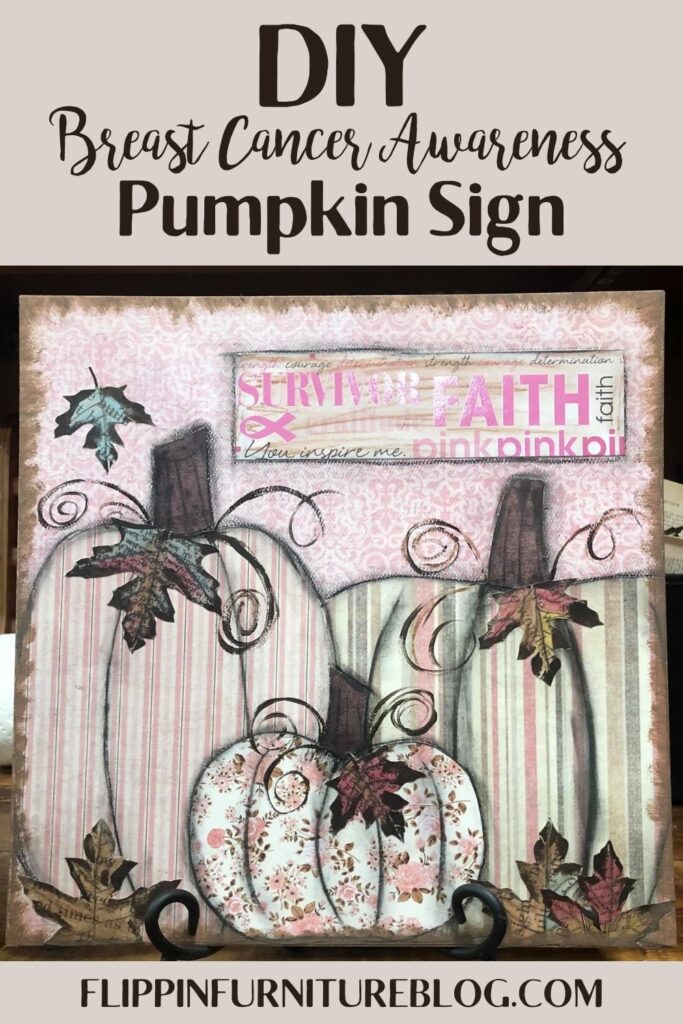
DIY Breast Cancer Awareness Pumpkin Sign
In the US, 1 in 8 women will be diagnosed with breast cancer in their lifetime. I am sure you know someone yourself. that has been diagnosed. That is why I am sharing with you a simple craft, but SOOO meaningful. I just love how it turned out. This craft would be a perfect addition to your home or happy mail for someone you love.
Using a white canvas, some pink scrapbook paper, Mod Podge, and a few other supplies, I was able to create this heartfelt Breast Cancer Awareness craft. Check out the video to see just how easy it was to make. One question though, have you scheduled your appointment to be checked?
Supplies needed for your Breast Cancer Awareness Pumpkin Sign:
- Canvas panels
- Pink Scrapbook papers
- Brown Scrapbook paper
- Scrapbook Leaves
- Breast Cancer Awareness Sticker, Transfer, Stamp, or Quote
- Mod Podge
- Paint brush
- Thin paintbrush
- Brown paint
- Pencil/pen
- Heat Gun/dryer
Instructions for Pumpkin Sign:
- Begin with a plain canvas panel. Add a pink scrapbook paper of your choice to the canvas.
- To dull it down a bit, simply brush over the paper with a thin layer of Mod Podge.
- Fun part is deciding which scrapbook papers you want to use to create your multiple different pink pumpkins.
- Freehand some pumpkin shapes on the backs of your scrapbook paper. You want some of all sizes. Remember no pumpkin is ever perfect as you are creating. If you are not great at freehand, you can trace any pumpkin shapes you find online.
- Be sure your canvas is dry before you start playing with placements of your scrapbook pumpkins. Use a heat gun to speed up the drying process, if needed.
- Once happy with placement, apply a thin layer of Mod Podge directly to your canvas and then place your scrapbook pumpkin on top.
- Use your squeegee tool to work out any excess Mod Podge and air bubbles that are trapped underneath. Use a heat gun to make sure they are sufficiently dry.
- To make your pumpkins stand out, grab your pencil and trace around the edges a bit. Add your pumpkin lines down the front as well. With your finger, smudge the pencil markings to add some dimension and detail. You can use a paint pen or black paint, if you prefer either of those tools instead.
- Add your remaining pumpkin, layering on top of your first 2 pumpkins. Use your Mod Podge to make it adhere. Dry with a heat gun.
- Remember to add your pumpkin markings and dimension with your pencil. Smudge a bit.
- Grab some brown scrapbook paper to create your pumpkin stems. Freehand or tracing, create stems of all shapes and sizes, remembering to have fun with it.
- Add your stems with Mod Podge, by dabbing on a bit where you will place on the pumpkin. Dry with a heat gun.
- Outline your stems using the same pencil/smudge technique.Add as much detail as you like.
- With the open spot at the top of your canvas, apply your Breast Cancer awareness sticker, transfer, scrapbook paper, stamp, or stencil. Whatever media you decide, it will look great. What quote will you use?
- Grab some scrapbook leaves and add them onto your canvas here and there with Mod Podge. Play with placement. Let dry.
- Outline your leaves once dry to add dimension, if you prefer.
- With some brown paint and thin paintbrush, add some pumpkin twisty vines to add some detail to complete the look.

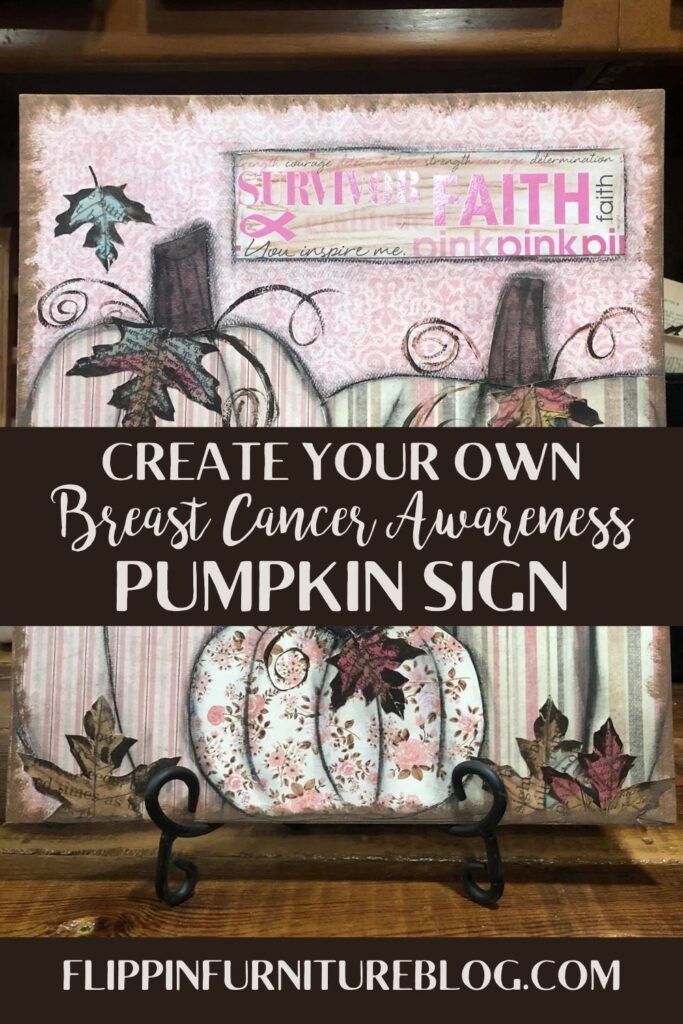
Breast Cancer Awareness Pumpkin Sign
Learn how we made this beautiful Breast Cancer Awareness Pumpkin sign.
Materials
- Canvas panels
- Pink Scrapbook papers
- Brown Scrapbook paper
- Scrapbook Leaves
- Breast Cancer Awareness Sticker, Transfer, Stamp, or Quote
- Mod Podge
- Paint brush
- Thin paintbrush
- Brown paint
- Pencil/pen
- Heat Gun/dryer
Instructions
- Begin with a plain canvas panel. Add a pink scrapbook paper of your choice to the canvas.
- To dull it down a bit, simply brush over the paper with a thin layer of Mod Podge.
- Fun part is deciding which scrapbook papers you want to use to create your multiple different pink pumpkins.
- Freehand some pumpkin shapes on the backs of your scrapbook paper. You want some of all sizes. Remember no pumpkin is ever perfect as you are creating. If you are not great at freehand, you can trace any pumpkin shapes you find online.
- Be sure your canvas is dry before you start playing with placements of your scrapbook pumpkins. Use a heat gun to speed up the drying process, if needed.
- Once happy with placement, apply a thin layer of Mod Podge directly to your canvas and then place your scrapbook pumpkin on top.
- Use your squeegee tool to work out any excess Mod Podge and air bubbles that are trapped underneath. Use a heat gun to make sure they are sufficiently dry.
- To make your pumpkins stand out, grab your pencil and trace around the edges a bit. Add your pumpkin lines down the front as well. With your finger, smudge the pencil markings to add some dimension and detail. You can use a paint pen or black paint, if you prefer either of those tools instead.
- Add your remaining pumpkin, layering on top of your first 2 pumpkins. Use your Mod Podge to make it adhere. Dry with a heat gun.
- Remember to add your pumpkin markings and dimension with your pencil. Smudge a bit.
- Grab some brown scrapbook paper to create your pumpkin stems. Freehand or tracing, create stems of all shapes and sizes, remembering to have fun with it.
- Add your stems with Mod Podge, by dabbing on a bit where you will place on the pumpkin. Dry with a heat gun.
- Outline your stems using the same pencil/smudge technique.Add as much detail as you like.
- With the open spot at the top of your canvas, apply your Breast Cancer awareness sticker, transfer, scrapbook paper, stamp, or stencil. Whatever media you decide, it will look great. What quote will you use?
- Grab some scrapbook leaves and add them onto your canvas here and there with Mod Podge. Play with placement. Let dry.
- Outline your leaves once dry to add dimension, if you prefer.
- With some brown paint and thin paintbrush, add some pumpkin twisty vines to add some detail to complete the look.
This pink pumpkin craft can be the relaxing therapy you need just like any other wooden craft I have made! It can be the smile on someone’s face who is feeling down when they receive it as a gift. Or it can even be a little reminder to be proactive in the fight against breast cancer. Whatever this craft represents to you, it is important. Just as you are important. I am so glad you were here to make it with me today.
Just pin this Breast Cancer Awareness Pumpkin sign tutorial below to find the instructions later!


You May Also Like
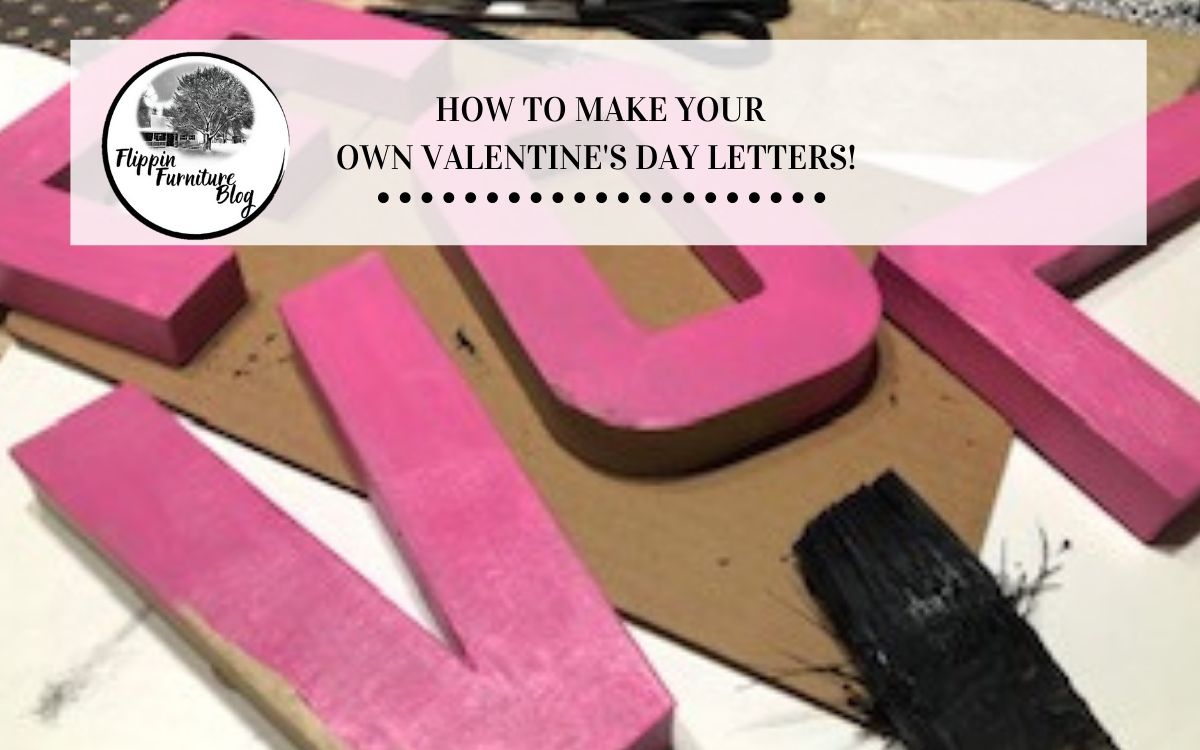
DIY Paper Mache Valentine’s Day Letters,
How to Use Decoupage Paper