Thrifted Wall Clock
Follow along step by step as I show you how to transform an old wooden board, a small clock, and a shelf all found from thrift stores, into your new favorite thrifted wall clock that you can hang in any room. I just love the versatility and functionality of this DIY project. You will too!
You know me. Finding a good thrift store and browsing for hours is SOO much fun for me. If you have been around here long enough you also know I love crafting with wood scraps. So there is no hiding that there isn’t a piece of wood that I see that I can’t create something wonderful from it. A trip to the thrift store is how I landed this DIY project I am about to share with you.
This thrifted wall clock I created brings me so much satisfaction because it has so many things I love. Thanks to some great thrift store finds, or old things made new again from your own home, you will be able to create this adorable thrifted wall clock decor in no time.
Thrifted Wall Clock
If you are like me, you have walked the aisles of a thrift store and come to the aisle with old clocks. Just sitting there sad and lonely, wishing they could be up on someone’s wall once again. You can hear the clocks making that tick-tock sound they were meant to make. This kind of reminds me of Toy Story, when the toys just want to be loved again. Just wishing a kid would pick them up and play with them. Go find a clock in a thrift store ya’ll!! It needs a new home and you can give it that by making your own thrifted wall clock hanging decor.
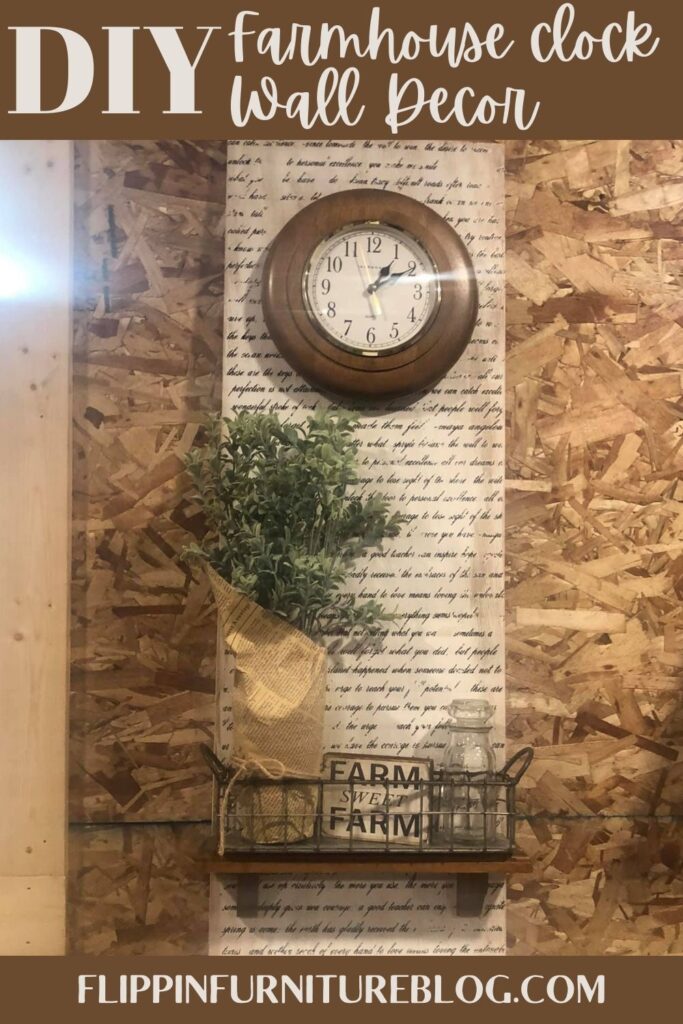
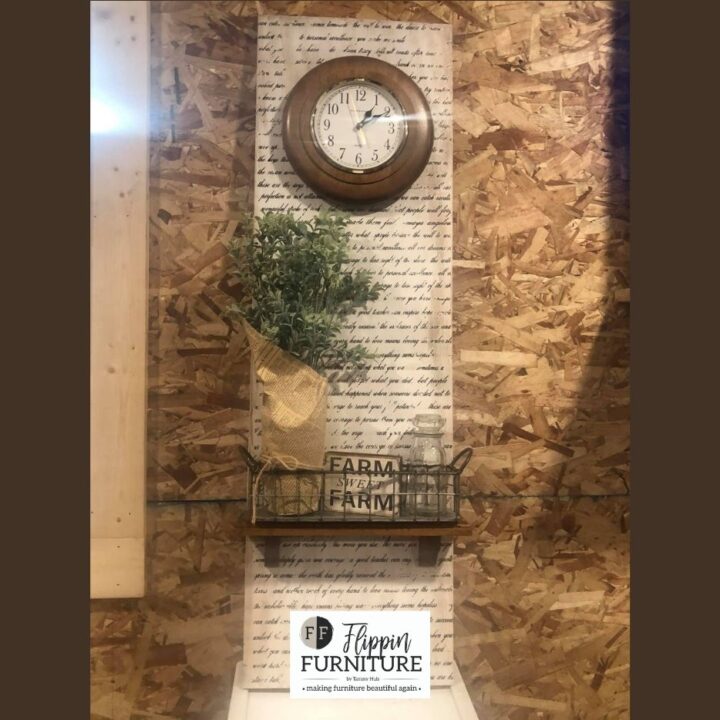
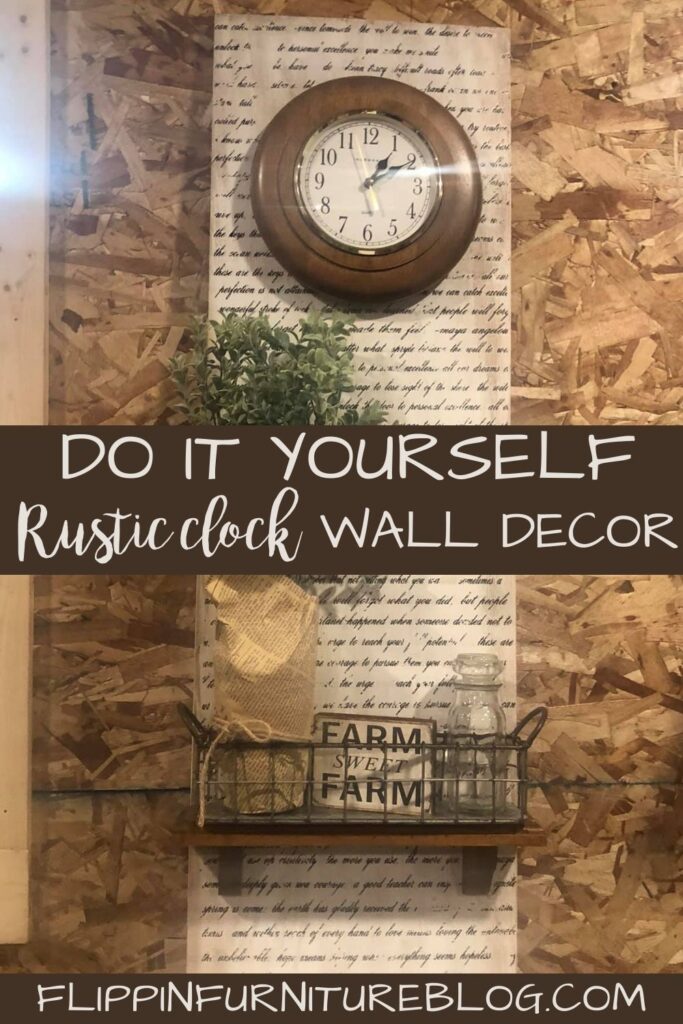
With my 1 x 12 wooden board, transfer sheet, an old clock, and a little wooden shelf I am able to create something totally functional and beautiful. This Wall Clock Hanging Decor would look great in your entryway, your hallway, your living room, a guest bedroom or bathroom, etc.
The opportunities are endless for this beauty. I also love how I can easily change out the home decor I rest on the shelf to go along with the seasons and holidays throughout the year. I just love this project, and I think you will too!
Supplies needed for your Thrifted Wall Clock:
- 1 x 12 piece of wood
- White Paint
- Prima Marketing Inc Redesign Transfer – Never-Ending Story
- Wood wall Shelf (Thrift store find or Amazon)
- Small wall clock
- Paintbrush
- Heat Gun/dryer
- Brown Paint
- Sanding block
- Fast Drying Acrylic Spray Seal
Steps:
- Grab your 1 x 12 wooden board and rub it free of any debris. Apply a coat of white paint to it. Be sure you get the sides so you will have a finished looking project. Let it dry. Use a heat gun to speed up the process.
- Next we will add a transfer. You can select your own, to make it unique and personal. Or maybe you want the same as me with the transfer I found on Amazon, Prima Marketing Inc Redesign Transfer – Never-Ending Story, Mixed.
- To apply your transfer you will carefully remove the transfer from its white backing. Slowly and carefully lower the transfer onto the board, making sure that it does not touch until the placement is correct. You will need to overlap on your board as you move down it’s length to ensure your entire board is covered with a transfer.
- Using the provided tool, or one of your choice, start at one end of the transfer and rub firmly to adhere the image to the surface. Do this until the entire image is transferred. This will work your muscles, but it is a great reason to feel the burn. If any parts aren’t transferred when you lift, simply lay it back down and rub more on that portion. After it is transferred, with a clean dry hand, smooth down any bits that aren’t flatly adhered.
- Next seal your wooden board with a water based sealer. Let it dry.
- Antique your board a bit with a brown-aged look, by distressing it. Distress as much as you like.
- Next, let’s apply your small wood wall shelf. Eyeball to make sure it is nice and level, if you are a bit crazy like me. Or be as exact as you want. Use a thin blue section of painters to help you mark where you will be working.
- Grab your drill with the appropriate bit, and place your 2 screws in the board. Fix your wooden shelf to your board.
- Next we will add our wall clock. We want it to rest up high on our board, so we have room to add some interchangeable home decor on the shelf. Man I love finding little gems from the thrift store and this little clock my friends, is a gem.
- Measure where it will need to be placed, paying attention to the mounting system on the back of your clock. Not all clocks are the same, so be sure to check.
- So cute! Now to make it your own. Grab some of your favorite home decor to rest on the little wooden shelf we just added. I am adding a thin wire basket to keep with the farmhouse feel in my home. I will add some greenery to add a pop of color and create some height visually. Add an empty jar, a little farm sign, and call it a day!
- Add a hanging mount to the back of your wall clock decor so you can post this project in just about any room of your home.
Thrifted Wall Clock
Follow along with this step by step tutorial on how to take old, thrifted furniture and turn it into your new favorite wall clock. We'll be reusing an old wooden board, small clock found from the thrift store, and shelf found at the same place. This DIY project is so versatile too! It can go in any room in your house!
Tools
- 1 x 12 piece of wood
- White Paint
- Prima Marketing Inc Redesign Transfer - Never-Ending Story, Mixed (Amazon)
- Wood wall Shelf (Thrift store find or Amazon)
- Small wall clock
- Paintbrush
- Heat Gun/dryer
- Brown Paint
- Sanding block
- Fast Drying Acrylic Spray Seal
Instructions
- Grab your 1 x 12 wooden board and rub it free of any debris. Apply a coat of white paint to it. Be sure you get the sides so you will have a finished looking project. Let it dry. Use a heat gun to speed up the process.
Next, we will add a transfer. You can select your own, to make it unique and personal. Or maybe you want the same as me with the transfer I found on Amazon, Prima Marketing Inc Redesign Transfer - Never-Ending Story, Mixed.
To apply your transfer you will carefully remove the transfer from its white backing. Slowly and carefully lower the transfer onto the board, making sure that it does not touch until the placement is correct. You will need to overlap on your board as you move down its length to ensure your entire board is covered with a transfer.
Using the provided tool, or one of your choice, start at one end of the transfer and rub firmly to adhere the image to the surface. Do this until the entire image is transferred. This will work your muscles, but it is a great reason to feel the burn. If any parts aren’t transferred when you lift, simply lay it back down and rub more on that portion. After it is transferred, with a clean dry hand, smooth down any bits that aren’t flatly adhered.
Next seal your wooden board with a water based sealer. Let it dry.
Antique your board a bit with a brown-aged look, by distressing it. Distress as much as you like.
Next, let’s apply your small wood wall shelf. Eyeball to make sure it is nice and level if you are a bit crazy like me. Or be as exact as you want. Use a thin blue section of painters to help you mark where you will be working.
Grab your drill with the appropriate bit, and place your 2 screws in the board. Fix your wooden shelf to your board.
Next, we will add our wall clock. We want it to rest up high on our board, so we have room to add some interchangeable home decor on the shelf. Man, I love finding little gems from the thrift store and this little clock my friends, is a gem.
Measure where it will need to be placed, paying attention to the mounting system on the back of your clock. Not all clocks are the same, so be sure to check.
So cute! Now to make it your own. Grab some of your favorite home decor to rest on the little wooden shelf we just added. I am adding a thin wire basket to keep with the farmhouse feel in my home. I will add some greenery to add a pop of color and create some height visually. Add an empty jar, a little farm sign, and call it a day!
Add a hanging mount to the back of your wall clock decor so you can post this project in just about any room of your home.
That is it! Isn’t it great to take something that is boring and old and make it beautiful once again? I love a good project, but one that has value and purpose, along with beauty and functionality, is one of my favorite reasons I craft. This project has so many opportunities to be adorable in your home no matter where you decide to place it.
Just pin this thrifted wall clock tutorial below to find the instructions later!


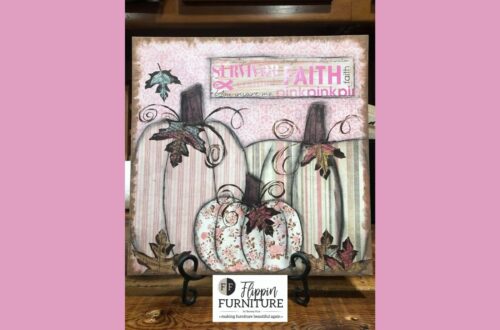
You May Also Like
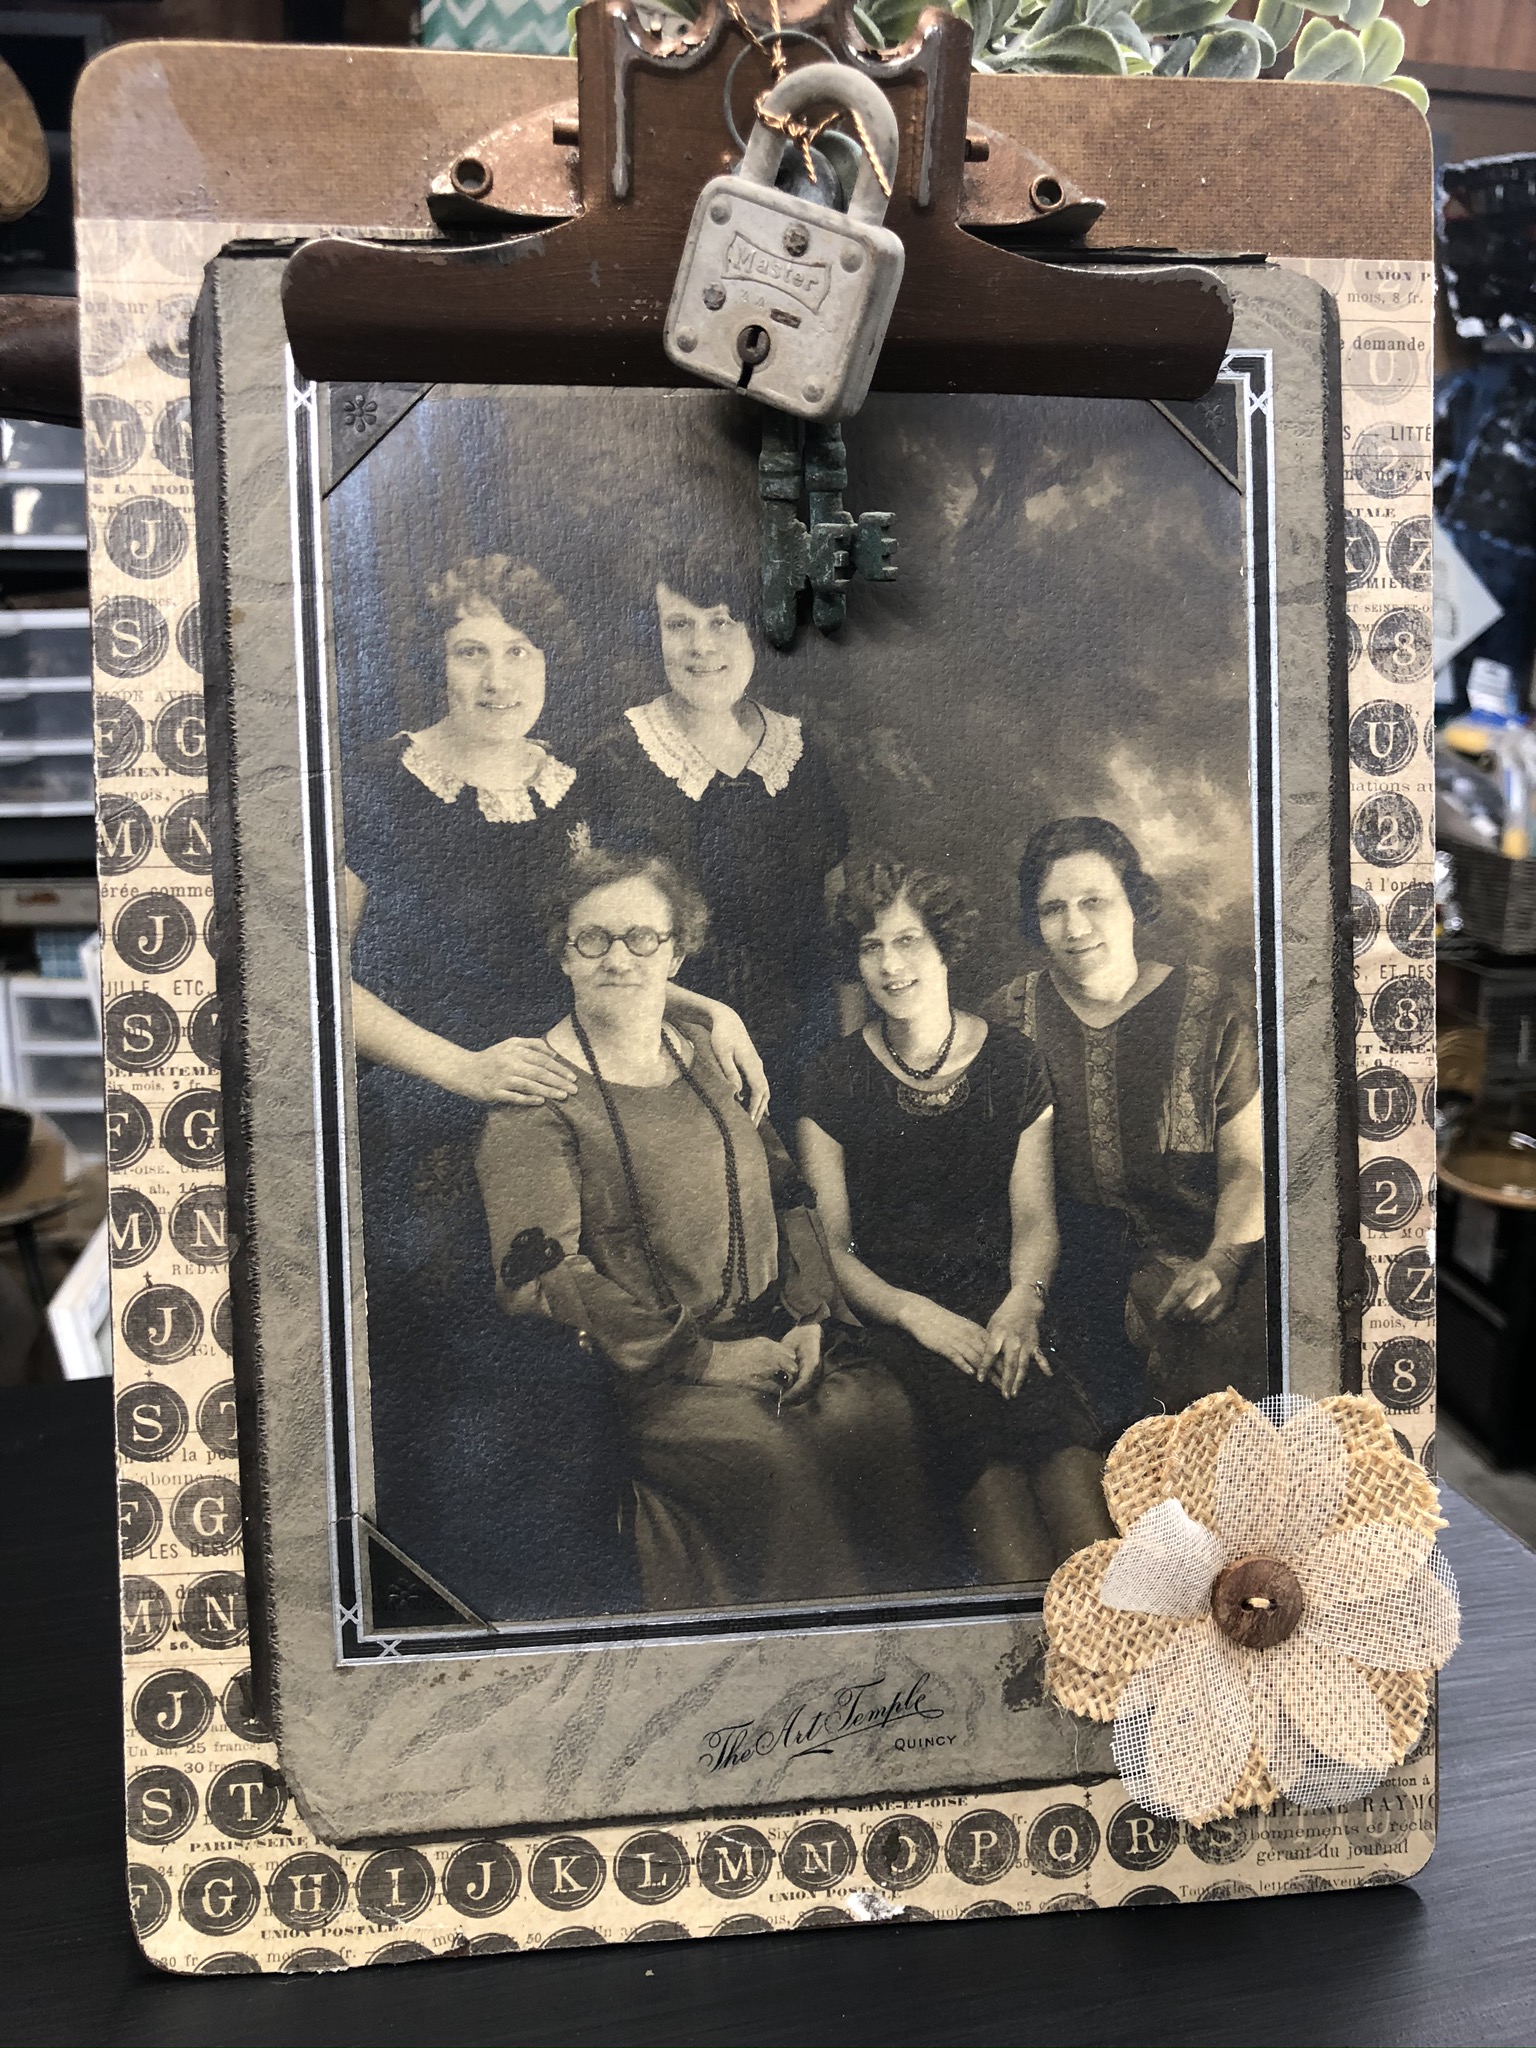
Beautiful Ways to Display Your Vintage Photos
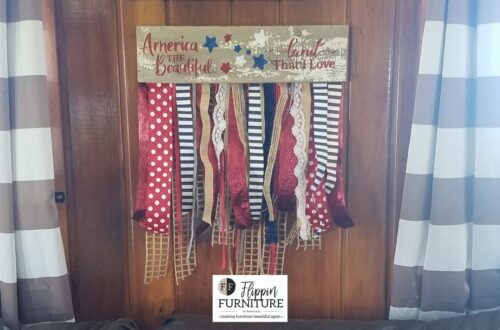
How to Make a Patriotic Wall Decor