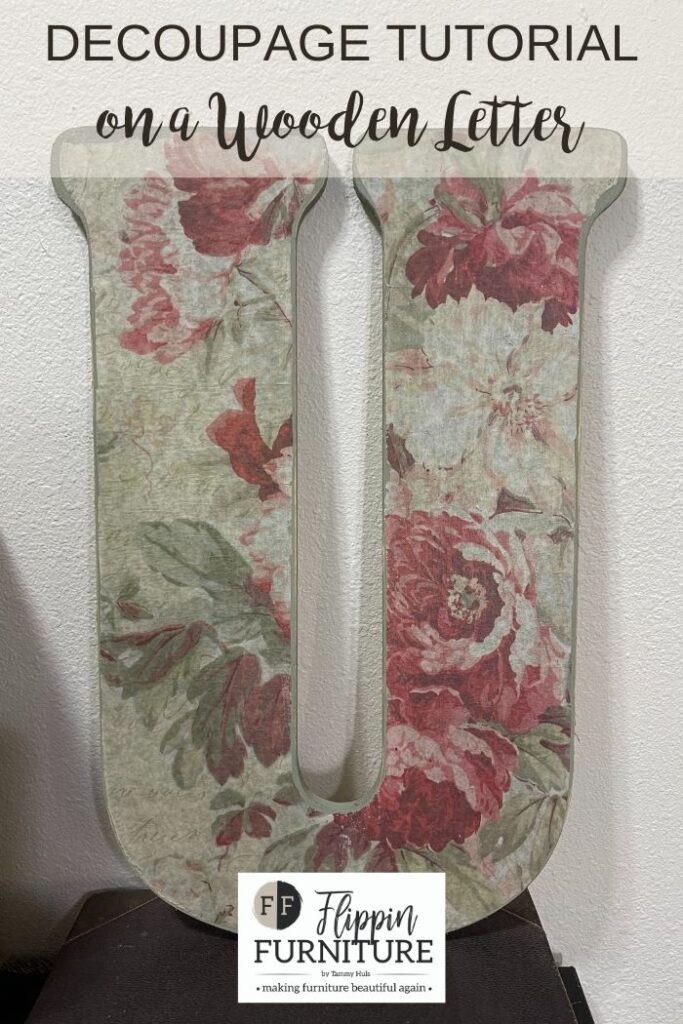
How to Decoupage a Wooden Letter
Learn how to easily decoupage a wooden letter using this quick and easy tutorial. This would be a great gift idea or used beautifully for nurseries or children’s rooms.
Mod podge is so much fun! If you have ever used Mod Podge before, then you know how it works and how addicting it can be. For those of you that have not, here is a quick how-to tutorial for decoupaging wooden letters.
Follow along with me in the video as I decoupage a fun and pretty floral pattern onto a wooden letter, then use the written steps in the tutorial below to make your own.
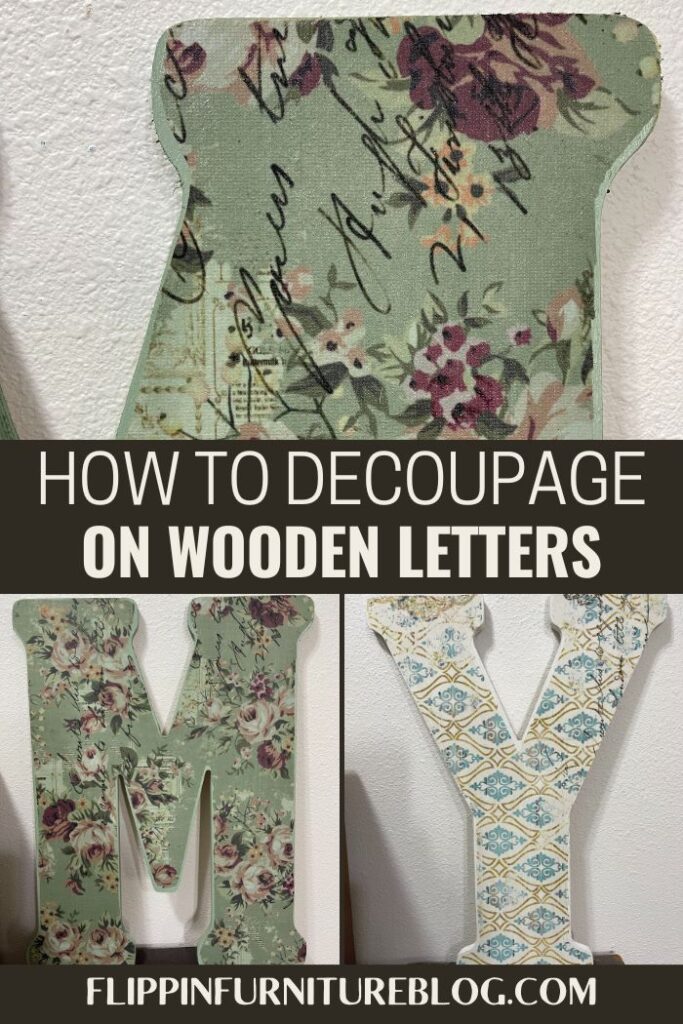
How to decoupage a wooden letter
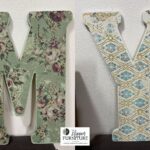
Beautiful patterned letters or names on a wall is a big trend at the moment and the letters can spell out someone’s name, a saying or quote or be simply used as a monogram. Wooden letters are wildly available in all different sizes at most craft supply stores. All you need to do is choose your sizes, your fun paper (which is also available in a range of colors and patterns) and start creating!
This tutorial is super simple and will transform any space!
Supplies for your decoupage wooden letter:
- Mineral Paint – Brook
- Sanding Block Or Sanding Paper
- Wooden Letter
- Paintbrush
- Decoupage Paper
- Scissors
- Mod Podge
- Transfer Tool
- Heat Gun
Instructions for your making decoupage wooden letter:
- Start with your wooden letter.
- Sand your letter with some sandpaper.
- Paint your letter with your sage colored mineral paint, making sure that all your edges are covered.
- Lay your letter on top of your decoupage paper and outline it with a pen.
- Cut the shape out of your paper.
- Paint mod podge on your wooden letter.
- Stick your cut out paper on your wooden letter so that it sticks in the decoupage.
- Use your scraper and make sure that it is flat and nicely stuck down.
- Using sandpaper, sand the edges off.
- Cover your paper with mod podge again.
- Dry it with a hair dryer.
Frequently Asked Questions:
What kind of paper do you use to Mod Podge on wood?
Mod Podge may be used to decoupage paper onto wood in much the same way it works with paper-on-paper projects, but the wood surface must be smooth and free of dirt and debris for it to adhere well.
How do you fix Mod Podge mistakes?
All you need to do is heat up some water as hot as you can get it, and use a sponge to apply it to the fabric or paper on the canvas. Leave it to sit for several minutes as it reactivates the Mod Podge. Peel off as much of the fabric or paper as you can, and then apply more water as needed.
How to Decoupage Wooden Letters
Materials
Instructions
- Start with your wooden letter.
- Sand your letter with some sandpaper.
- Paint your letter with your sage colored mineral paint, making sure that all your edges are covered.
- Lay your letter on top of your decoupage paper and outline it with a pen.
- Cut the shape out of your paper.
- Paint mod podge on your wooden letter.
- Stick your cut out paper on your wooden letter so that it sticks in the decoupage.
- Use your transfer tool and make sure that it is flat and nicely stuck down.
- Using sandpaper, sand the edges off.
- Cover your paper with mod podge again.
- Dry it with a heat dryer/hair dryer.
Video
Just pin this DIY Decoupage wooden letters tutorial below to find the instructions later!


You May Also Like
Breast Cancer Awareness Pumpkin Sign

How To Repurpose an Old Door