DIY Snowflake Craft
Check out how I made a sweet little DIY snowflake craft. It will be so cute added to your Winter decor. Trust me on that! This DIY winter craft would also be an awesome gift to give. Wrap it up with a bow, box of hot cocoa, and this would be a thoughtful, homemade gift this holiday season!
What are your thoughts on snow? You either love it or hate it. There is no in-between. I feel strong opinions of snow are always based on where the person grew up as a child. I, myself, can handle snow for 1 day, in movies, or in lovely calendars. Being too cold, for too long, is not my style. But I do enjoy the natural beauty that is found in a pretty little snowflake. That is why this craft is just the right amount of snow I hope to have in my life this winter season.
Whether or not you consider yourself a snow bunny or snowbird, this DIY project is perfect for you. You can be as creative and bold as you want in selecting your paint, your snowflake stencil, and even the size.
This project can show just how unique a snowflake really can be. You know what they say… no 2 snowflakes are ever the same. I am all for the creative side. This little DIY project is perfect for letting you be you. So, are you more of a simple snowflake gal like myself? Or the fancier, the better?
DIY Snowflake Craft
Whether your snowflake style is simple or more elaborate, it will look adorable as your new winter decor. Choosing the size, stencil, and paint colors makes it even more unique and special.
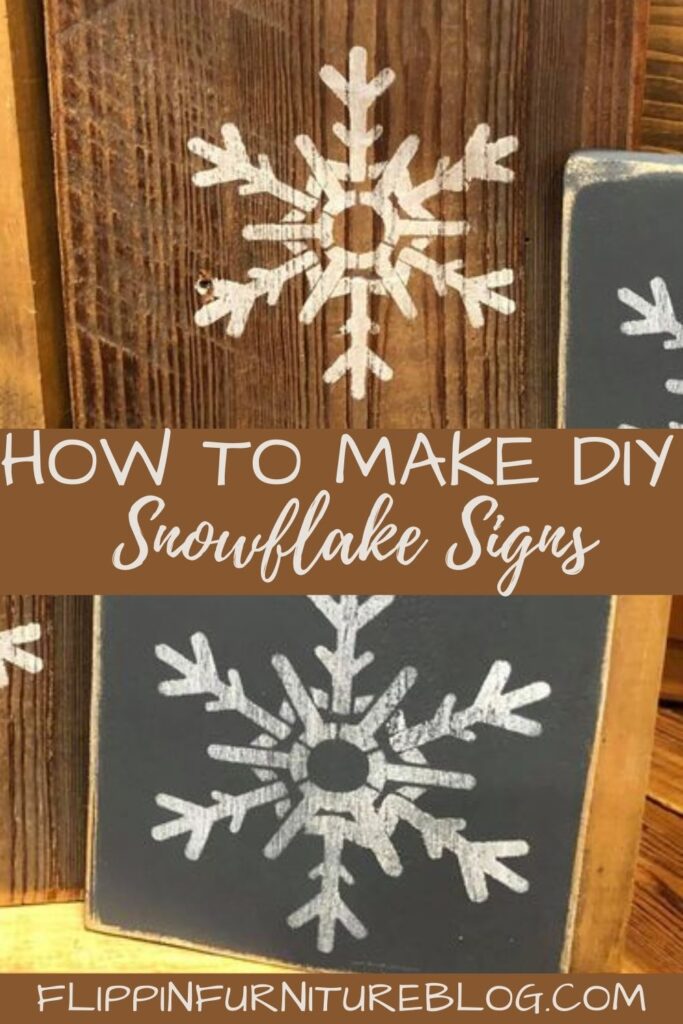
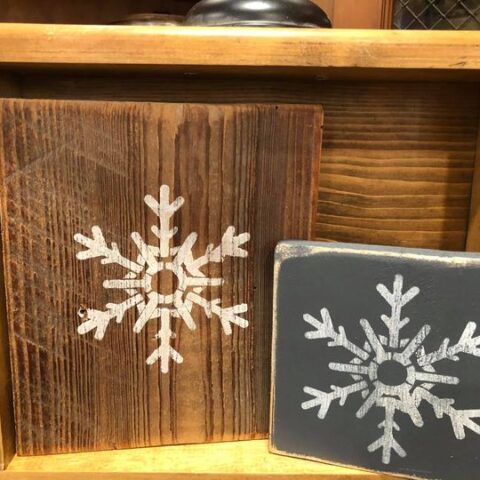
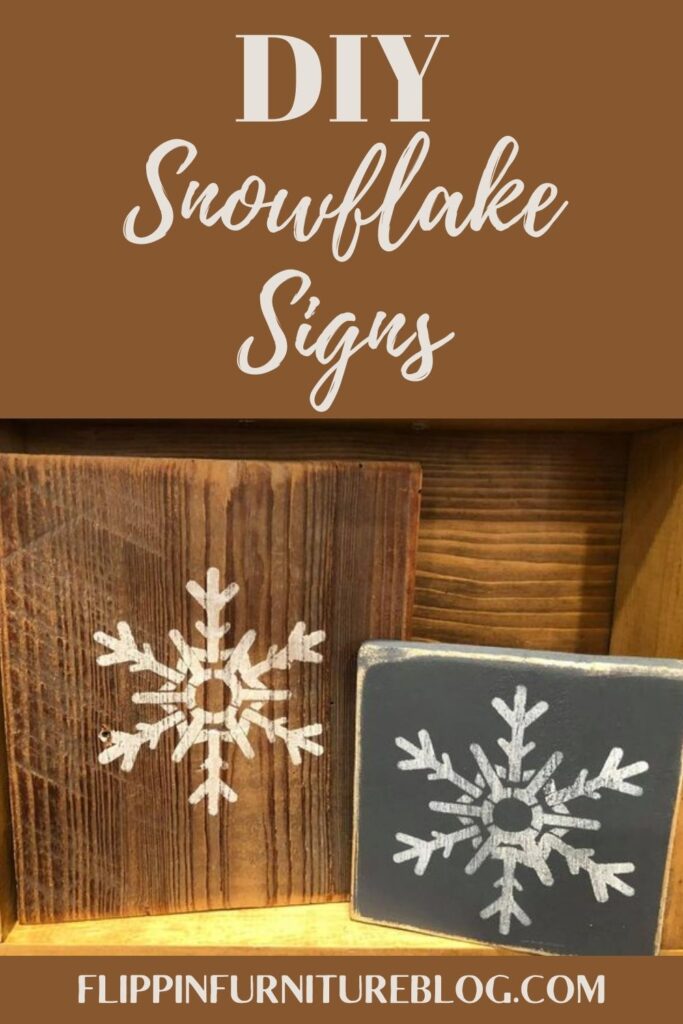
Using old scrap wood and my snowflake stencils, I am able to create DIY Snowflake Signs that will look great on my mantle, kitchen table, bookshelf, or front entryway. I think it would be a great time to have some of my best girlfriends over and we have a little snowflake painting party. Turn up the Christmas tunes, maybe even “Let It, Snow,” on repeat, and just have a flurry of fun.
Oh yeah. And don’t forget how cute this would be as a gift for your neighbors, your kids’ teachers, and that hard to shop for person in your life. This Snowflake Sign has so many possibilities.
Just follow the steps below and get creative! One question though, are you ready for the snow? I am not. Maybe making a few of these will help me get in the mood for all that cold, white stuff all over the ground.
Supplies needed for DIY Snowflake Craft Sign:
- 2 wooden blocks – scrap lumber any size
- Gray & white acrylic paint – or your choice based on your personal home decor
- Paintbrush
- Heat Gun/dryer
- Snowflake Stencils
- Finger daubers
- Sanding block
- Fast Drying Acrylic Spray Seal
Steps:
- Grab your desired size wood block. You can use scrap wood if you like. I am using pieces that are not the same size.
- With some gray* paint, give a base coat to your 1 wooden block. Cover completely. Don’t forget to do the sides.
- Let your paint dry or use a heat gun to speed up the drying process.
- Touch up any spots that you may have missed.
- Grab your desired snowflake stencil. Play with placement on your wooden board. You can measure it out if you are extra precise, or eyeball it like me. I think the improper placement adds to the fun of it.
- With your white acrylic paint, begin stamping out your snowflake. Hold stencil in place as you work.
- For my second wood block, I left that piece of wood untouched. I enjoy the natural look for some of my pieces. Apply snowflake stencil as before. Be as creative, or as natural as you want.
- To distress your snowflake signs, grab your sanding block and rub along the edges. Distress as much as you like.
- Carefully wipe your blocks of any debris, paying attention not to smear your paint.
- You can spray seal your painted wooden blocks with a clear poly.
- Last but not least, enjoy your DIY Snowflake Sign as you snuggle up watching a movie with snow, and hopefully, not a window full of snow!
DIY Snowflake Craft
Materials
- 2 wooden blocks - scrap lumber any size
- Gray & white acrylic paint - or your choice based on your personal home decor
- Paintbrush
- Heat Gun/dryer
- Snowflake Stencils
- Finger daubers
- Sanding block
- Fast Drying Acrylic Spray Seal
Instructions
- Grab your desired size wood block. You can use scrap wood if you like. I am using pieces that are not the same size.
- With some gray* paint, give a base coat to your 1 wooden block. Cover completely. Don’t forget to do the sides.
- Let your paint dry or use a heat gun to speed up the drying process.
- Touch up any spots that you may have missed.
- Grab your desired snowflake stencil. Play with placement on your wooden board. You can measure it out if you are extra precise, or eyeball it like me. I think the improper placement adds to the fun of it.
- With your white acrylic paint, begin stamping out your snowflake. Hold the stencil in place as you work.
- For my second woodblock, I left that piece of wood untouched. I enjoy the natural look for some of my pieces. Apply snowflake stencil as before. Be as creative, or as natural as you want.
- To distress your snowflake signs, grab your sanding block and rub it along the edges. Distress as much as you like.
- Carefully wipe your blocks of any debris, paying attention not to smear your paint.
- You can spray seal your painted wooden blocks with a clear poly.
- Last but not least, enjoy your DIY Snowflake Sign as you snuggle up watching a movie with snow, and hopefully, not a window full of snow!
Wasn’t that SNOW much fun? I know I mentioned making this craft with your best girlfriends, but this would even be a fun craft to do with kids. It really is so easy that your little ones would enjoy it. Have them paint your wooden blocks. Then you handle the “Hard stuff” of stenciling. It would be difficult to decide which is cuter… Their faces of excitement as they create right alongside you or these adorable DIY Snowflake Signs. Either way, you decide to create these, I know you will be glad you did. Thanks for stopping by and stay warm out there.
Just pin this DIY Snowflake Craft tutorial below to find the instructions later!


You May Also Like
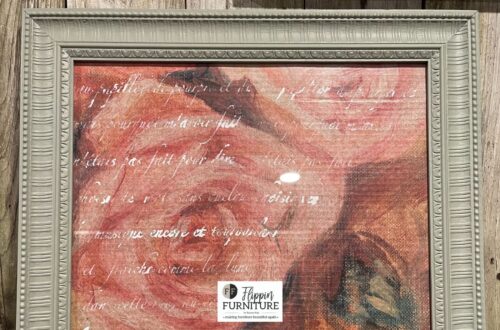
How to: DIY Picture Frame Makeover with Decoupage
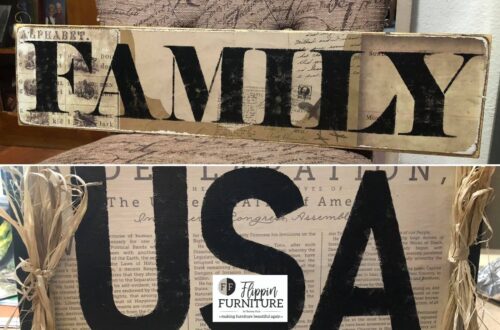
Simple USA and Family DIY Wood Sign Tutorial