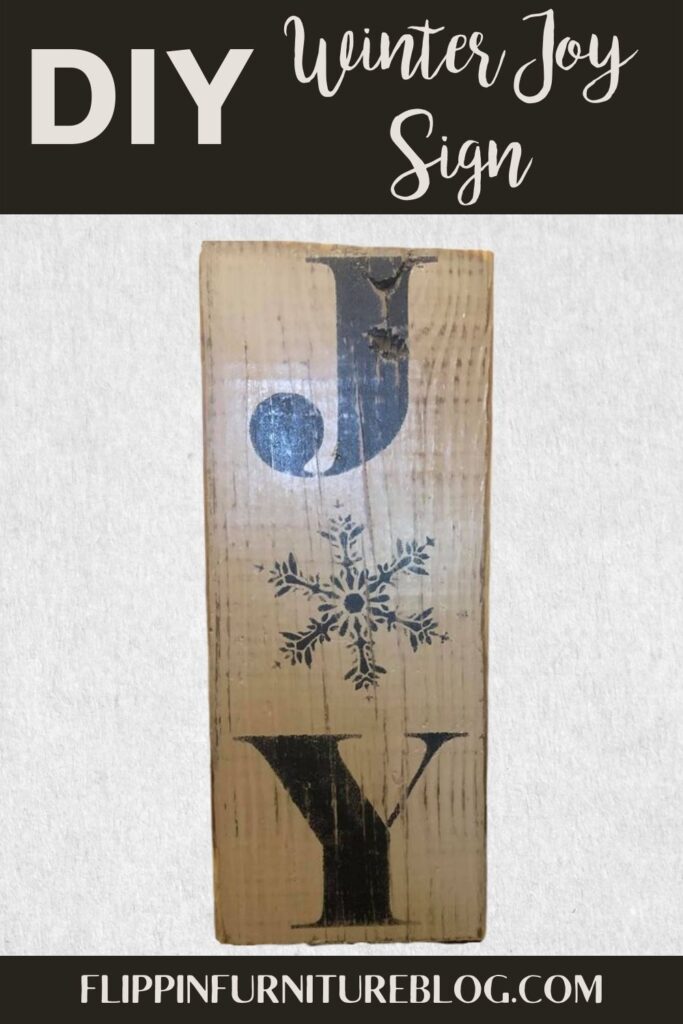
DIY Winter Decor Sign
Making a DIY Winter decor sign is the perfect craft for beginners and seasoned crafters! It will bring so much joy to your home even in the winter months! Follow along step by step as I show you how to make your new favorite winter decor sign for your own home!
Let’s be honest. Winter is hard. It is cold, dark, filled with short days and long nights. Sometimes winter can be extra hard on us that love sunshine and warmth. Being cold, y’all is not my favorite. Can you tell? But this little sign really helps bring out the big smiles. While making it and decorating my home with it, I am nothing but joyful.
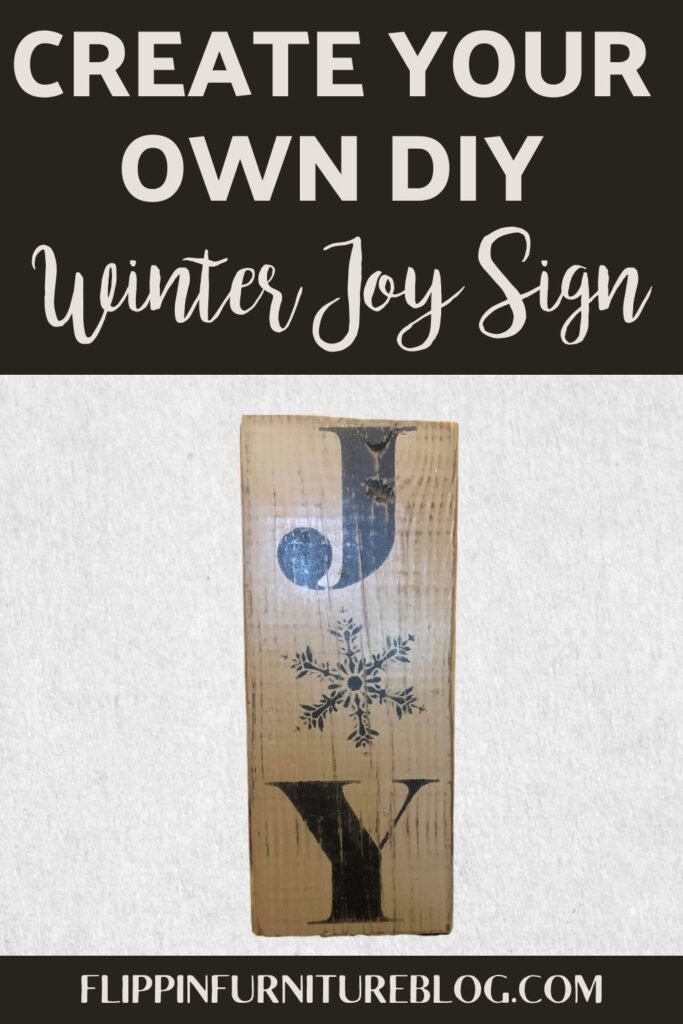
Winter Joy Sign DIY
Even though I may not be a fan of cold winter days I think that this little sign can bring joy to just about anyone who sees it. Its simplicity in design and reminder to find joy in all things are perfect for any DIY winter home decor. So, are you ready to get started on this adorable DIY sign? Are you feeling the joy yet? I know I am.
This little or big sign can find a special place on your living room mantle, front entryway, or even your guest bathroom. It is a transitional piece that will look good anywhere you choose to decorate with it. You can keep it neutral in colors like mine or bright and festive for this holiday season. It doesn’t matter. Either way, this sign is a great new addition to your decor. Just like my Winter sign we made together!
Scrap lumber, paints, and stencils are the way to warm my heart. On the coldest of days, working on projects like this brings me so much joy. This craft is great because you determine the size and colors to make it all your own! Be creative in your color choices or neutral to stick with your home palette. It doesn’t matter, and it will turn out fantastic either way!
Supplies needed for your Winter Decor Sign:
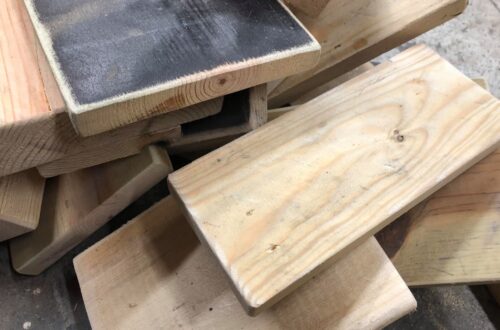
- Large Scrap wood – scrap lumber any size
- Black and tan acrylic paint – or your choice based on your personal home decor
- Stencils – J, Y, and Snowflake
- Paintbrush
- Heat Gun/dryer
- Snowflake Stencils
- Finger daubers
- Sanding block
- Fast Drying Acrylic Spray Seal
Step by step instructions to make your sign:
- Grab your desired size scrap lumber. Depending on the size stencils you have will determine which size scrap lumber you want to use.
- With some tan* paint, give a base coat to your 1 wooden block. Cover completely. Don’t forget to do the sides.
- Let your paint dry or use a heat gun to speed up the drying process.
- Touch up any spots that you may have missed.
- Beginning at the bottom on your board, place your Y stencil down first. Play with placement on your wooden board. You can measure it out if you are extra precise, or eyeball it like me.
- With your black acrylic paint, begin stamping out your letter Y with black paint. Use finger daubers to stencil best. Hold stencil in place as you work. You could use white paint if you prefer, but I wanted my letters to stand out.
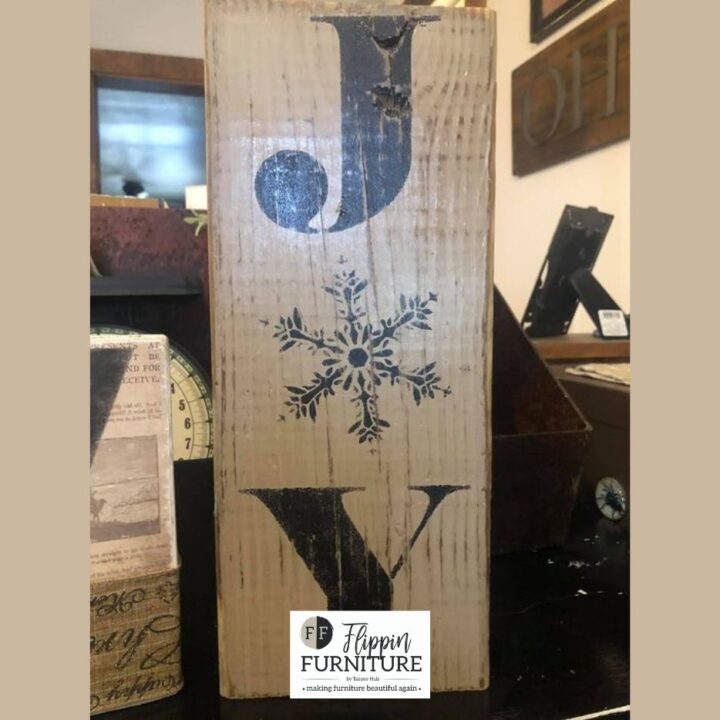
- Next move to the top of the wood block, and stencil in your letter J.
- Use a snowflake stencil to form your letter O to complete the word, JOY. Be as creative, or as natural as you want.
- Let dry or use a heat gun to speed up the drying process once again.
- To distress your JOY sign, grab your sanding block and rub along the edges. Distress as much as you like.
- Carefully wipe your blocks of any debris, paying attention not to smear your paint.
- Once dry, you can spray seal your painted wooden blocks with a clear poly. You could skip this step entirely.
- Last but not least, enjoy your DIY Winter Joy Sign. So simple and so cute.
DIY Winter Decor Sign
Learn how to make this DIY winter decor sign.
Materials
- Large Scrap wood - scrap lumber any size
- Black and tan acrylic paint - or your choice based on your personal home decor
- Stencils - J, Y, and Snowflake
- Paintbrush
- Heat Gun/dryer
- Snowflake Stencils
- Finger daubers
- Sanding block
- Fast Drying Acrylic Spray Seal
Instructions
- Grab your desired size of scrap lumber. Depending on the size stencils you have will determine which size scrap lumber you want to use.
- With some tan* paint, give a base coat to your 1 wooden block. Cover completely. Don’t forget to do the sides.
- Let your paint dry or use a heat gun to speed up the drying process.
- Touch up any spots that you may have missed.
- Beginning at the bottom on your board, place your Y stencil down first. Play with placement on your wooden board. You can measure it out if you are extra precise, or eyeball it like me.
- With your black acrylic paint, begin stamping out your letter Y with black paint. Use finger daubers to stencil best. Hold stencil in place as you work. You could use white paint if you prefer, but I wanted my letters to stand out.
- Next move to the top of the woodblock, and stencil in your letter J.
- Use a snowflake stencil to form your letter O to complete the word, JOY. Be as creative, or as natural as you want.
- Let dry or use a heat gun to speed up the drying process once again.
- To distress your JOY sign, grab your sanding block and rub it along the edges. Distress as much as you like.
- Carefully wipe your blocks of any debris, paying attention not to smear your paint.
- Once dry, you can spray seal your painted wooden blocks with a clear poly. You could skip this step entirely.
- Last but not least, enjoy your DIY Winter Joy Sign. So simple and so cute.
Step back and look at your beautiful work! Now that wasn’t too hard, was it? I think it turned out pretty awesome and it wasn’t time-consuming. Nor was it stress-inducing. It turned out just as cute as you had hoped it would.
Would you dare to say that you are feeling the JOY I promised you would? I knew it! Smiles all around. So glad you stopped by to craft with me today. Keep spreading that joy! We all need it to deal with the cold of winter days and nights.
Just pin this DIY Winter Decor Sign tutorial below to find the instructions later!


You May Also Like
How To Recycle Old Windows
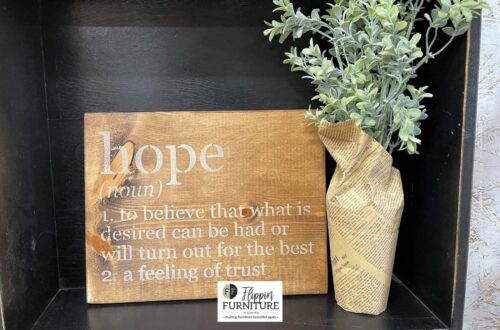
Learn to stencil your own sign