How to Use Decoupage Paper
When I get new supplies in, I get so excited. Just plain giddy, really. I just have to craft with them as soon as I can. These projects are the direct result of new, amazing decoupage papers that arrived at my home last week. So naturally, I would want to share these easy DIY projects with you as well so you can have fun too! Are you ready to learn how to use decoupage paper?
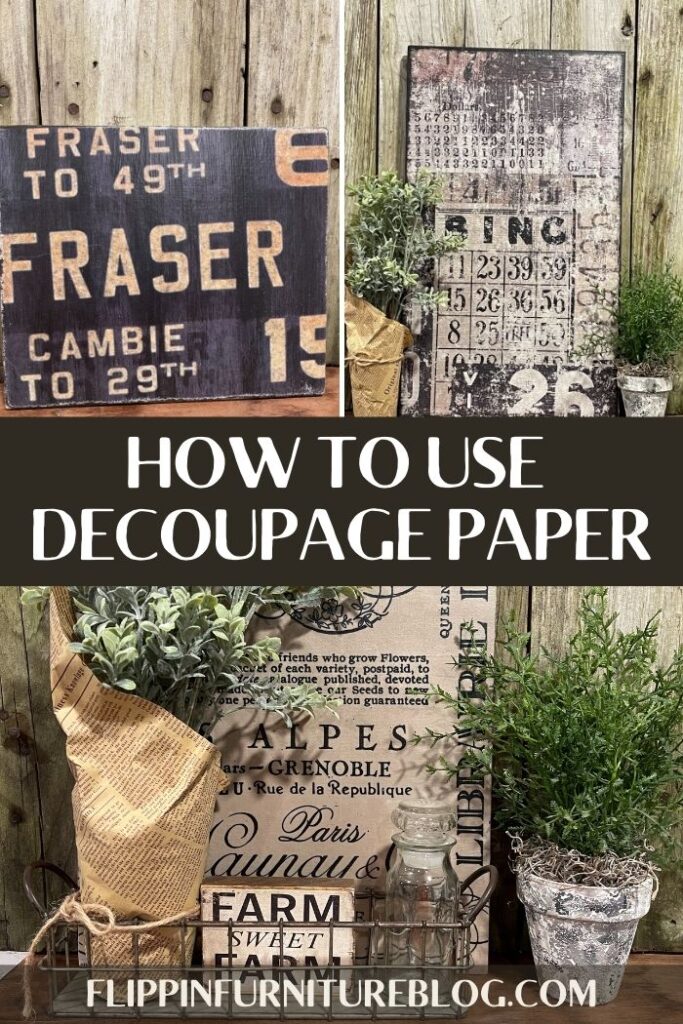
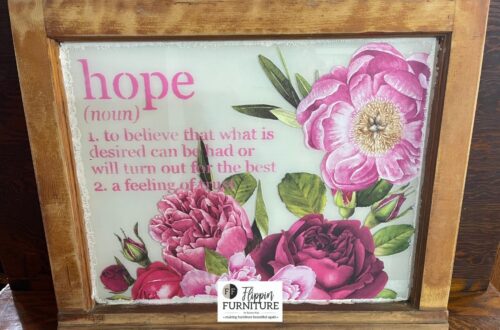
Make your Wood Signs Using Decoupage Paper
Y’all, why is learning how to use Decoupage paper so important in your crafting skills bank? Well, let me tell you! These wooden signs are super cute, simple home decor.
What makes decoupage even more special are ALLLLLL the ways you can work with it. After crafting these signs, you should consider using this strategy to refinish an old side table. Maybe you could even redo the drawers on a big dresser for a fresh new room makeover. So many ideas, but still the same simple steps.
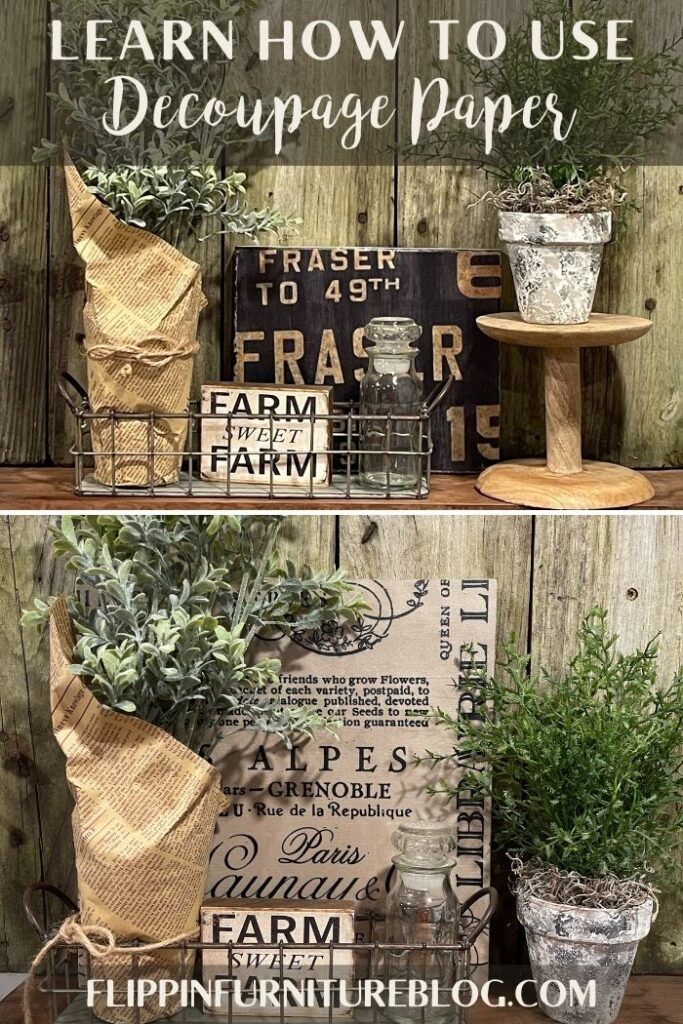
These wood boards, of all sizes, are so easy to work with in terms of DIY home decor. The best part of this project is that it is completely customizable. You decide the style of design, size, colors, and shape for your wood sign. The hardest part is deciding which paper to use, because man oh man, they are all so awesome.
Whether it is raw wood or painted wood it doesn’t matter. A transfer sheet of florals or vintage numbers… also no big deal. You decide what fits your home decor best to get this project started. I love being able to create something for any space in my home with just a little bit of time, creativity, and desire. You will too. And with these steps, you will see just how easy it is to get this same look in less than an hour. Are you ready to get to work?
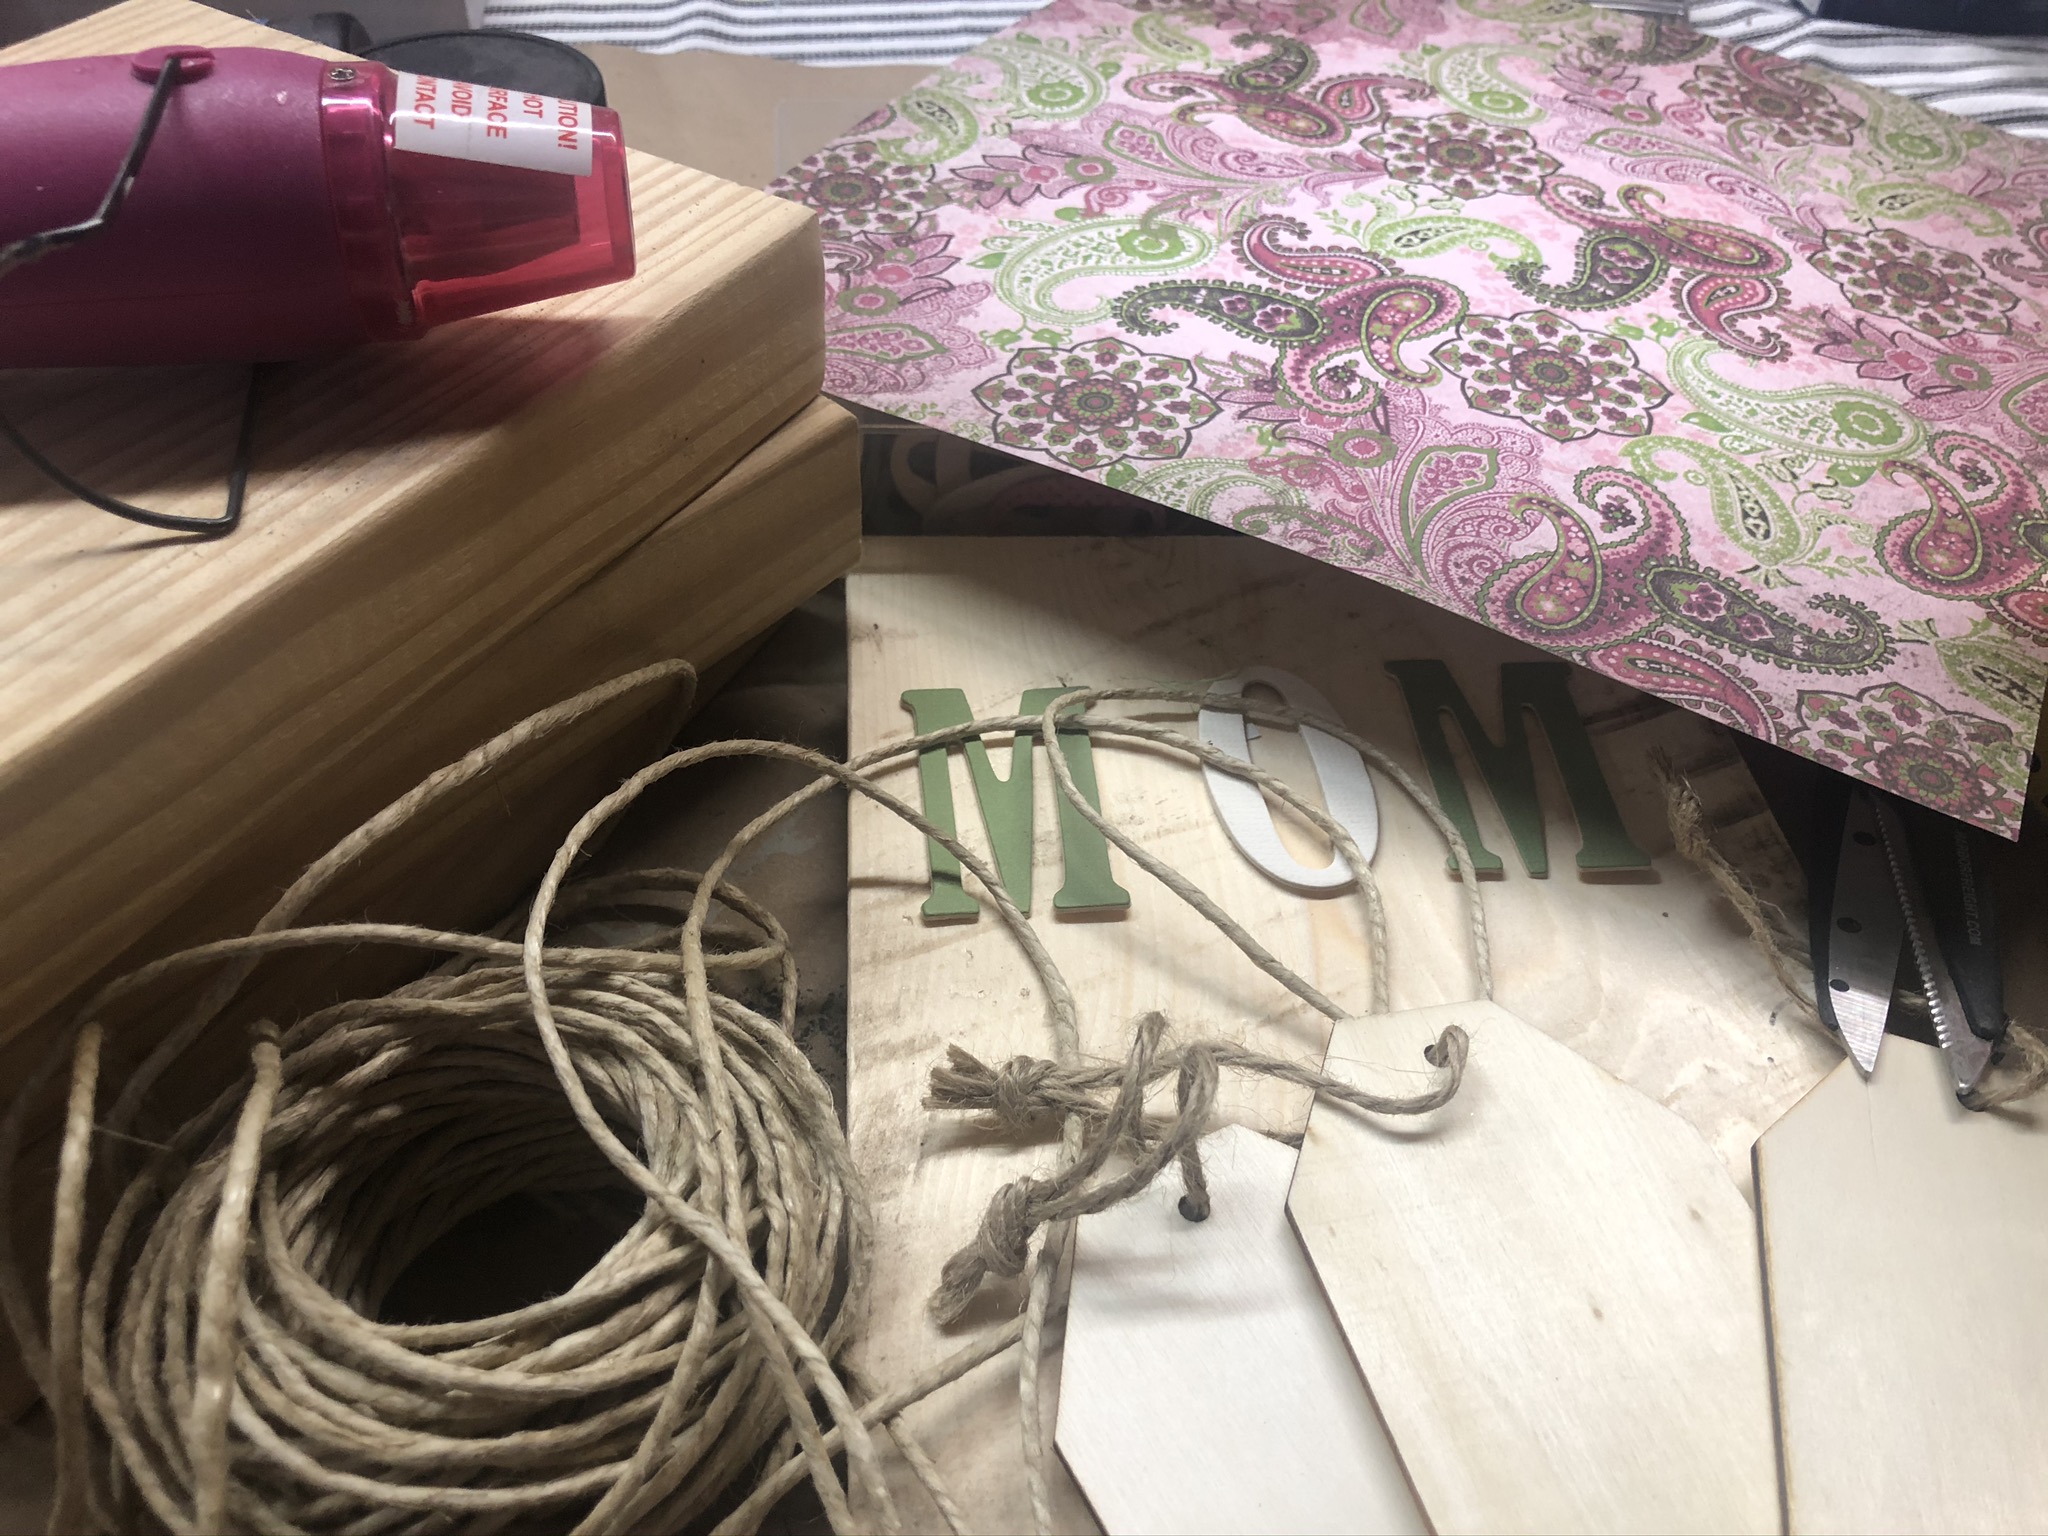
Supplies:
- Blank piece of wood any size – either raw or painted wood
- Decoupage Paper – Roycycled
- Mod Podge
- Paintbrush
- Sanding Sponge
- Heat gun
- Sponge Daubers
- Minwax Polyurethane Spray
How to Use Decoupage Paper
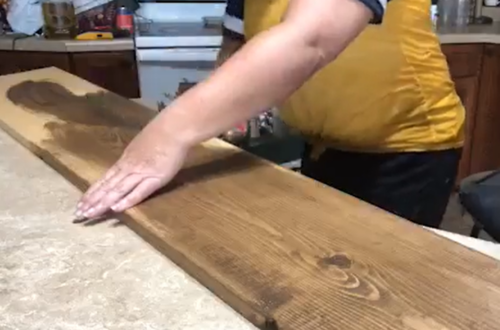
- Grab your piece of wood, raw or painted, and your style of decoupage paper. Based on the size of your wood, will determine how much you will use of your paper and Mod Podge.
- Place paper over the top of your wood to determine the amount of paper you need to cut from the main sheet. I don’t measure, but you can. You just need enough to cover the entire board with a bit of overhang. For your bigger pieces of wood, you might not even need to cut your paper at all.
- Apply a nice even coat of Mod Podge. Be sure to go all the way to the edges. Completely cover the top of your board. For larger boards, you will need to work in sections, starting from the top, working your way down.
- Next grab the piece of decoupage paper you like, playing with placement before you lay it down officially. Remember, once it touches, it is very difficult to pull back up, so make sure you have it where you want it!
- Place it down, rubbing smoothly with your hands to push out any air bubbles. Make sure it completely adheres to the wood.Larger boards, you will repeat the addition of Mod Podge, applying paper, and smoothing out air bubbles in sections as you work to complete your wood sign.
- Let dry completely before removing the excess tissue paper with a sanding sponge. Simply rub along the edges to easily pull off excess.
- Grab your paintbrush and Mod Podge, and apply a thin coat on top to seal it up. Remember to keep your brush strokes all going the same direction. Let dry completely.
What If My Wooden Sign is Not Super Smooth?
Wood scraps are almost always not super smooth, and when working with these decoupage papers, you really want to find a piece as smooth as possible. But you can always take away the rough texture with a sanding sponge to help. You want your decoupage paper to really adhere to the wood. So, be sure to get full coverage of your Mod Podge on your board. You want it to really soak into those grooves. These projects are easy, and mistakes happen. Believe me. But I know you can always disguise a mistake in some way. So just be brave, try, and have fun.
What if I Didn’t Measure Right and Now an Edge is Showing Through?
Y’all I can’t tell you how many times I have done this. Well, because I told you before… I don’t measure. I like to eyeball my projects and most times that is just fine. But every once in a while, it is not. When that happens, I simply disguise it by “dirtying” up that edge of my wood sign by lightly rubbing a black ink/paint sponge along the edges. You can make the line as thick or as thin as you want. This will also give it a more finished look so that little mistake turned out to be a blessing.
Working with decoupage paper is so much easier than it looks. These steps are so simple. Here is the abbreviated version for y’all! Pick wood. Pick paper. Paint if you want. Mod Podge. Place paper. Rub. Mod Podge. Dry. Decorate your home with this beautiful new DIY decor! HA! So simple and so cute. Let me know what you think!
How to Use Decoupage Paper
Instructions
- Grab your piece of wood, raw or painted, and your style of decoupage paper. Based on the size of your wood, will determine how much you will use of your paper and Mod Podge.
- Place paper over the top of your wood to determine the amount of paper you need to cut from the main sheet. I don’t measure, but you can. You just need enough to cover the entire board with a bit of overhang. For your bigger pieces of wood, you might not even need to cut your paper at all.
- Apply a nice even coat of Mod Podge. Be sure to go all the way to the edges. Completely cover the top of your board. For larger boards, you will need to work in sections, starting from the top, working your way down.
- Next grab the piece of decoupage paper you like, playing with placement before you lay it down officially. Remember, once it touches, it is very difficult to pull back up, so make sure you have it where you want it!
- Place it down, rubbing smoothly with your hands to push out any air bubbles. Make sure it completely adheres to the wood.Larger boards, you will repeat the addition of Mod Podge, applying paper, and smoothing out air bubbles in sections as you work to complete your wood sign.
- Let dry completely before removing the excess tissue paper with a sanding sponge. Simply rub along the edges to easily pull off excess.
- Grab your paintbrush and Mod Podge, and apply a thin coat on top to seal it up. Remember to keep your brush strokes all going the same direction. Let dry completely.
Just pin this How to Use Decoupage Paper tutorial below to find the instructions later!


2 Comments
Karen solomon
I say you introduce some new paper with rooster n ticking. But I can’t find it to order. Yes I am part of your private group. Can someone help me?
Flippin Furniture Blog
this one? https://flippinfurnitureshop.com/products/farmhouse-project-block-roycycled-decoupage-paper?_pos=3&_sid=b8afa95b3&_ss=r