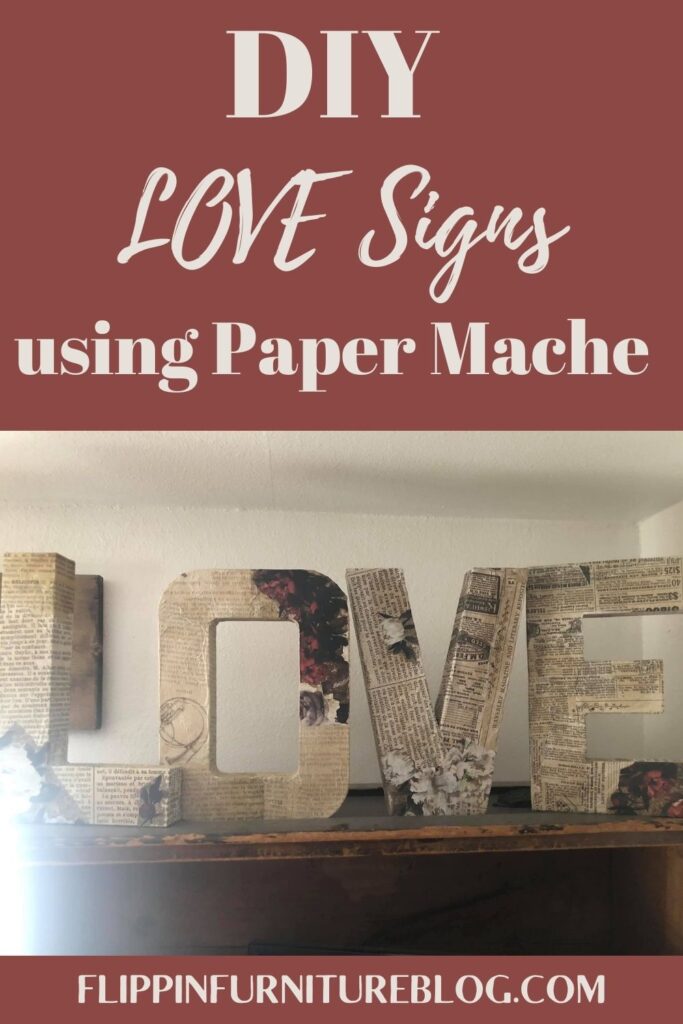
DIY Love Signs
These DIY love signs are lovely to add some small modest Valentine’s day decor to your home. Follow along step by step as I show you how to make some signs for your Valentine decor in your home. I am sure you will fall in love with these DIY Love signs! Take a look for yourself.
Love is in the air this time of year. So let’s embrace it! That is why I thought I needed to craft some new decor that spelled out the word LOVE! Showing love is not a bad thing nor is receiving it. These DIY LOVE signs will look great in your home. Place these letters on your living room mantle, a large bookshelf, or even your front entryway. I promise you will enjoy looking at them no matter where you decide to decorate with them.
Make Your Own DIY Love Signs
If you have been here before, you know I love to work with wood. Remember the zipcode sign I made with my hubby! But today, I am taking a break from that. I am coming back to a different technique I love, and have loved since my elementary school art class days. Paper Mache! Do you love it as much as I do? There is just something about adding bits of tissue paper and Mod Podge (Elmer’s Glue when I was little) to create something beautiful. If you enjoyed this simple technique, like from back in the good old days, or if you just feel like trying something different, then you are in the right place. Let’s get started on this DIY craft of making something you will absolutely LOVE!
I am a neutral gal, through and through! No need for bright colors in my home. It just makes me crazy, and I am already a bit crazy enough. So neutral tissue papers are what I used to create my DIY Love Sign. But this project is so simple and versatile. You can use any color tissue paper, solid or patterned, to create a project you just absolutely LOVE. And I promise you will LOVE how easily you are able to create it.
Even more so, you will LOVE how well it turned out. Just follow the steps below and have some fun! One question though. Are you a neutral gal like me or a fan of the bold and bright colors? Either way, I am glad you are here.
Supplies needed for your DIY Love Signs:
- 12” Paper Mache Letters – LOVE
- Tissue Papers
- Sponge paint brush
- Mod Podge
- Tea Rose Garden Prima Transfer
- Parchment paper
Steps:
- Prep your paper mache letters by removing all price tags.
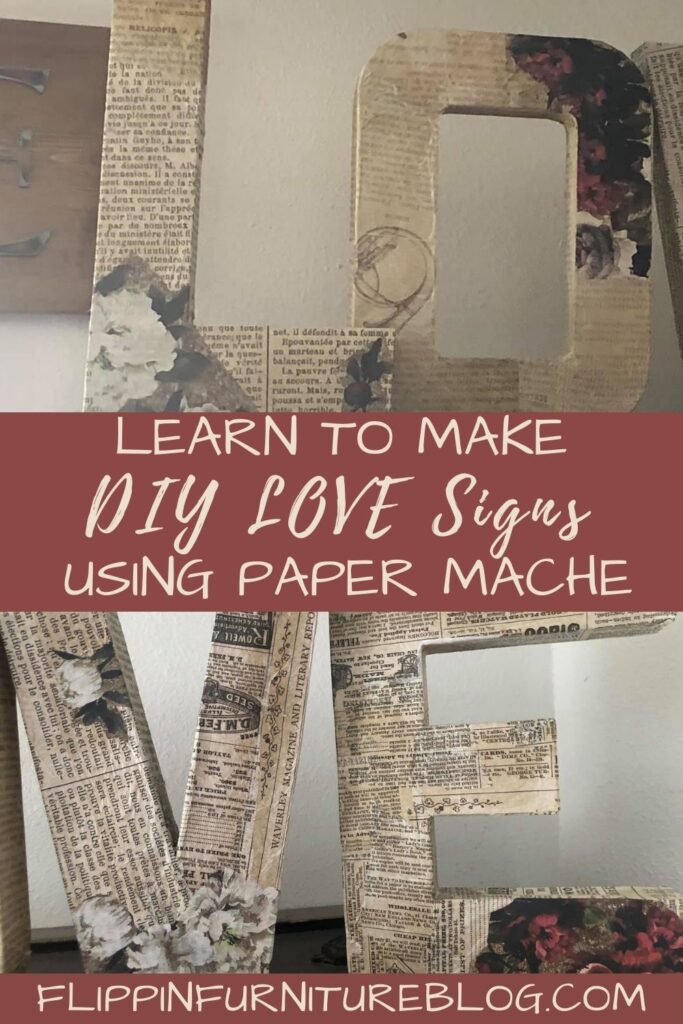
- Grab your multiple colors of tissue papers. I am sticking with the neutral colors, but you can be as creative/colorful as you want.
- Working with your first letter, apply a layer of Mod Podge, one area at a time. Be sure to get Mod Podge on your letter completely to prevent bubbling of your tissue paper.
- Place your tissue paper over the Mod Podge and begin to press down onto the letter. I am wrapping it and placing it on sort of like a present. You can cut sections or slits to help it bend/manipulate/cover your letter with ease.
- Be sure to get those edges. Tissue paper is very fragile so be careful.
- I am tearing pieces of tissue paper as I work to fill in any gaps if needed. I have pieces that are overlapping a bit in areas and I like that look. But if you are into perfection, you can trace the letter and place pieces with exactness. That is not my style, but who am I to judge?
- To help get those wrinkles out, use some wax paper in your hand to smooth it out. Using your sticky fingers will tear your tissue paper. But if it tears, that is ok. It adds character to the project. And I LOVE projects with character.
- Continue to Mod Podge and apply tissue paper to your paper mache letters. You can do the back of the letters if you would like. It all just depends on where you will have these DIY Love Signs on display.
- Repeat these steps as you work on the remaining letters to complete your love sign. Let dry before moving onto the next step.
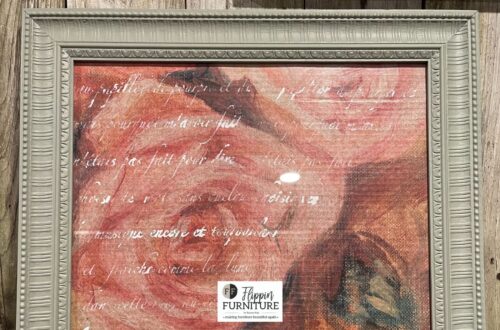
- Add some unique, feminine touches by applying a floral furniture rub-on transfer to your letters. Play with placement as to where it looks best. Use the flat edge tool to firmly apply it. Add some here and there throughout your letters.
- You can have the transfer wrap around the sides of your letters, or trim/file them off.
- No need to seal these letters.
- The tough part is deciding which spot you want to place them in your home to start spreading the LOVE this Valentine’s season.

DIY Love Signs
Materials
- 12” Paper Mache Letters - LOVE
- Random Tissue Papers - neutral colors
- Sponge paint brush
- Mod Podge
- Floral Rub-on Furniture Transfers
- Wax paper
Instructions
Prep your paper mache letters by removing all price tags.
Grab your multiple colors of tissue papers. I am sticking with the neutral colors, but you can be as creative/colorful as you want.
Working with your first letter, apply a layer of Mod Podge, one area at a time. Be sure to get Mod Podge on your letter completely to prevent bubbling of your tissue paper.
Place your tissue paper over the Mod Podge and begin to press down onto the letter. I am wrapping it and placing it on sort of like a present. You can cut sections or slits to help it bend/manipulate/cover your letter with ease.
Be sure to get those edges. Tissue paper is very fragile so be careful.
I am tearing pieces of tissue paper as I work to fill in any gaps if needed. I have pieces that are overlapping a bit in areas and I like that look. But if you are into perfection, you can trace the letter and place pieces with exactness. That is not my style, but who am I to judge?
To help get those wrinkles out, use some wax paper in your hand to smooth it out. Using your sticky fingers will tear your tissue paper. But if it tears, that is ok. It adds character to the project. And I LOVE projects with character.
Continue to Mod Podge and apply tissue paper to your paper mache letters. You can do the back of the letters if you would like. It all just depends on where you will have these DIY Love Signs on display.
Repeat these steps as you work on the remaining letters to complete your love sign. Let dry before moving onto the next step.
Add some unique, feminine touches by applying a floral furniture rub-on transfer to your letters. Play with placement as to where it looks best. Use the flat edge tool to firmly apply it. Add some here and there throughout your letters.
You can have the transfer wrap around the sides of your letters, or trim/file them off.
No need to seal these letters.
I just love letter art like this! Once you learn this technique you will find it makes crafting and creating for other holidays super simple. It would be easy to spell out any word for your decor. “Lucky” in March. “Sunny” in June. “Boo” in October. These would even make a great wedding, anniversary, or housewarming gift if you wanted to spell out the last name. The possibilities are endless, and I just LOVE that about this project!!!
Just pin this DIY LOVE Sign tutorial below to find the instructions later!


You May Also Like
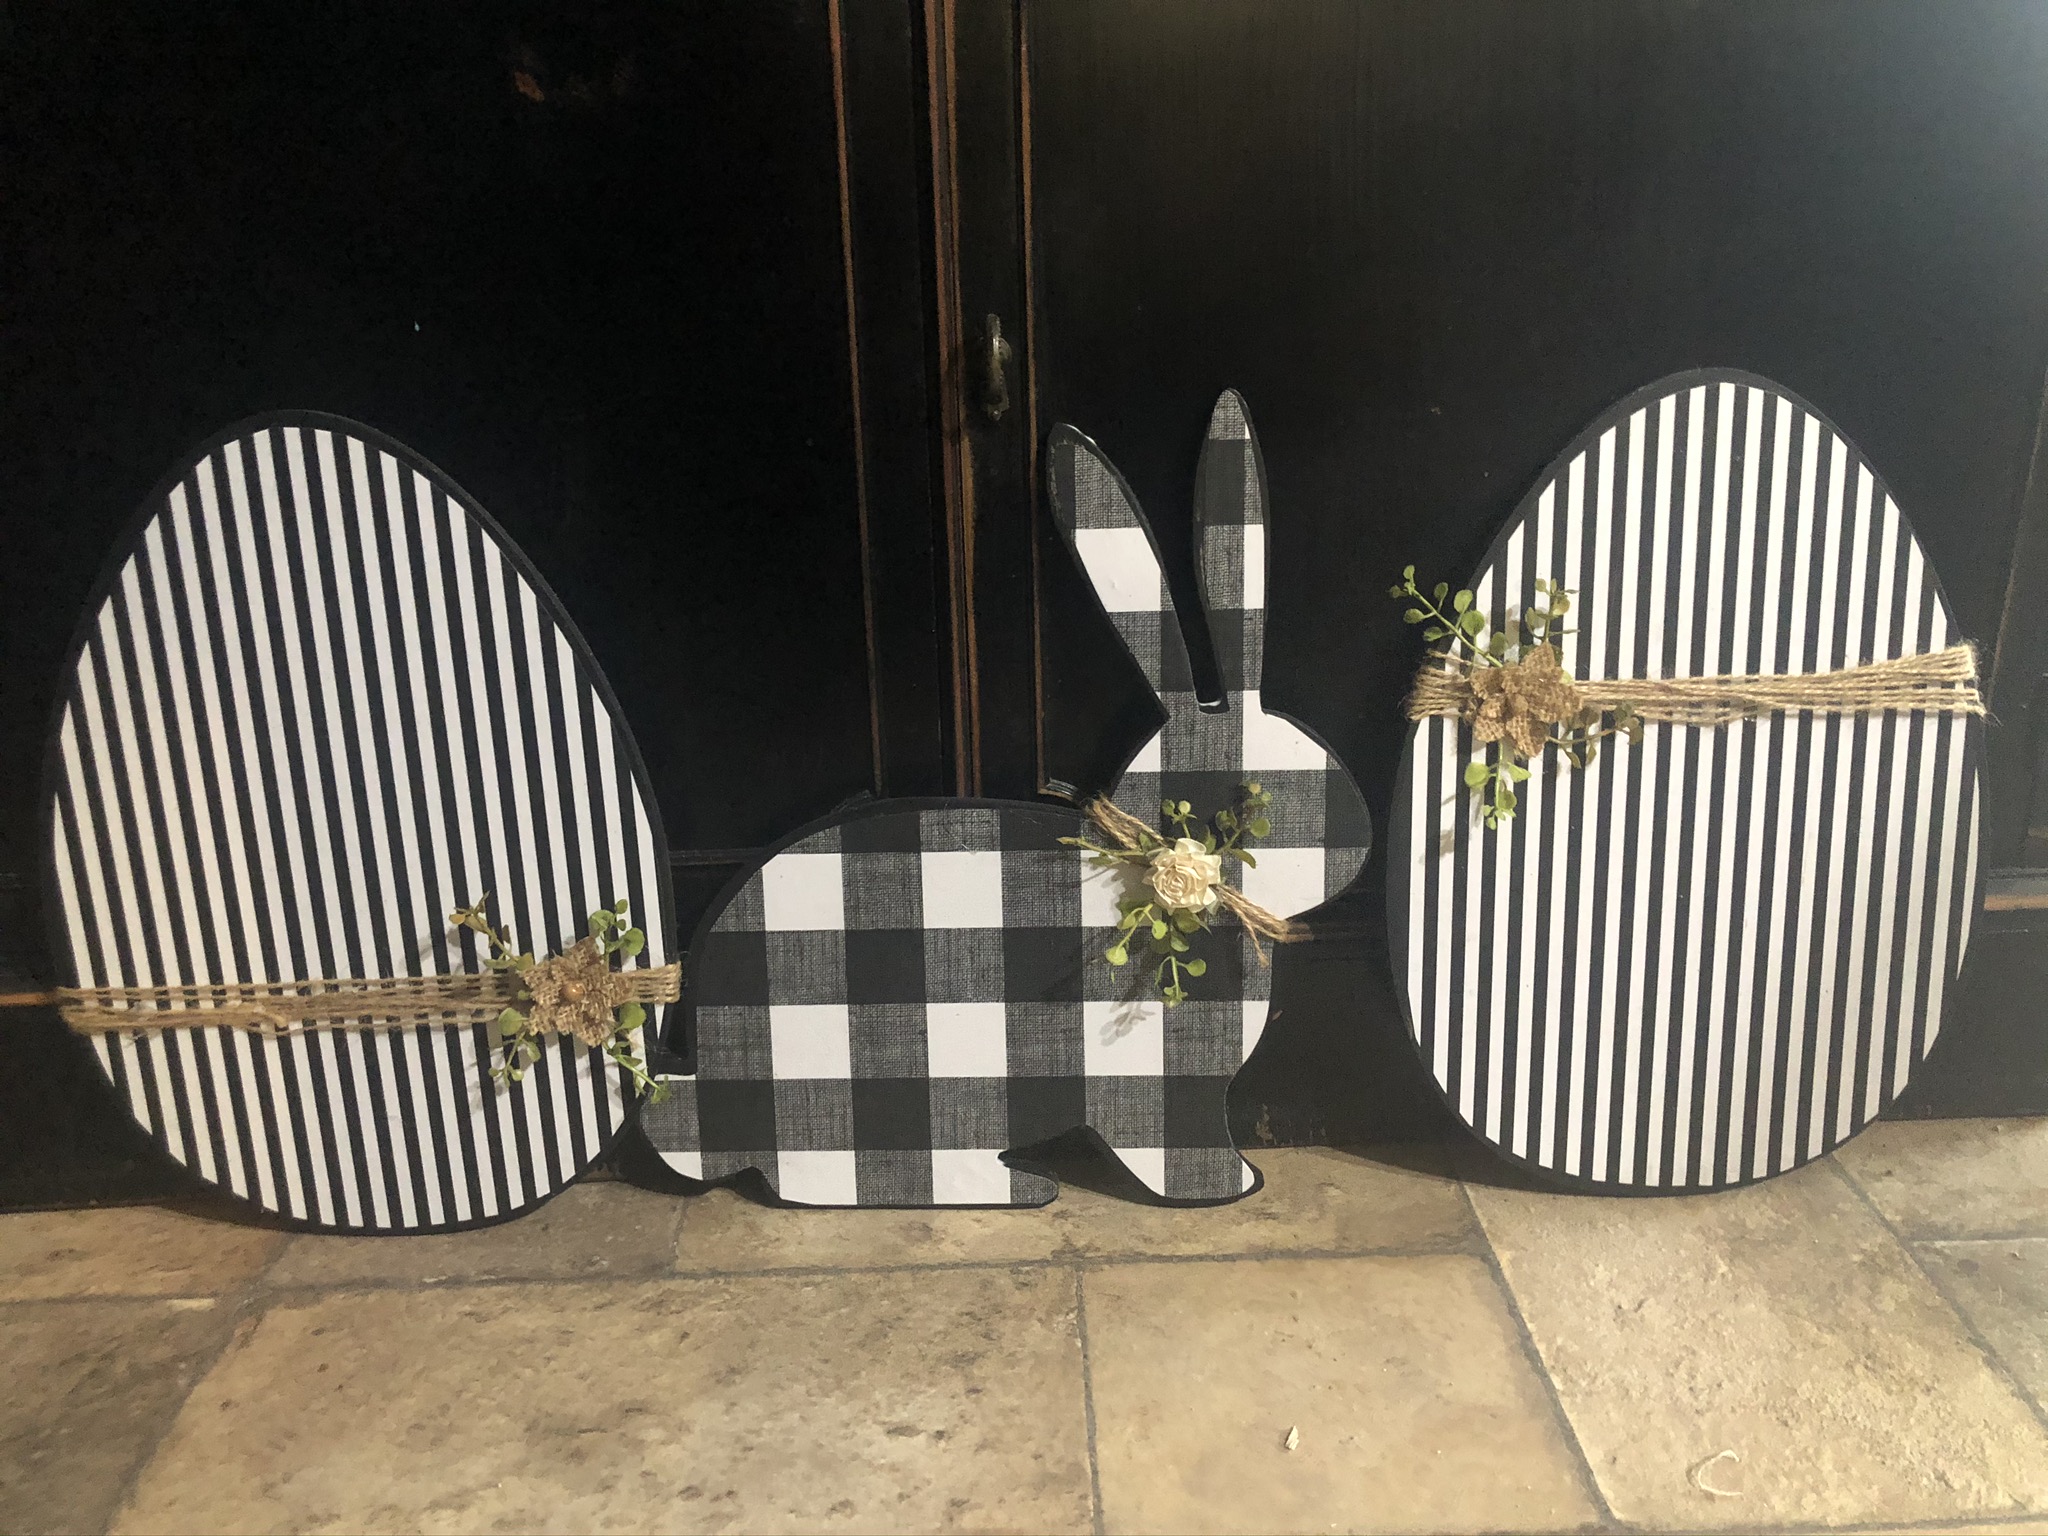
Easy Easter Crafts
Make Your Own Initial Wall Decor