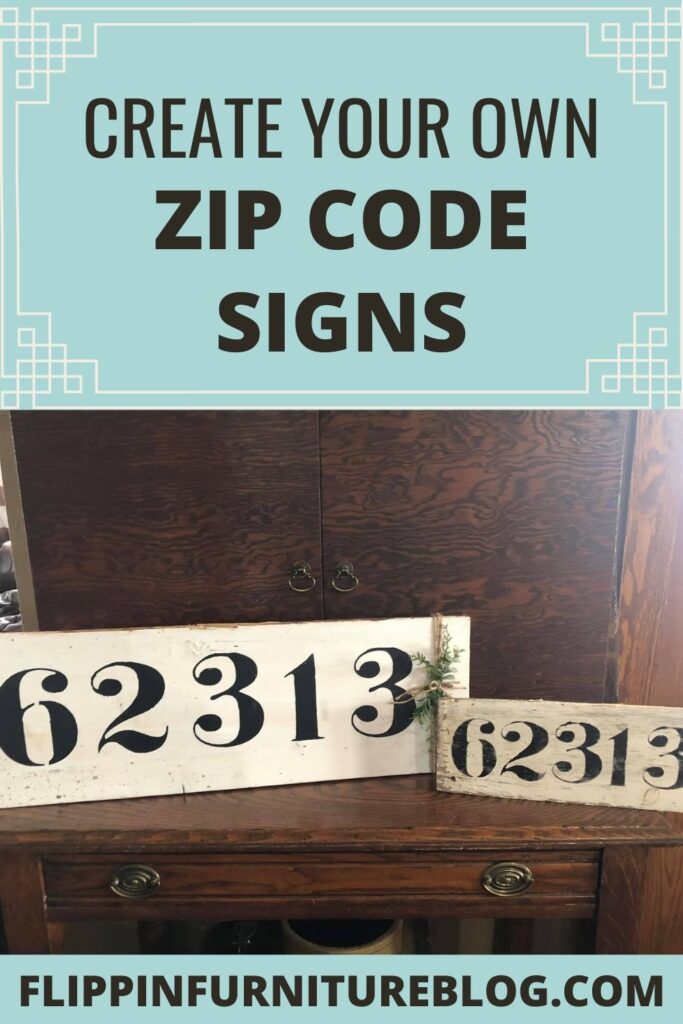
DIY Zip Code Sign
Ready to make your own personalized zipcode sign to display on the front of your home today? In this tutorial, I am showing you exactly how to create an amazing handcrafted DIY zip code sign for your own home!
We all love adding a little bit of personalization to our homes. In this tutorial, I am showing you exactly how to do that in your home! You can create your own zip code sign using very few supplies in little to no time! I am all about easy and this one is so easy!
I promise you it is so simple and you will love the outcome. This DIY zip code sign can be hung outside your home or even inside on a gallery wall.
DIY Zip Code Signs
The best part about this DIY craft is that you can make it completely your own by following the simple steps below. Make it big or small, paint it the color that matches your style, or make it for a friend to gift!
Follow along and see just how easy it is to make your own DIY Zip Code Sign!
Supplies needed for your DIY Zip code sign:
- Number Stencils
- Sponge Dauber
- Black Paint
- Wood blank piece
Steps
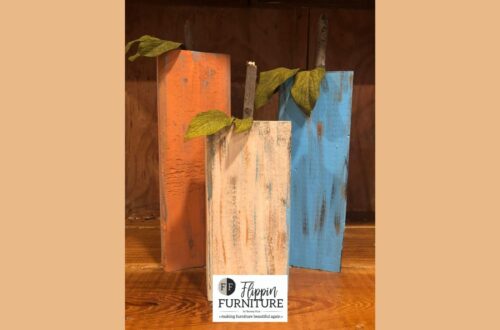
- Grab your desired size of wood block. You can use scrap wood like we did. Just grab a piece you have laying around
- Use the original wood color or you can paint it a solid color if you desire.
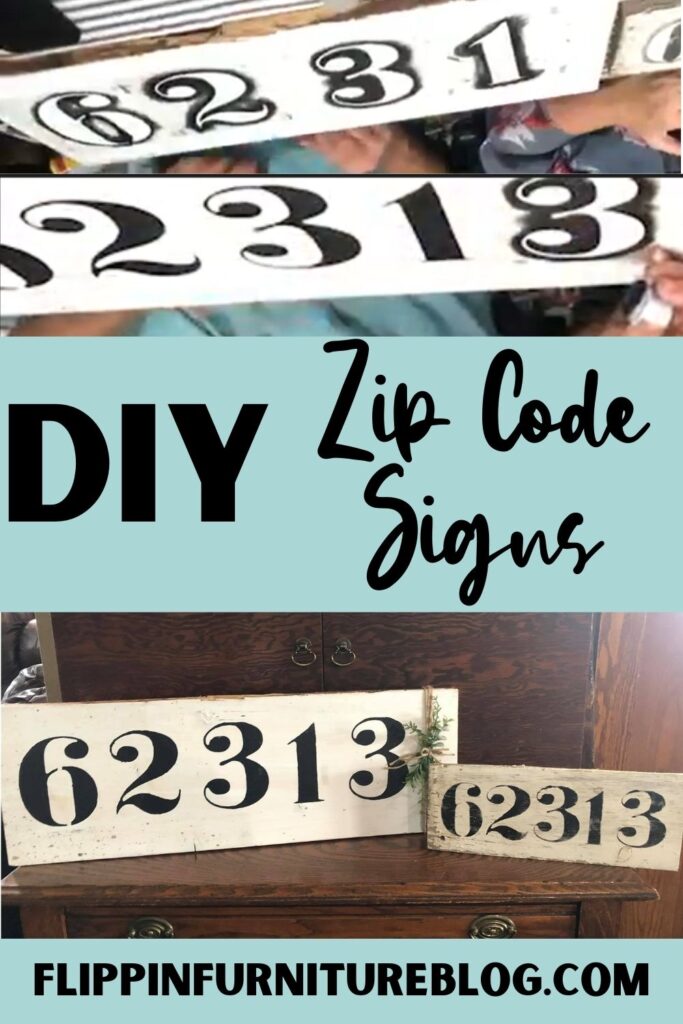
- Lay out your stencil numbers first to make sure they will all fit before you start adding paint.
- With your finger dauber start applying paint inside your stencil working from the last number to the first. That way you can keep your numbers fitting on your board.
- To make your board appear more rustic you can take a hand sander and rough up the edges a bit more.
- Add some twine to the end of your board to add a little extra flair to your board. You can add hot glue first to get your twine started before wrapping it around the end of your board.
- You can also hot glue some little pieces of greenery to the middle of your twine.
Tips and Tricks for stenciling numbers on a wood board
When it comes to using stencils there are a few little tricks that are great to know when using them for your crafts:
- If you are reusing a stencil twice in a project you will want to be sure to wipe off the back of the stencil with a wipe so you do not get paint that may have bleed to the back on your wood board.
- Lay out your stencils first before you start painting to make sure they will fit on your board
- Investing in finger sponge daubers will really help you get the paint nice and even.
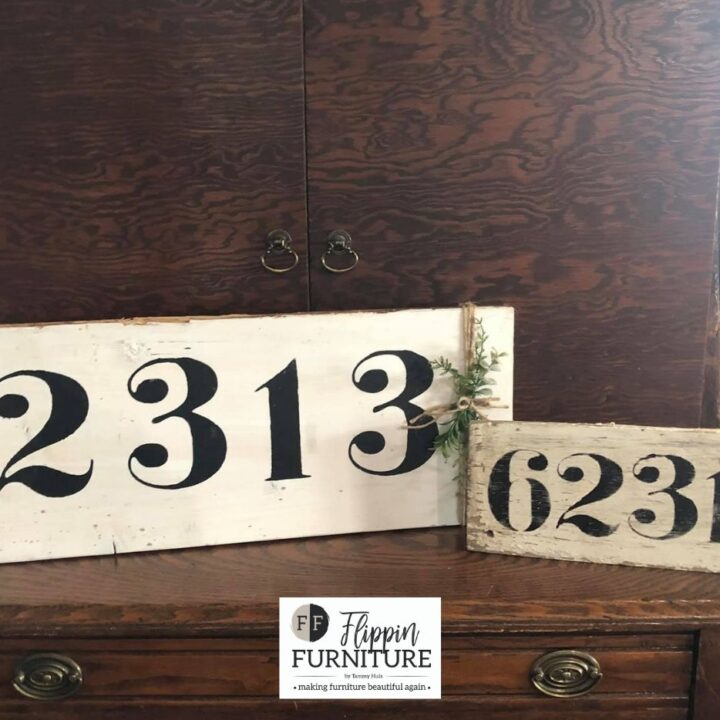
DIY Zip Code Signs
Create a custom handmade ZIP CODE SIGN in less than 15 minutes!
Materials
- Number Stencils
- Sponge Dauber
- Black Paint
- Wood blank piece
Instructions
- Grab your desired size of wood block. You can use scrap wood like we did. Just grab a piece you have laying around
- Use the original wood color or you can paint it a solid color if you desire.
- Layout your stencil numbers first to make sure they will all fit before you start adding paint.
- With your finger dauber start applying paint inside your stencil working from the last number to the first. That way you can keep your numbers fitting on your board.
- To make your board appear more rustic you can take a hand sander and rough up the edges a bit more.
- Add some twine to the end of your board to add a little extra flair to your board. You can add hot glue first to get your twine started before wrapping it around the end of your board.
Now that you know how easy it is to make your own zip code sign to add to your gallery wall or front porch decor you can start making your own today!
Just pin this DIY Zip Code Sign tutorial below to find the instructions later!


You May Also Like
DIY Scrap Lumber Pumpkin Decor

DIY Farm Signs