How to Make a Decorative Tray
Follow along step by step as I show you how to to make a decorative tray out of a plain old cutting board or any piece of wood. This tutorial will make you think twice about any old piece of furniture after you see what I did.
As we all already know there is not a piece of wood that I don’t love. I am sure you are wondering why. Well, because I can make adorable DIY trays out of any piece of wood or even a cutting board like in this tutorial! I just absolutely love being able to create my own home decor exactly how I want it. I bet you feel the same as I do. Or else, why would you be here?

How to Make a Decorative Tray
To me, there is always something pretty to create from repurposed wood or even furniture. This DIY project is simply painting it, adding stencils, a transfer and handles. Yep… you read that right. It IS that easy.
There are so many possibilities to make this unique piece. So if you are like me and love to make new things out of anything, then this project is perfect for you.
The beauty of this tray project is that you get to choose what fits your taste best by finding the perfect transfer and stencils. Maybe florals and French script aren’t your thing. No problem. Choose whatever your heart desires. That is just fine. You do you, and just remember that whatever you create, is awesome! The steps are the same no matter your style. Have fun with it, from start to finish.
What you need to make your decorative tray:
- An old cutting board
- Fusion white paint
- Algonquin paint
- Black paint
- Paint daubers
- Paint brush
- Blow dryer
- A French script stencil
- A fine sanding block
- Family over everything stencil
- 2 x tray handles
- Floral transfer
How to make your decorative tray:
- Start with your cutting board and paint it white.
- Use a blow dryer or heat gun to speed up the drying process.
- Paint another layer of paint onto the cutting board.
- Use your blow dryer again to dry it faster.
- Determine which stencil to add on top of your wood piece.
- Lay your stencil down on your board, paying attention to the sides and spacing. Always have a visual plan before you start adding your paint.
- With your pouncer, begin to press your Algonquin paint gently into your stencil in the desired areas you choose.
- Once you are done filling in the stencil, pull it up carefully.
- If by chance you go over a bit, you can use a baby wipe to help you clean up that area while it is still a bit wet.
- Use your blow dryer to dry the paint.
- Take your sanding block and buff at the script.
- Take some more white paint and lightly brush the script to fade it.
- Use your blow dryer to dry the paint.
- Determine where you are placing your floral sticker.
- Add your sticker to your board.
- Determine which stencil to add on top of your wood piece.
- Lay your stencil down on your board, paying attention to the sides and spacing. Always have a visual plan before you start adding your paint.
- With your pouncer, begin to press your black paint gently into your stencil in the desired areas you choose.
- Once you are done filling in the stencil, pull it up carefully.
- If by chance you go over a bit, you can use a baby wipe to help you clean up that area while it is still a bit wet.
- To complete, add your handles to your tray.
How to apply a transfer?
Have you ever seen a really cute saying or graphic and wished you could put it on everything? Well, there’s good news: with a little bit of patience and some basic tools, you can apply transfers to basically any surface! In this how to apply a transfer tutorial I will show you how it’s done. So go find your perfect transfer, and let’s get started!
How to use a stencil?
I just love using stencils when it comes to crafting and making home décor. I get asked a lot what are the best stencils to use and also how to exactly use stencils in different projects. In this this post I share all the tips and tricks I know with you when it comes to how to stencil.

How to Make a Decorative Tray
Materials
- An old cutting board
- Fusion white paint
- Algonquin paint
- Black paint
- Paint daubers
- Paint brush
- Blow dryer
- A French script stencil
- A fine sanding block
- Family over everything stencil
- 2 x tray handles
- Floral transfer
Instructions
- Start with your cutting board and paint it white.
- Use a blow dryer or heat gun to speed up the drying process.
- Paint another layer of paint onto the cutting board.
- Use your blow dryer again to dry it faster.
- Determine which stencil to add on top of your wood piece.
- Lay your stencil down on your board, paying attention to the sides and spacing. Always have a visual plan before you start adding your paint.
- With your pouncer, begin to press your algonquin paint gently into your stencil in the desired areas you choose.
- Once you are done filling in the stencil, pull it up carefully.
- If by chance you go over a bit, you can use a baby wipe to help you clean up that area while it is still a bit wet.
- Use your blow dryer to dry the paint.
- Take your sanding block and buff at the script.
- Take some more white paint and lightly brush the script to fade it.
- Use your blow dryer to dry the paint.
- Determine where you are placing your floral sticker.
- Add your sticker to your board.
- Determine which stencil to add on top of your wood piece.
- Lay your stencil down on your board, paying attention to the sides and spacing. Always have a visual plan before you start adding your paint.
- With your pouncer, begin to press your black paint gently into your stencil in the desired areas you choose.
- Once you are done filling in the stencil, pull it up carefully.
- If by chance you go over a bit, you can use a baby wipe to help you clean up that area while it is still a bit wet.
- To complete, add your handles to your tray.
Video
Just pin this DIY decorative tray tutorial below to find the instructions later!


You May Also Like
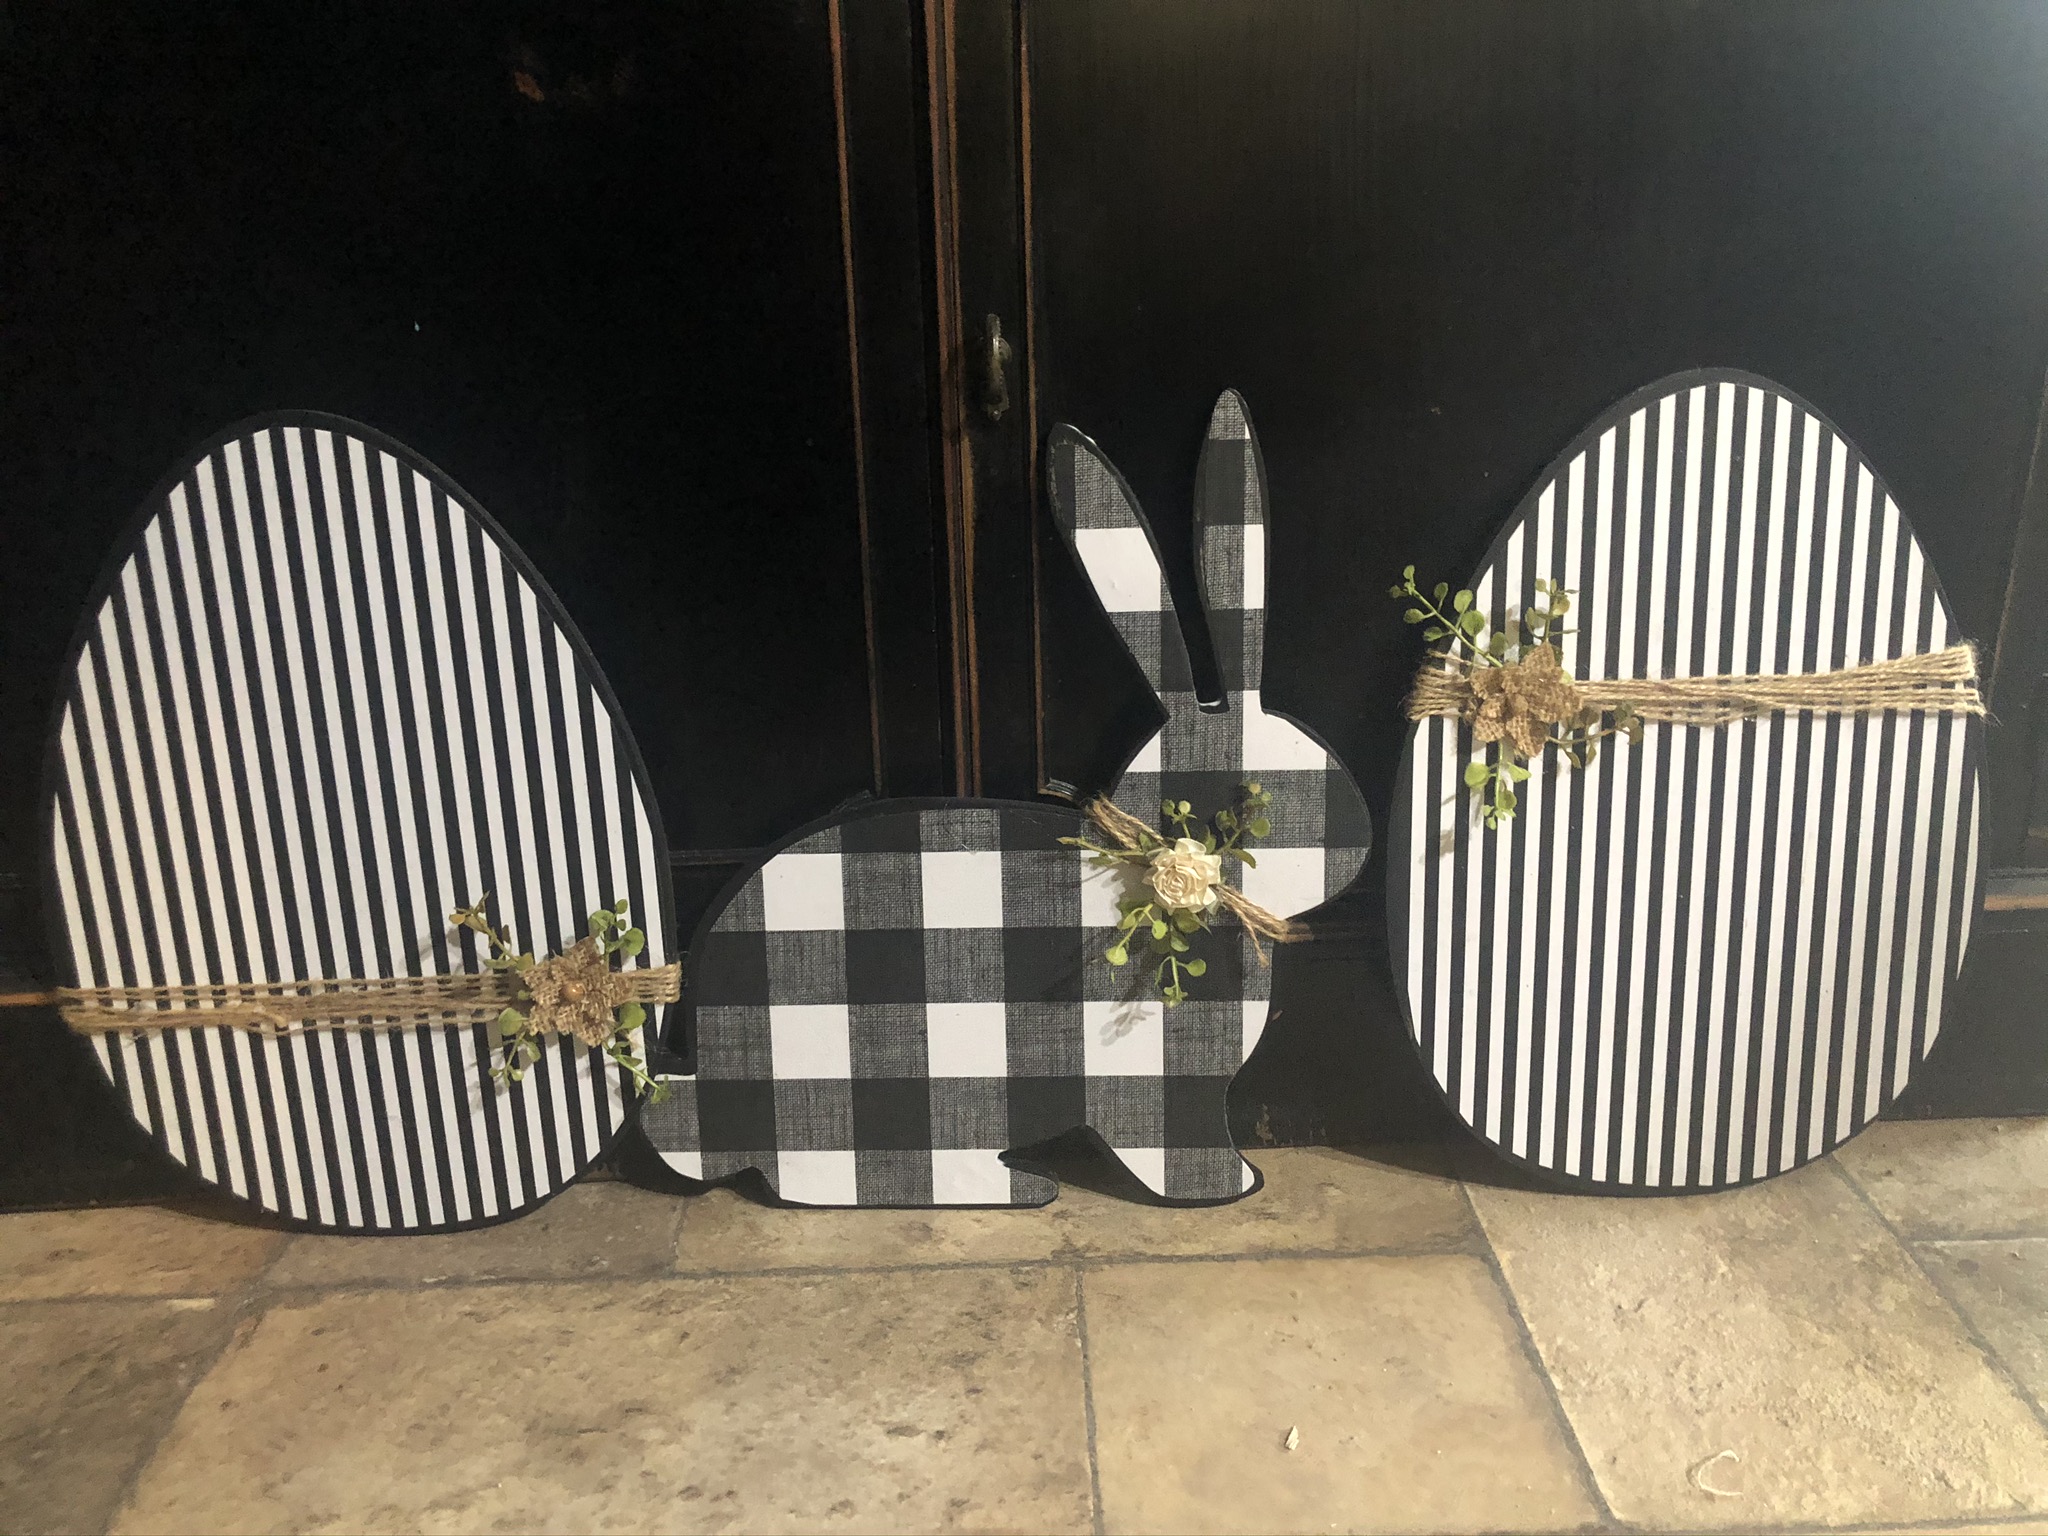
Easy Easter Crafts
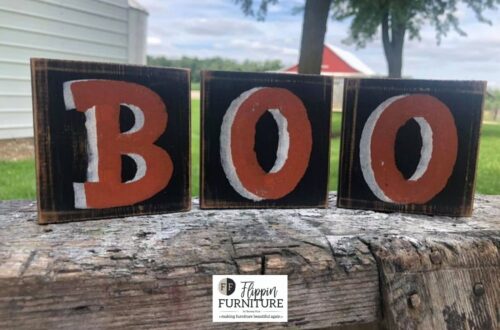
How to make your own DIY Halloween Boo Sign